Saturday, December 22, 2018

Deck Yourself Bookmark with Doodles Paper Playground

Hello Crafty Friends - I am here today with a fun bookmark for the holidays featuring the Limited Edition Sparkle Blend Rosy Gold. This bookmark is perfect to add as stocking stuffer or to a favorite book for that special someone..

The Doodles Paper Playground Sparkle Blends are prefect for all your projects - Shaker cards, bookmark or as finishing touches to your cards.

Limited Edition Sparkle Blend Rosy Gold
shades of pink really makes those rosy tones pop. 
 Paired a gorgeous blush gold cup sequin with metallic round magenta sequins
and dimensional stars, and a beautiful combination of pastel pink heart
 and star confetti, pink flower Fimo slices, pink faceted crystals
 and two different sizes and finishes of micro beads.


Today, I used the Sparkle Blend as a shaker bookmark! 


Thank you for stopping by today! Be sure to tag us Doodles Paper Playground on social media if you create a project with our Sparkle Blends. All of our Sparkle Blends can be purchased on the White Rose Crafts LLC Website

Thursday, December 20, 2018

Thanks for The Adventure with Kindred Stamps

Hello Crafty Friends - I am here with a cute thank you card.
Sometimes, we have a special group of friends that help us though the tough times. They take us on fun adventures and make us smile!  .
Using the Up For An Adventure Stamp Set I create this thank you card.  
Up for an Adventure
I used patterned paper for the background - since this group of oddball friends dream of world travel I figured a map paper would be great. Matted it on wooden chevron paper. The images are colored with Spectrum Noir Markers. For extra touches I added a bit of washi tape and a bit a gel pen work.

Thank you for stopping by the blog today!

Tuesday, December 18, 2018

Home Sweet Home with Kindred Stamps

Hello Crafty Friends - I am here with a sweet card.
Sometimes the best place to be is Home.

Using the Up For An Adventure Stamp Set I created this CAS card.  
Up for an Adventure


Using a bit of Distress ink in Tumble Glass and a cloud stencil for the background, a postage die and the colored image with my Spectrum Noir Markers. All matted onto medium blue card stock.

Thank you for stopping by the blog today!

Monday, December 17, 2018

Merry Christmas Polar Bear Greeting with A2Z Scrapbooking

Hello Crafty Friends - I am  here with a softer color version of Christmas colors. This month's theme is Winter Wonderland for A2Z Scrapbooking -  in keeping with this I wanted to have the colors of my card soft.

I used soft pink and soft green instead of the traditional red and green. These colors go perfect with the Polar Bear Greeting stamps in creating a winter wonderland scene.


Note: Polar Bear Greetings has a die set - I did not use them but they are available in the shop.
a2z scrapbooking december 2018 challenge

Please join us in this month’s “Winter Wonderland” challenge for your chance at a free digital stamp AND, if you used Hero Arts or Sugartree Stamps, a $20 gift card to our Hero Arts store. Our current monthly challenge can always be found in the menu bar, and runs from the 1st to last day of the month.  Use my discount code Annie15 to get 15% off your purchase of $25 or more. If you’re looking for a Hero Arts product you don’t see in store, use the Request Custom Order button from with-in the shop.


Supplies Used:
  •  Polar Bear Greeting stamps
  • Pattern Paper: Stampin' Up Little Foxy Designer Series
  • Cardstock: Recollections Brand- Heavy Weight:
  • Light Green and White
  • Shimmer Cardstock: Grafix Brand Craft Sensations
  •  Pearl - Linen Finish Dollar Tree Medium Pink
  • Dies: Lawn Fawn Stitched Hillside Border 
  • Finishing Touches: Zig Wink of Stella Clear Glitter Pen,
  • Jewels: Pretty Pink Posh: Pearl White, Pink Blush & Spring Green


Sunday, December 16, 2018

Wanna Build a Snowman with Simply Crafty SVG

Hello Crafty Friends - I am here with an adorable snowman. He is created by using the New Release from Simply Crafty SVGs called Smiling-Snowman

His head can be removed for gift giving, treat filling or for adding some lights. You can just use him as a decoration. He can be made in about and hour.

I added some snowflakes throughout his body. I did mostly second generation stamping. I used Versa Magic ink in Aegean Blue ans Hero Arts Unicorn  White for the twinkle in his eyes. I used some shimmer cardstock for the hat band and scarf.

You can find the SVG file at the Simply Crafty SVGs Store. Sandy has created both a PDF printable and a video tutorial on how to create this sweet snowman.

Thank you for stopping by!

Friday, December 14, 2018

New Release Hop with Doodles Paper Playground

Welcome to our December Release Blog Hop!!
We've got 6 New Sparkle Blends to share with you, and I,
together with the rest of the Doodles Paper Playground Design Team,
have joined forces with Gail Tasker -- You may know her as Ionabunny.
Gail will be our Guest Design Team Member for December and January!
We are so excited to have her with us and 
we can't wait to see more of what she has to share with all of us!

To see detailed descriptions of each of the December Sparkle Blends release,
check out our release blog post! We are so excited about this whole release!
Do you have a favorite?
Juniper Berries, Celebrate and Garnet
 seem to be front runners for our Designing Divas!
These talented ladies have lots of inspiring projects for you,
so please hop along with us and leave comments
on each leg for a chance to win one of 4 great prizes!

Prizes for this hop are:
1 Grand Prize: Full Size packages of all
 6 December Release Sparkle Blends
3 Door Prizes: 1 Random package to 3 lucky winners

Giveaway closes at 11:59pm, EST, Sunday December 16, 2018

If you're ready to start shopping, please head on over to
White Rose Crafts LLC, The exclusive merchant for Sparkle blends!
And remember, as always,
each of the New Release Sparkle Blends are Limited Editions.
So if you love one or all - get it or them before they are all gone!

Blog Hop List:
Annie (you are here)

These are the cards I created for this hop!
The Doodles Paper Playground Sparkle Blends 
are prefect for all your projects - Shaker cards or as finishing touches to your cards.

 Mid-winter in the Northeast calls for de-saturated jewel tones and
 this beautiful blend of plum, turquoise,
 sage green and silver is the perfect complement
 to all of your cool toned projects. 
This blend has tons of interest, with cupped flowers,
ribbed squares, pale green pearlized seed beads
 and glitter, iridescent, metallic and matte sequins.


Today, I used the Sparkle Blend as a finishing touch to my card. 


Icicles Sparkle Blend
This chilly blend of white, clear, ice blue and silver. 
This combination of tiny iridescent gem confetti, 3D clear diamonds,
 bitty iridescent hearts, and gloss, iridescent &
 transparent glitter sequins in a variety of sizes evokes those chilly stalactites.


This is my second card for this release hop - it's shaker card. 
No automatic alt text available.

Like is mentioned before the Sparkle Blends are perfect for all your cards from finishing touches like the floral card above to a shaker card.

Thank you for stopping by today! Be sure to tag us Doodles Paper Playground on social media if you create a project with our Sparkle Blends. All of our Sparkle Blends can be purchased on the White Rose Crafts LLC Website

Tuesday, December 11, 2018

Angel Ornament with Rinea

Hello Crafty Friends - I am here with another ornament for you to create. In a few steps you can have an adorable angel ornament for your family tree.


I broke down the process into 10 simple steps - well 9 because the 10th is really just a finishing touch.

Supplies Needed:
Lara's Crafts wooden Cup, Doll Head & Wings
Plaid-FolkArt Paint in Georgia Peach & Black
Optional: Black Marker
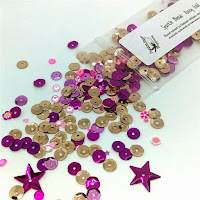
Jewels - Recollections Brand in Emerald
Aleene's Tacky Glue & Hot Glue Sticks
Tools: Paint brush, Hot glue Gun, Scissors


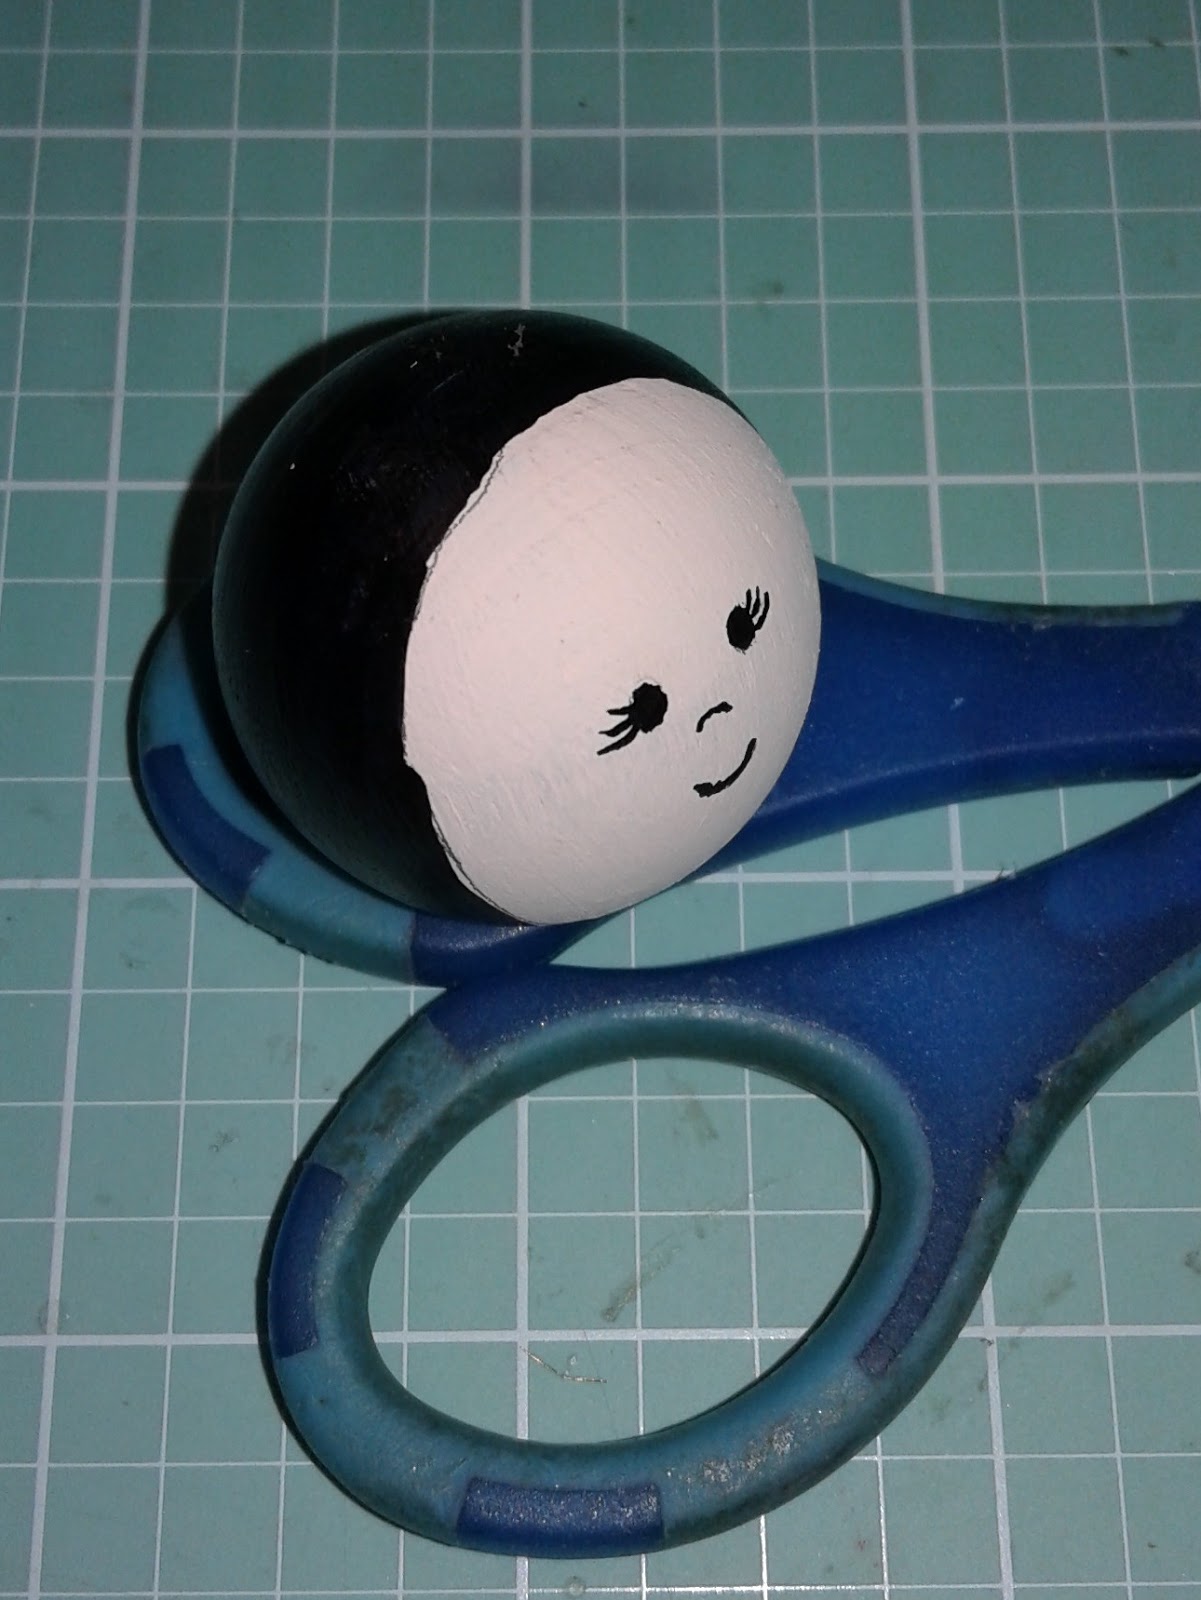
Step 1: Paint the doll head in Georgia Peach. I used a black marker for the eyes and hair - however you can use black paint. Set aside to dry.


Step 2: Trim the Rinea Foil Paper into the following sizes:1 - Ruby Starstruck in 1-1/2" x 6",
1 - Emerald Starstruck in 1" x 6", 1 -Silver in 2" x 4" and 3 -Gold Startstruck in 1/4" X  5"

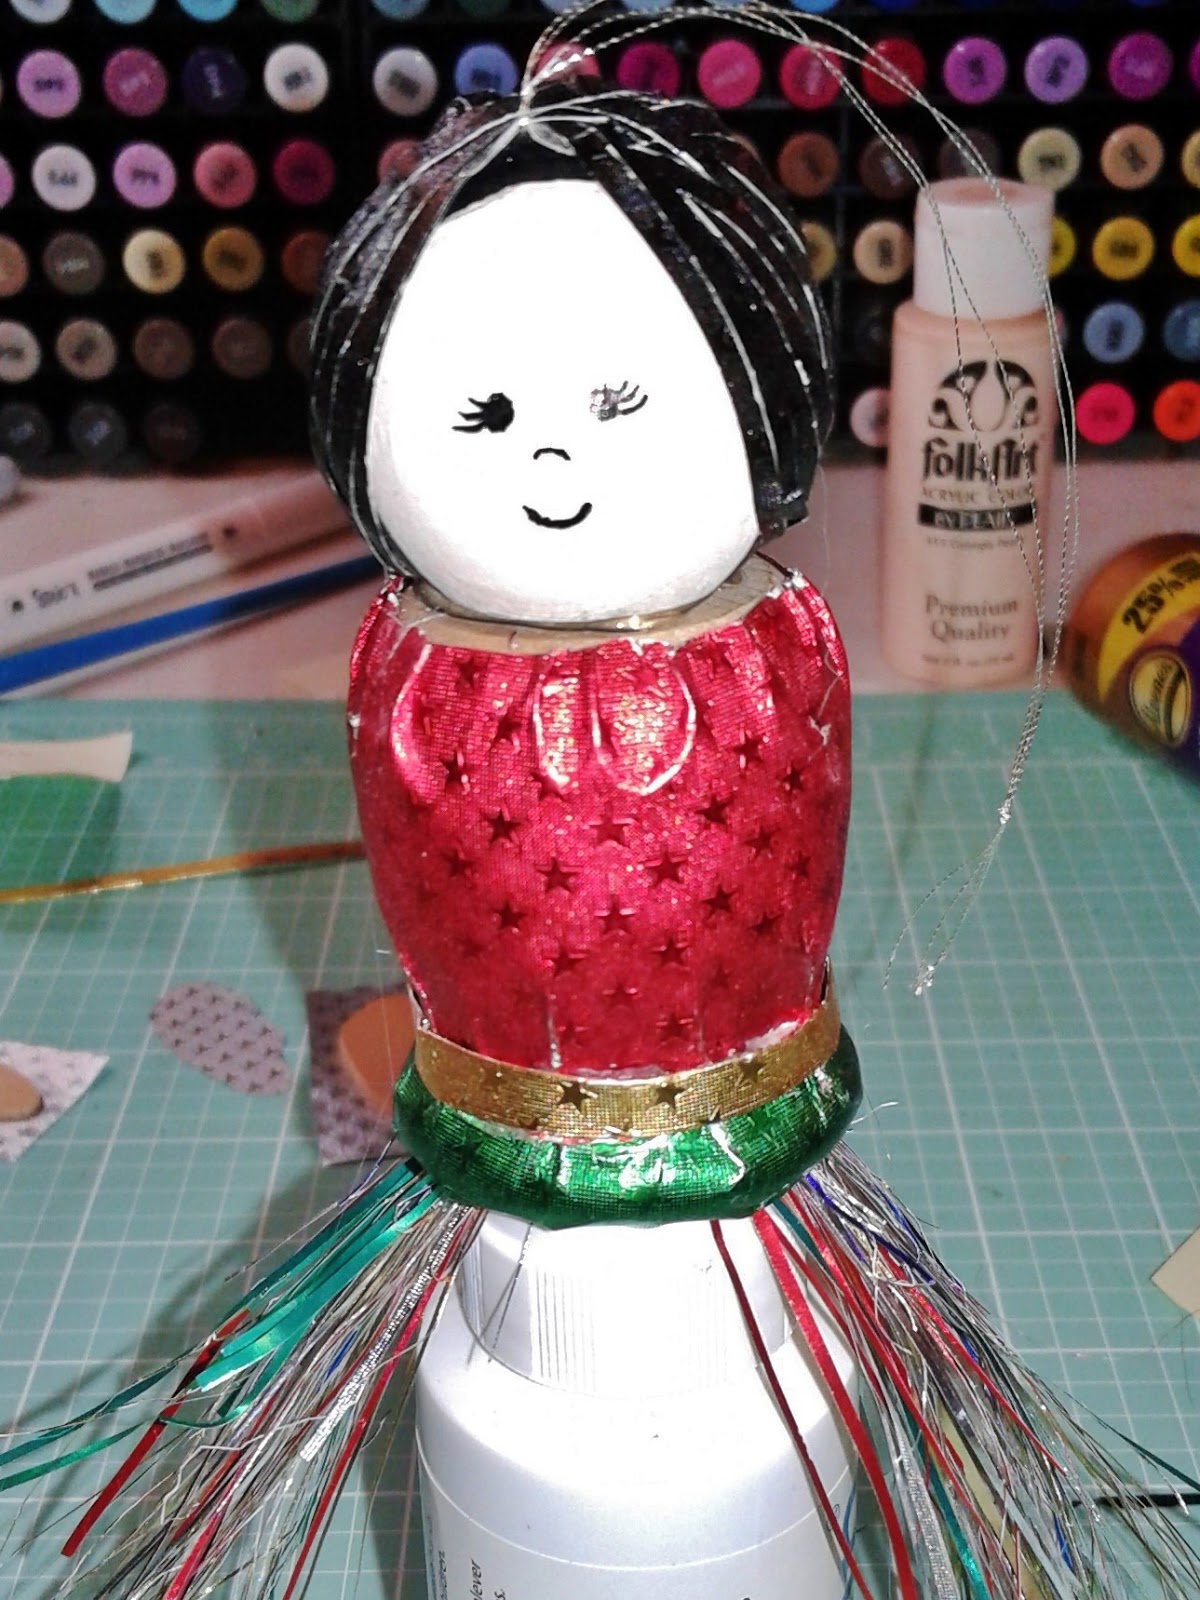
Step 3: Cut small slits into the Emerald starstruck Foil Paper on one side - this will make easier to adhere the paper to the wooden cup. Run a bead of glue at the bottom curved part of the wooden cup. Slowly work the paper onto the cup.


Pressing firmly to make sure the paper adheres to the cup. You can use hot glue on this part making sure not to put to much glue and being careful not to burn yourself.


Step 4: Repeat the above process but no need to cut slits into the paper. Using the Ruby Starstruck paper adhere it to the cup. Next, Take one of the Gold Starstruck strips and adhere it to the cup. covering the seam between the Emerald and Ruby Starstruck papers. 


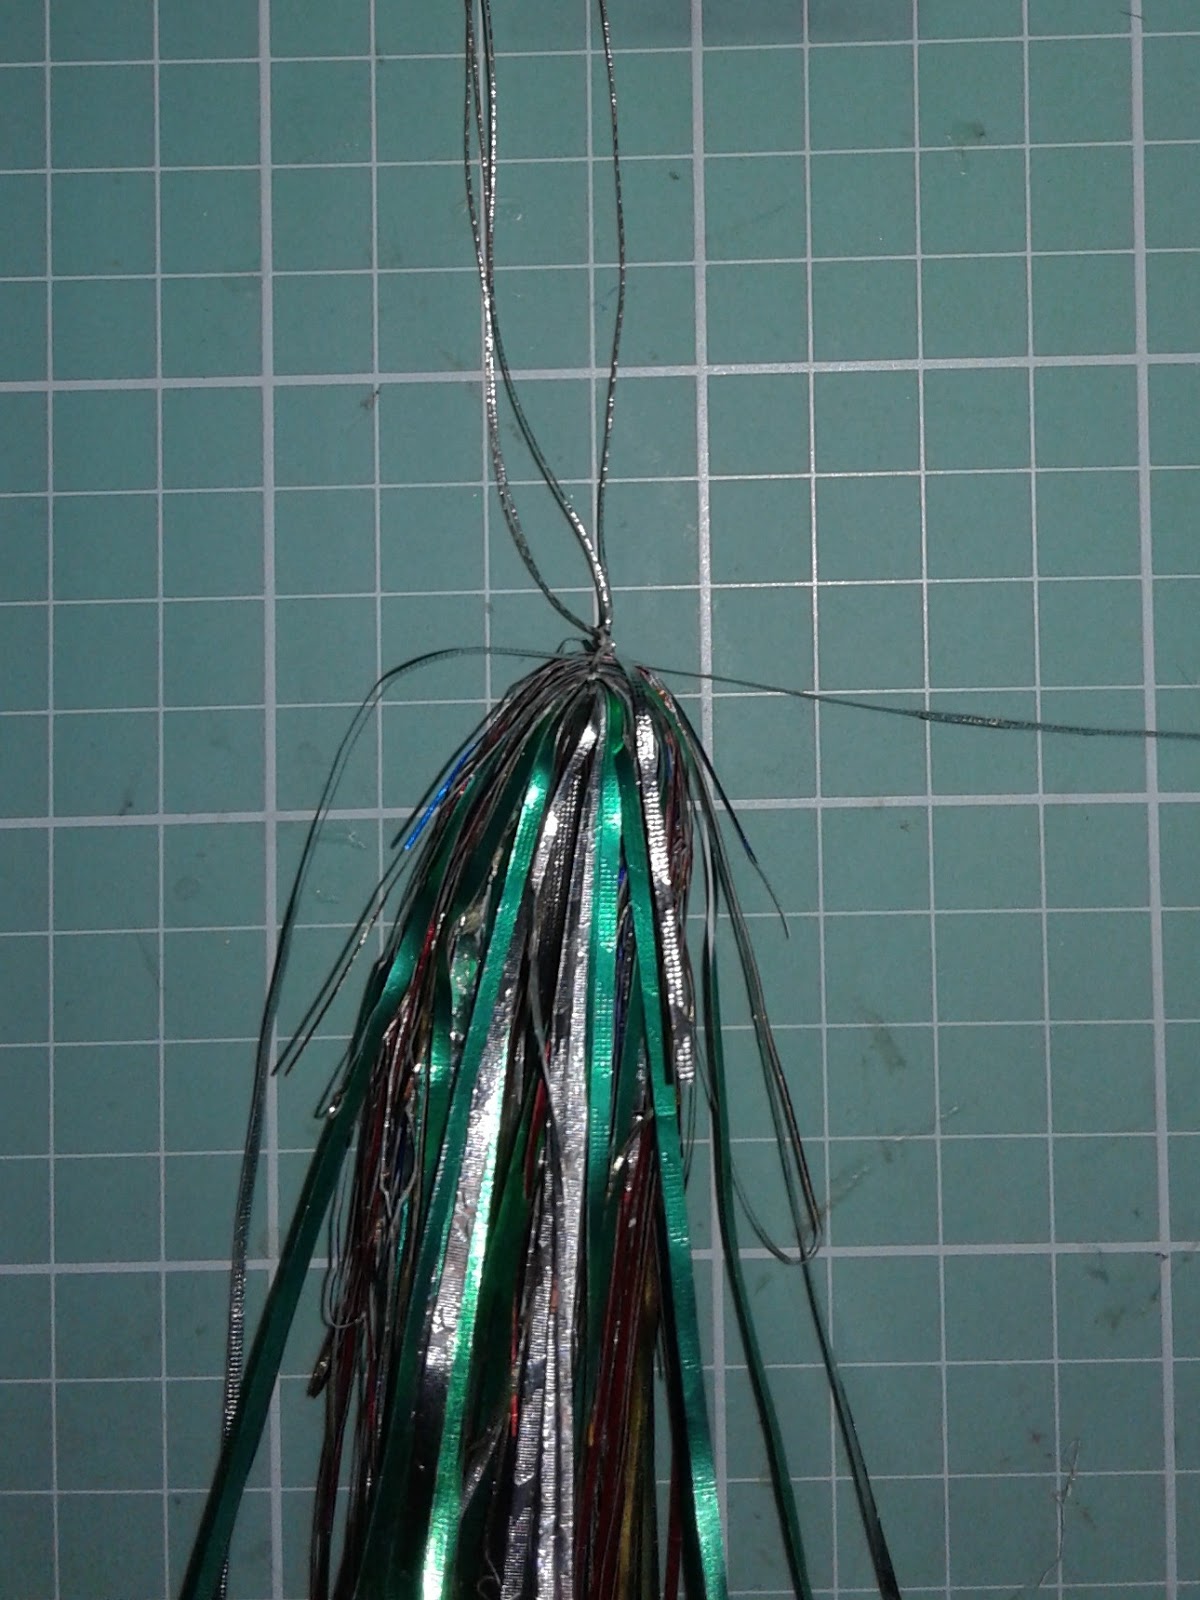
Step 5: Creating the Angel streamers - Rinea sells the thin pieces of foil on their Creativity Kits in the kit they are called Foil Shreds. I took some of the Foil Shreds - mostly the Silver, Gold, Ruby and Emerald - tied them in the center with 4" of Metallic thread - sort of creating a tassel.


Then, I insert the streamer aka tassel into the cup and glued it in place with a bit of hot glue.

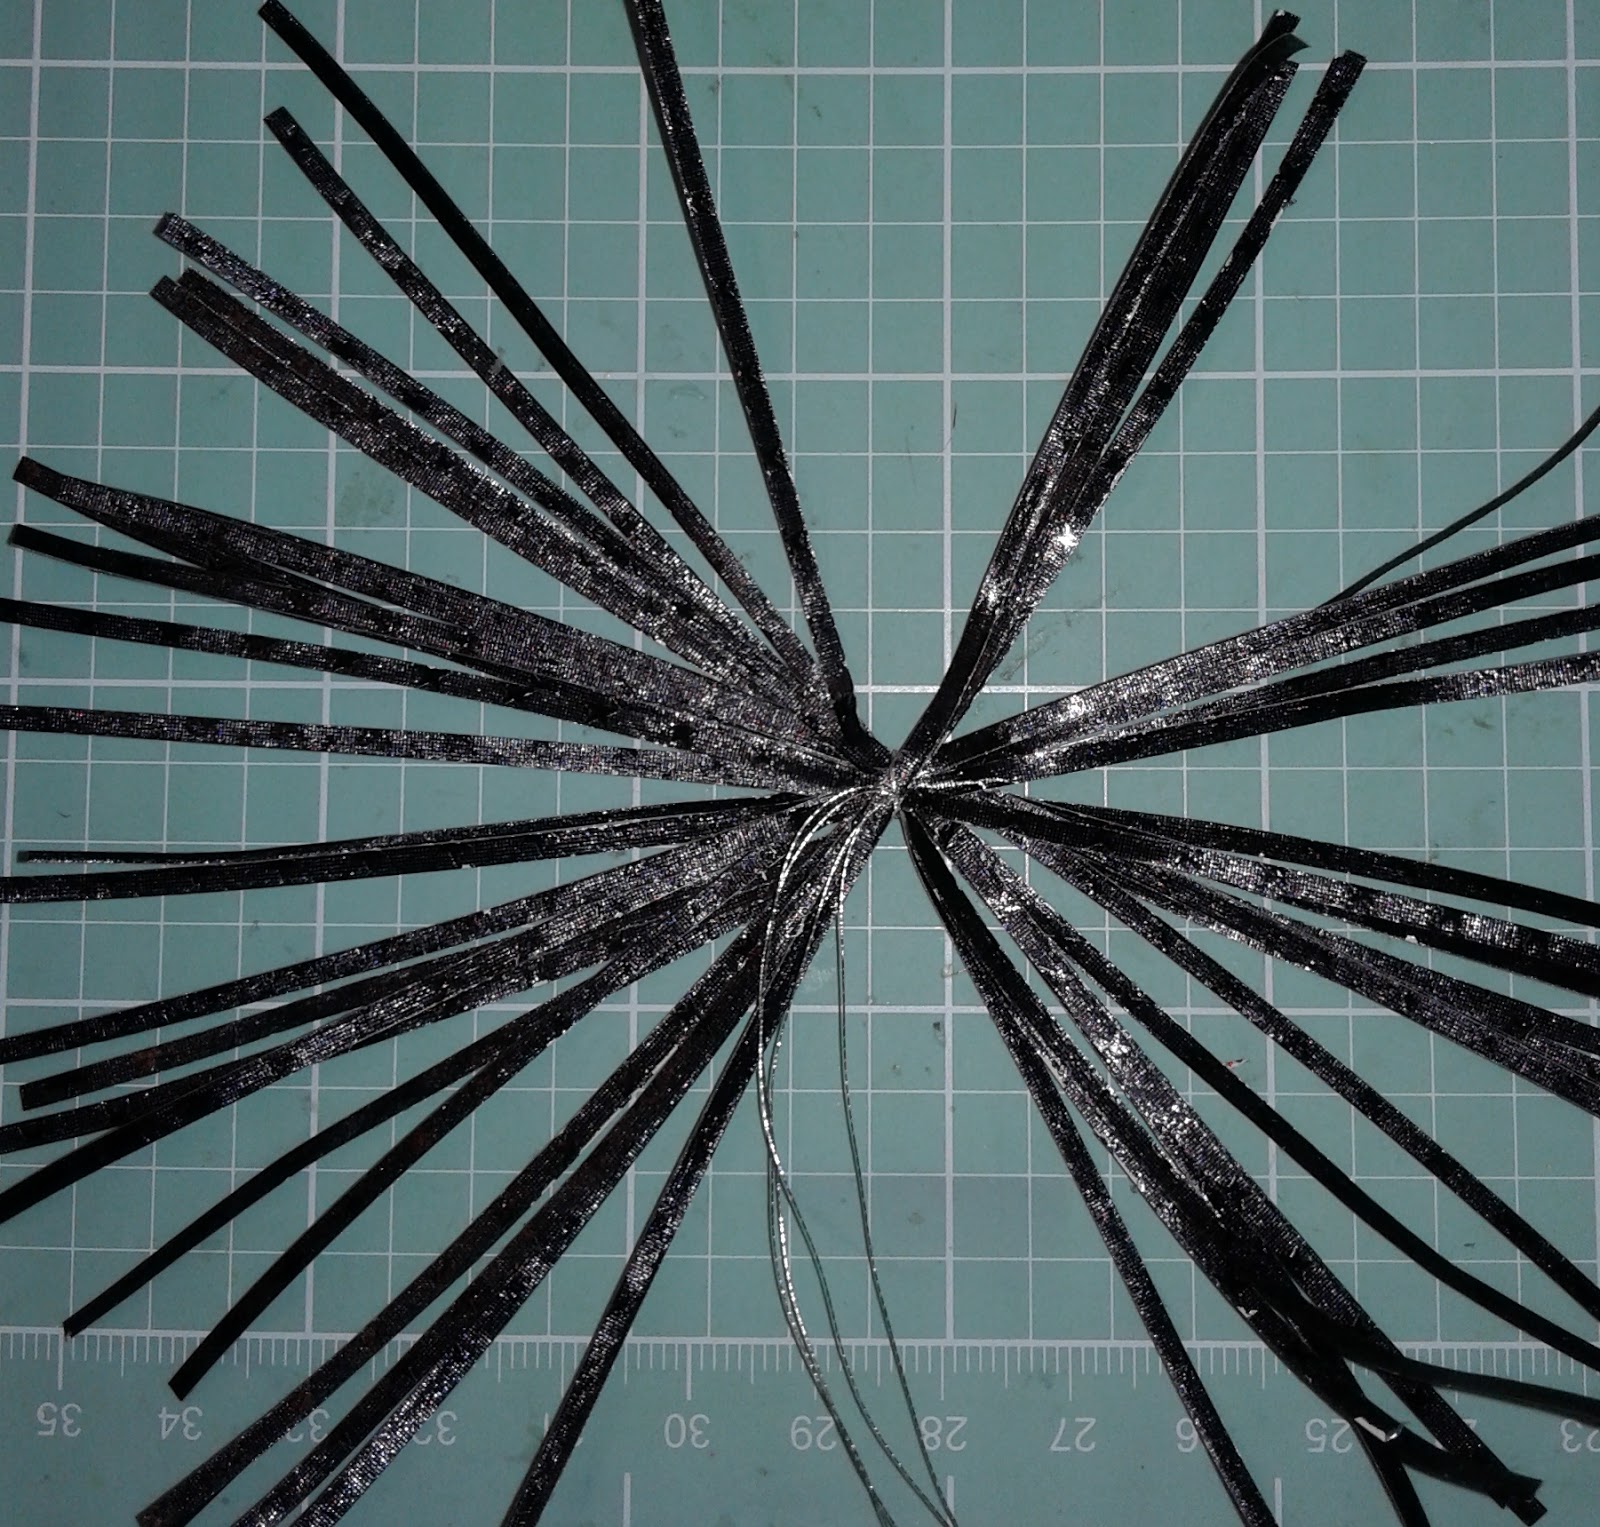
Step 6: Creating the Angel's Hair:  I repeated the steps above to create the tassel - this time using some Ebony Starstruck Foil paper and 8" of metallic thread. Then, spread the Foil paper out a bit so that it's easier to place on the doll head. Adhere with a bit of  hot glue. Tie off the making sure to tie off the ends to create a hanger for the angel.


Step 7: Halo - Taking the another Gold Starstruck piece of paper fold the edges onto the back of the paper so you have a thin piece of paper and nice edges. Glue the ends together forming a circle. *Note: you can use a brush, or bottle to keep the halo's shape - I used the top of my stamp cleaner solution.  Next, Glue the head onto the body of the angel.


Slide the halo over the hanger and place on the Angel's head.


Step 8: I again took another Gold Starstruck Foil paper and repeated the steps of folding the sides in so I would have a nice clean edge. I then glued it onto the Angel's neck to cover the glue and open edges of the Ruby Starstruck Foil Paper. 

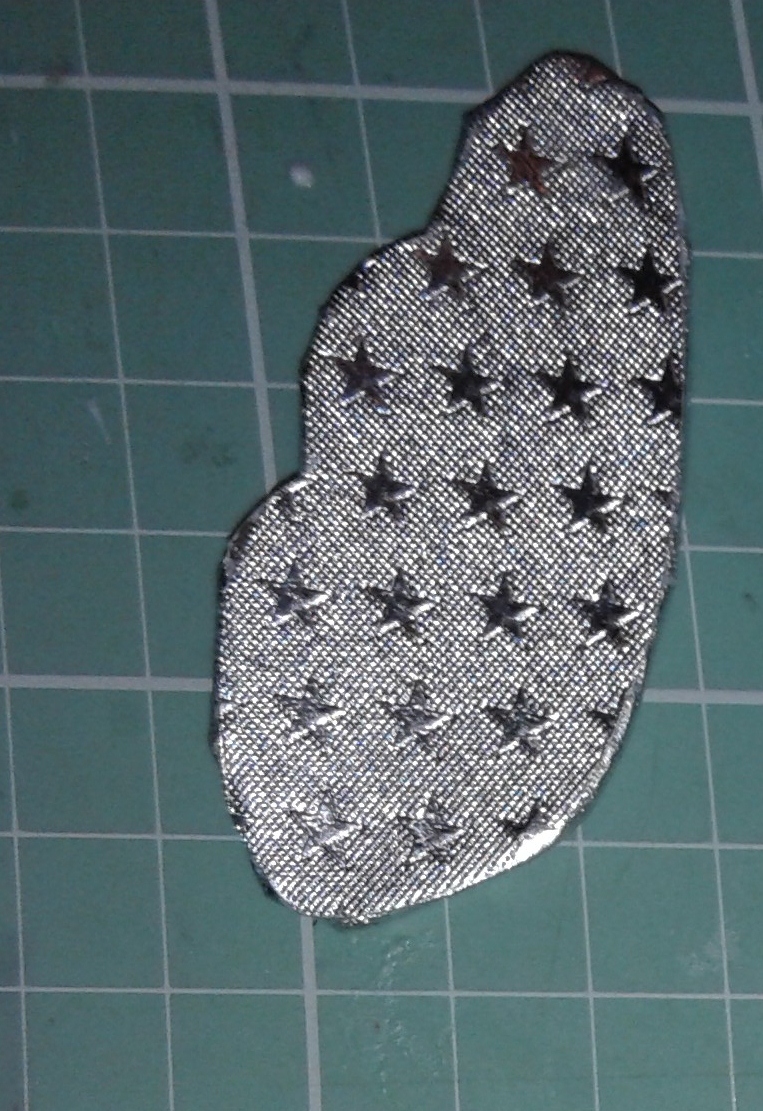
Step 9: Wings - I traced the wings on to the Silver Starstruck Foil Paper trimmed and set aside. Then, I adhered the wooden wings onto the Silver Starstruck Foil paper, trimmed both wings leaving a bit of the paper so that I could bring it up to the sides of the wings. Next, I added a bit of  adhesive the edges and pressed into place. Smoothing the edges with my fingers. Then, I adhered the trimmed Silver Starstruck Foil paper wing on top of the exposed wood wings. Now both sides are completely covered with the Silver Starstruck paper. Next, Adhere to the back of the Angel using a bit of hot glue - making sure to move the hair and place the wings under - because we all know how annoying it is to get your hair tucked onto things.


Step 10: Finishing touches - Next, I adhered a small Emerald gem to the center of her gold necklace I created. Fluffy her streamers. 


Now your Angel ornament is complete! 
Hang her on your tree, gifts or anywhere you like to decorate for the holidays.


Thank you for stopping by today.
Be sure to stop by the shop and stock up on all the beautiful Rinea Foil Paper. 
If you create a project using our wonderful Foil Paper please tag us on social media @rineainspires