Tuesday, January 15, 2019

Valentines's Day Card with The Robin's Nest

Hello Crafty Friends - I am here with a quick Valentine's Day Card.


This is a standard A2 card with a lot of glitz and not so much work. Let's get started.


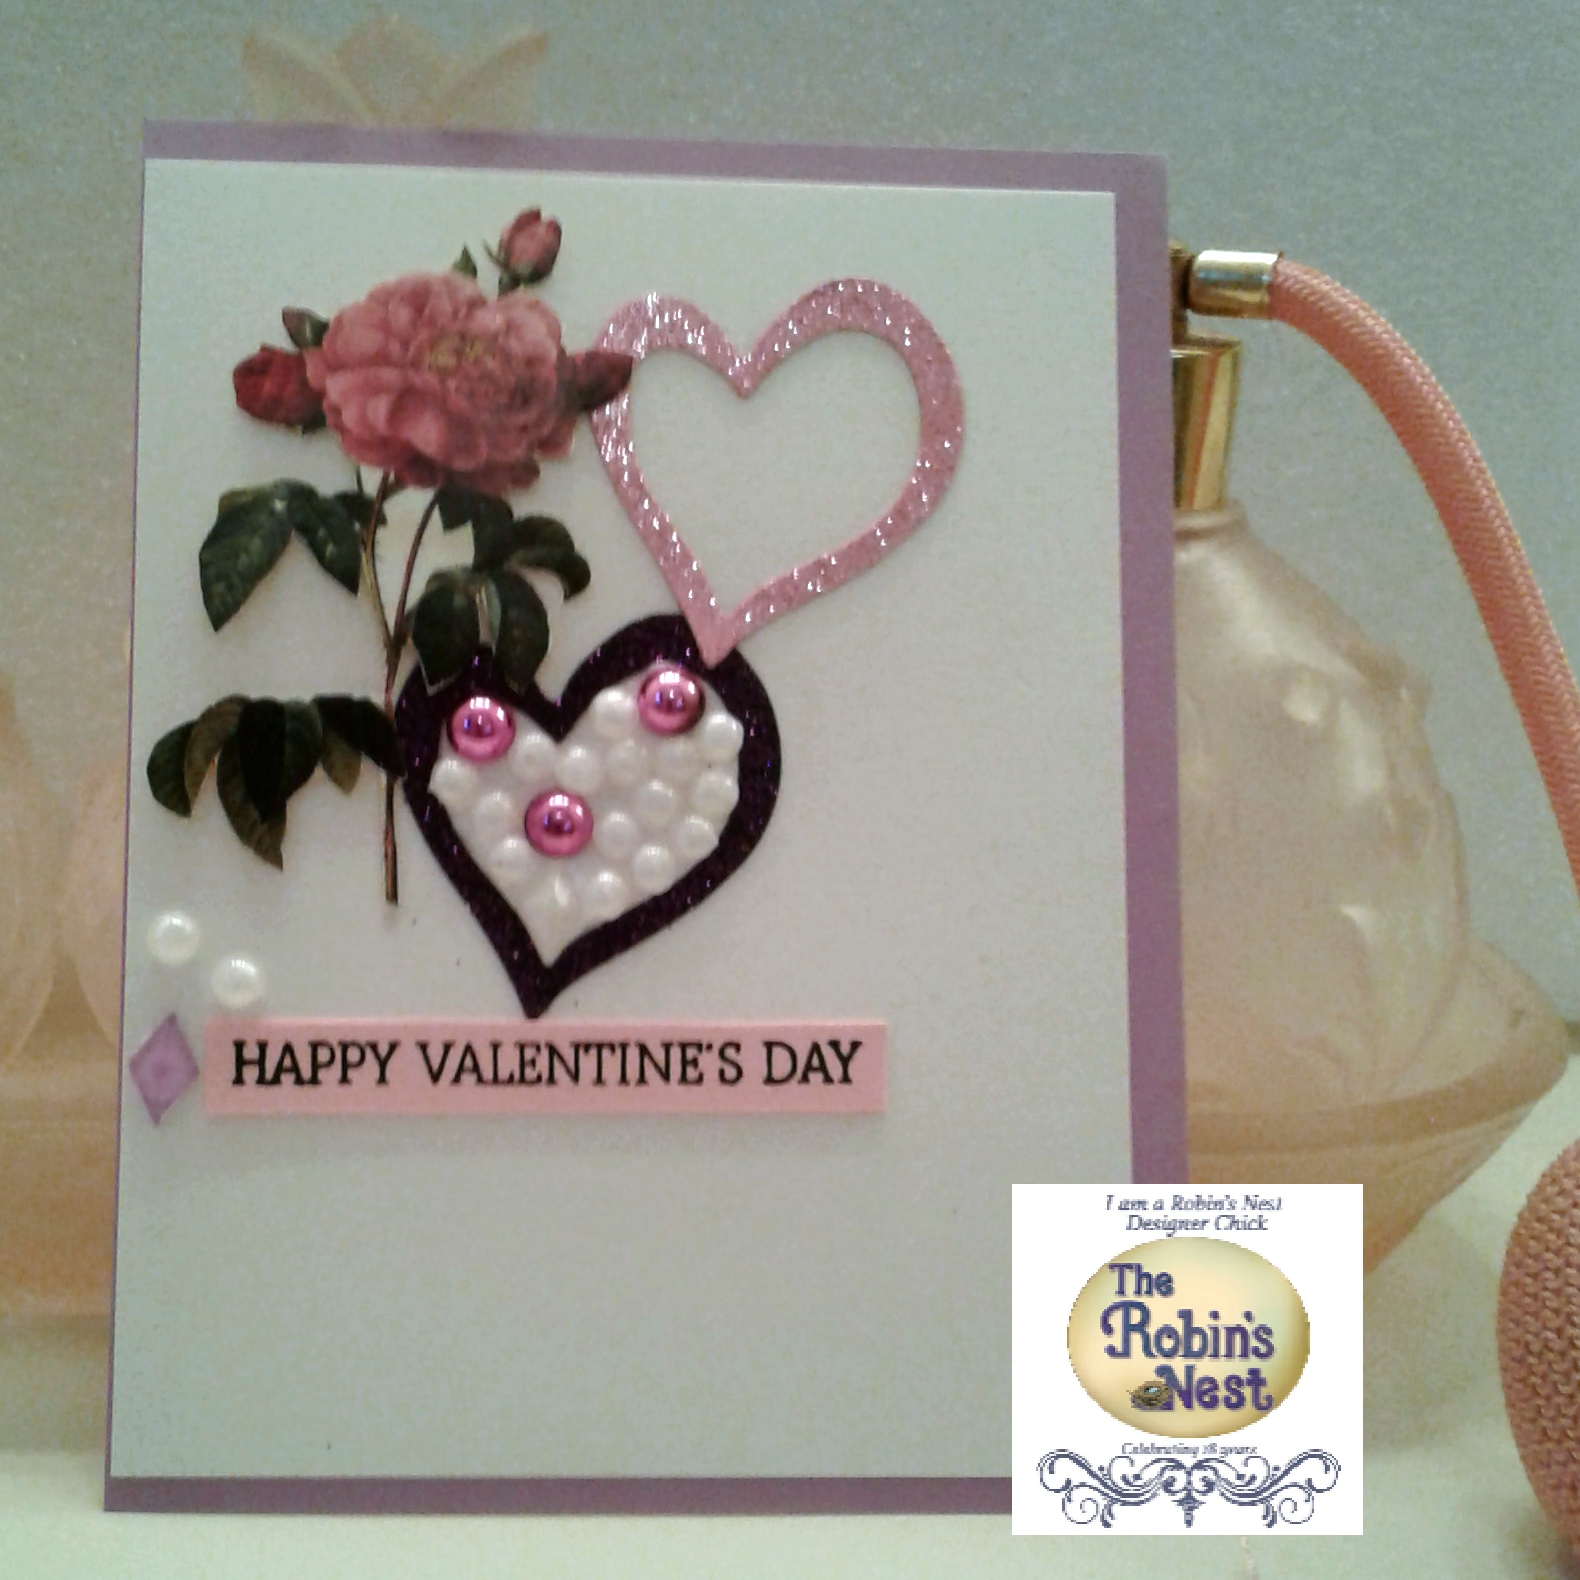
First, let's gather our supplies. Then, die cut 2 hearts I used an oldie but a goodie the Double Heart by Sizzix. I die cut them from the Glitter Chipboard. I only used the outer heart - saved the inner hearts for a later project. Next, I trimmed the ephemera rose from the card.


Then, I figured out my placement on the card front panel. I decided to place the rose and hearts towards the top left. I then trimmed the card front panel to 4" x 5-1/4" I adhered the card front to a medium purple cardstock all the way to the left leave a pop of color on the right.


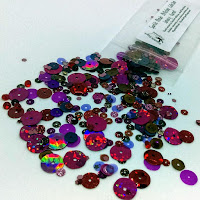
Next, I add the Dew Drops in the Purple Glitter Chipboard heart. I started with the Pearlescent Diamond at the bottom of the heart, then I added the shiny Fushcia Dew Drops 3 in total, next I filled the remaining space of the heart with Pearlescent Dew Drops. I then adhered the Pink Glitter heart just above the Purple heart. I left it unfilled so it would give a nice light feeling.

Next, I stamped the sentiment onto Light Pink cardstock and adhered it with a bit of low profile foam adhesive. For a finishing touch, I added 2Pearlescent Dew Drops and 1 Translucent Purple Diamond Dew Drop next to the sentiment. I adhered the front panel to the card base and the card is complete.


Supplies Used:

Sun Shower Tear Drops

Black/White/Silver Dew Drops

Precious Boy Diamond Dew Drops

Shimmer Diamond Dew Drops

Pink Glitter Chipboard

Plum Purple Glitter Chipboard

Saffron Cards

Other:
Recollections Brand: Heavy Weight Cardstock in
 Cream, Light Pink and Medium Purple

Sizzix Brand Die: Double Heart

Hero Arts Stamps Love Stamp DC175

Versafine Ink: Onyx Black

Tools: Trimmer, Scissors, Jewel Picker

Thank you for spending some time with me today here at the Robin's Nest Blog.
 Be sure to share with us if you create a  Goals Notebook of your own. 
Have a Great Crafty Day!!
Stop by and visit us at Robin's Nest StoreFacebook  & YouTube

Friday, January 11, 2019

Love Layout With Rinea

Hello Crafty Friends - Annie here with a layout featuring


I created this for my daughter and her fiance.

This is a simple layout.

 I die cut several of the Starstruck foil paper hearts in Fuchsia, Ruby & Blush as well as Glossy Silver foil paper hearts. I used a Fiskars border punch on Starstruck Lavender Light Foil Paper. 

I cut the pattern paper using the different sides of the pattern paper into 3" strip and a 4.5" strip. I cut 2 strips the Starstruck Lavender Foil paper 2.5" wide and 12". I did cut off about 1/8" off all the papers to create a border on the top and sides. 
I then adhered the papers starting at the top with the light grid paper. Then the border strip, followed by the pink stripe paper, finally followed by the other border strip.

I then arranged the heart where I wanted them from large to small. I used a bit of repositionable glue to hold them in place. I then used my sewing machine add then stitched on to the layout; using metallic silver thread - I love that Rinea Foil Paper is strong 
enough to be stitched on.

Next, I matted my photos. the larger one onto Starstruck Fuchsia foil paper and the small one onto Starstruck Silver foil paper. Then, I layer the small one onto Starstruck Fuchsia foil paper. I then added a few stickers, die cuts and puffy hearts. Making sure to layer and stuck them behind the hearts and photos. I also added a journaling card which I fishtailed. I added a thin strip of Starstruck Fuchsia foil paper to the right side along with some tiny Glossy Silver foil paper hearts then I stitched them onto the card.

I hope that you using Rinea Foil paper on your next layout. Stitch on it, die cut it or use some punches. Rinea Foil Paper is perfect for all your project needs.

Thank you for stopping by today!  
Be sure to stop by the shop and stock up on all the beautiful Rinea Foil Paper.  

Monday, January 7, 2019

Some Bunny Loves You with Doodles Paper Playground

Hello Crafty Friends - I am here with a cute Valentine's Day card.

I am using the beautiful Sparkle Blend - called January Garnet
This Birthstone collection is stunning.
Garnet is a vibrant combination
of gorgeous burgundy, bright red, magenta
purple, brown and pink in a wide variety of sizes
and shades sequins. This Blend shimmers and
changes as you look at it, Just like the facets of the Gem it's named after.


So, let's get started.

First I gathered the materials I needed for the card.

Supplies used:
Lawn Fawn - My Silly Valentine Stamp Set _ Sentiment and Hearts
Beautiful Moments Stamp Set by Angela Poole - Bunnies
Flourish Heart Die (was gifted to me - I don't know the brand)
Recollections Brand heavyweight cardstock in white & Pink
Acetate or Clear plastic (from packaging)
StazOn Ink - Jet Black
Memento Ink - Tuxedo Black
Spectrum Noir Markers
Gelly Roll Gel Pens - Black & White
Jot Brand Foam Adhesive Thick and Thin
Stotch 3M Tacky Glue
Tools: Scissors, Trimmer and Tim Holtz Stamp Platform


 I started by die cut the flourished heart into the white cardstock making sure not to remove it from the cardstock - if you do just return the pieces. I then adhered the acetate to the back of the die cut heart. I then turn it the panel over and trimmed a 1/4" all around the white panel. Next, I stamped the sentiment in the center of the heart. Set aside to dry.


I then stamped and colored the bunnies. I then fussy cut them out. 
Next, I added some details with my black and white gel pens.
Then, I flipped the white panel over and added some foam pads
making sure to place them really close together around 
the heart so that the sequins don't spill out.

Then, remove all the cover off the foam pads, Next, make a small pile of sequins on the pink cardstock. Then, gently place the white panel over it. Press down making sure that the sequins don't get trapped in between the foam pads.  For a final touch, I stamped some hearts on the white panel.
Now, the card is complete!


Thank you for stopping by today. Be sure to tag us Doodles Paper Playground on social media if you create a project with our Sparkle Blends. All of our Sparkle Blends can be purchased on the White Rose Crafts LLC Website.

Tuesday, January 1, 2019

Goals 2019 Notebook with Robin's Nest

Hello Crafty Friends - I am here with a quick notebook for your Goals for the New Year!

This is a quick notebook for you to take along and jot down your notes or goals for the day.


So, Let's begin the project. - I like to break it down into a few steps.

1. Next, Trim the 12" x 12" White heavy weight card stock into 3-1/2" x 11-3/4". Save the remaining card stock for another project. 

2. let's score the cover for our note pad. Using a scoring board or a trimmer channel - using the bone folder - score at  5" & 5-1/4".  Then at 10-1/4" & 10- 3/8". Next, crease the score lines - using the bone folder.

3. Apply a bit of gesso to your cover. heat set or air dry (I heat set). Then, spray some Heidi Swapp Color Shine, Tim Holtz Distress Stain Spray. Heat set to dry. 

4. Adhere the pad into the cover. Place adhesive of choice on the back of the note pad and the creased section of the cover. I added an extra piece cardstock to the inside of the cover as well as to the bottom closer.  Press firmly. Next, push on the crease so the top of the note pad really sticks to the cover. I use the bone folder to press it. Plus, it give it a nice crisp look.


5. Now, Adhere the Tear & Dew Drops to the cover creating a flower. Each flower will require 6 Tear Drops and 1 Dew Drop per flower. Then, an adorable Butterfly just under the top flower.  
Next, add sticker letters and washi tape. Note* - Add a bit adhesive to the stickers and washi because of the gesso & sprays. Then, adhere the doilie die cut to the bottom right. Then, add the number stickers, the trimmed Chipboard Saffron Card and a bit of washi. Trim off anything extra.


6. Now, for the closer - I peel off one Velcro tab and center it onto the other - stacking them. The Velcro has strong adhesive this is why I only expose one side first - I then center the Velcro stack onto the lower tab - press in place - then remove the remain plastic backing and press the lower tab closed.


You now have a very Goals Notebook - prefect for a gift. You can modify this tutorial using more masculine design with the Dew Drops. 

Supplies Used:

Black/White/Silver Dew Drops

Sea Glass Tear Drops

Sun Shower Tear Drops

Butterflies Dew Drops
Doillie Die Cuts

Saffron Cards

Dew Dew Glue
DCWV -Canvas Cardstock
Recollections Cardstock - Blue 
EK Success - Letters & Numbers
Tim Holtz  Distress Stain Spray - Cracked Pistachio
Heidi Swapp Color Shine Spray - Teal
Doler-Rowney Gesso

Velcro Fastener - I purchased mine at the Dollar Tree Pack of 12

Tools: Score Board, Bone Folder, Trimmer & Scissors

Adhesive - Scotch adhesive


Thank you for spending some time with me today here at the Robin's Nest Blog.
 Be sure to share with us if you create a  Goals Notebook of your own. 
Have a Great Crafty Day!!
Stop by and visit us at Robin's Nest Store, Facebook  & YouTube

Sunday, December 30, 2018

Happy New Year Card with Dies R Us

Hello Crafty Friends - I am here with a New Year card. 
I think everyone would love a card to ring in the new year.

This card is a die cut inlay design. 
It's pretty easy to make and you can cut all your paper ahead to create lots of the same card just in case you have lots of friends and family you would like to send these out to!


Let's get started!!

First, I die cut the Flute glasses, champagne bottle in the ice bucket from white cardstock, holographic foil paper. I also die cut the champagne bottle in the ice bucket from red glitter cardstock.  Making sure to save all the pieces.

I trimmed white and black cardstock to A2 panels. 
I then trimmed the white panel down by a 1/8" so to create a border around the card front panel. 


Next, I adhered the flute glasses and the champagne bottle in the ice bucket to a black cardstock card front using the white cardstock I die cut the items from for placement.  I then used the red glitter die cut to place the labels on the bottle and the bow on the bucket.


Then, I added foam adhesive to the white cardstock and place it onto the card front panel.


Next, I die cut the words Happy New Year 2 times from plain black cardstock and once from Black glitter cardstock. Using some adhesive between - I stacked the words. Adhered them to the card front panel on the top left.


Next, using some dimensional silver stars I added some in two clusters for a finishing touch.
Then, adhered the front panel onto a card base.

Now, the card is finished!


Supplies Used:
Dies
Yvonne Creations - Champagne


Elizabeth Craft Designs - Happy New Year

cardstock & Paper
Recollections Brand - Black & White
DCWV - Red Glitter Cardstock
Jot Brand - Holographic Silver Paper


 Don't forget to come join in the fun at the Dies R Us Challenge Blog. There's a new challenge theme offered on the 1st and 15th of each month and one lucky randomly drawn winner will receive a gift voucher prize to the Dies R Us Store. For your convenience, all the important Dies R Us links are provided below.


Thanks for stopping by and have a great day!