Tuesday, February 12, 2019

Just Because Card with Doodles Paper Playground

Hello Crafty Friends - Annie here with a simple card to say Just Because to any friend or family member that may need a bit of a pick me up.

I used the soft Spring Fling Sparkle Blend for this card. 
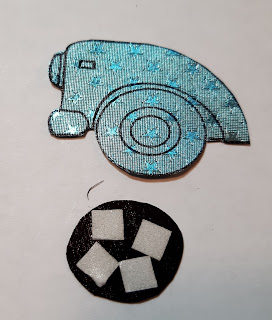
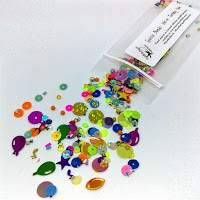
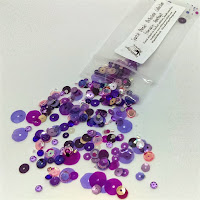
With a beautiful base of pastel pink, lavender, green, light gold & blue, metallic cup sequins and a generous amount of tiny pastel heart confetti, Spring Fling is perfect for all of your spring projects; but we also added a touch of whimsy with pastel colored butterflies and beautiful faceted crystals. 

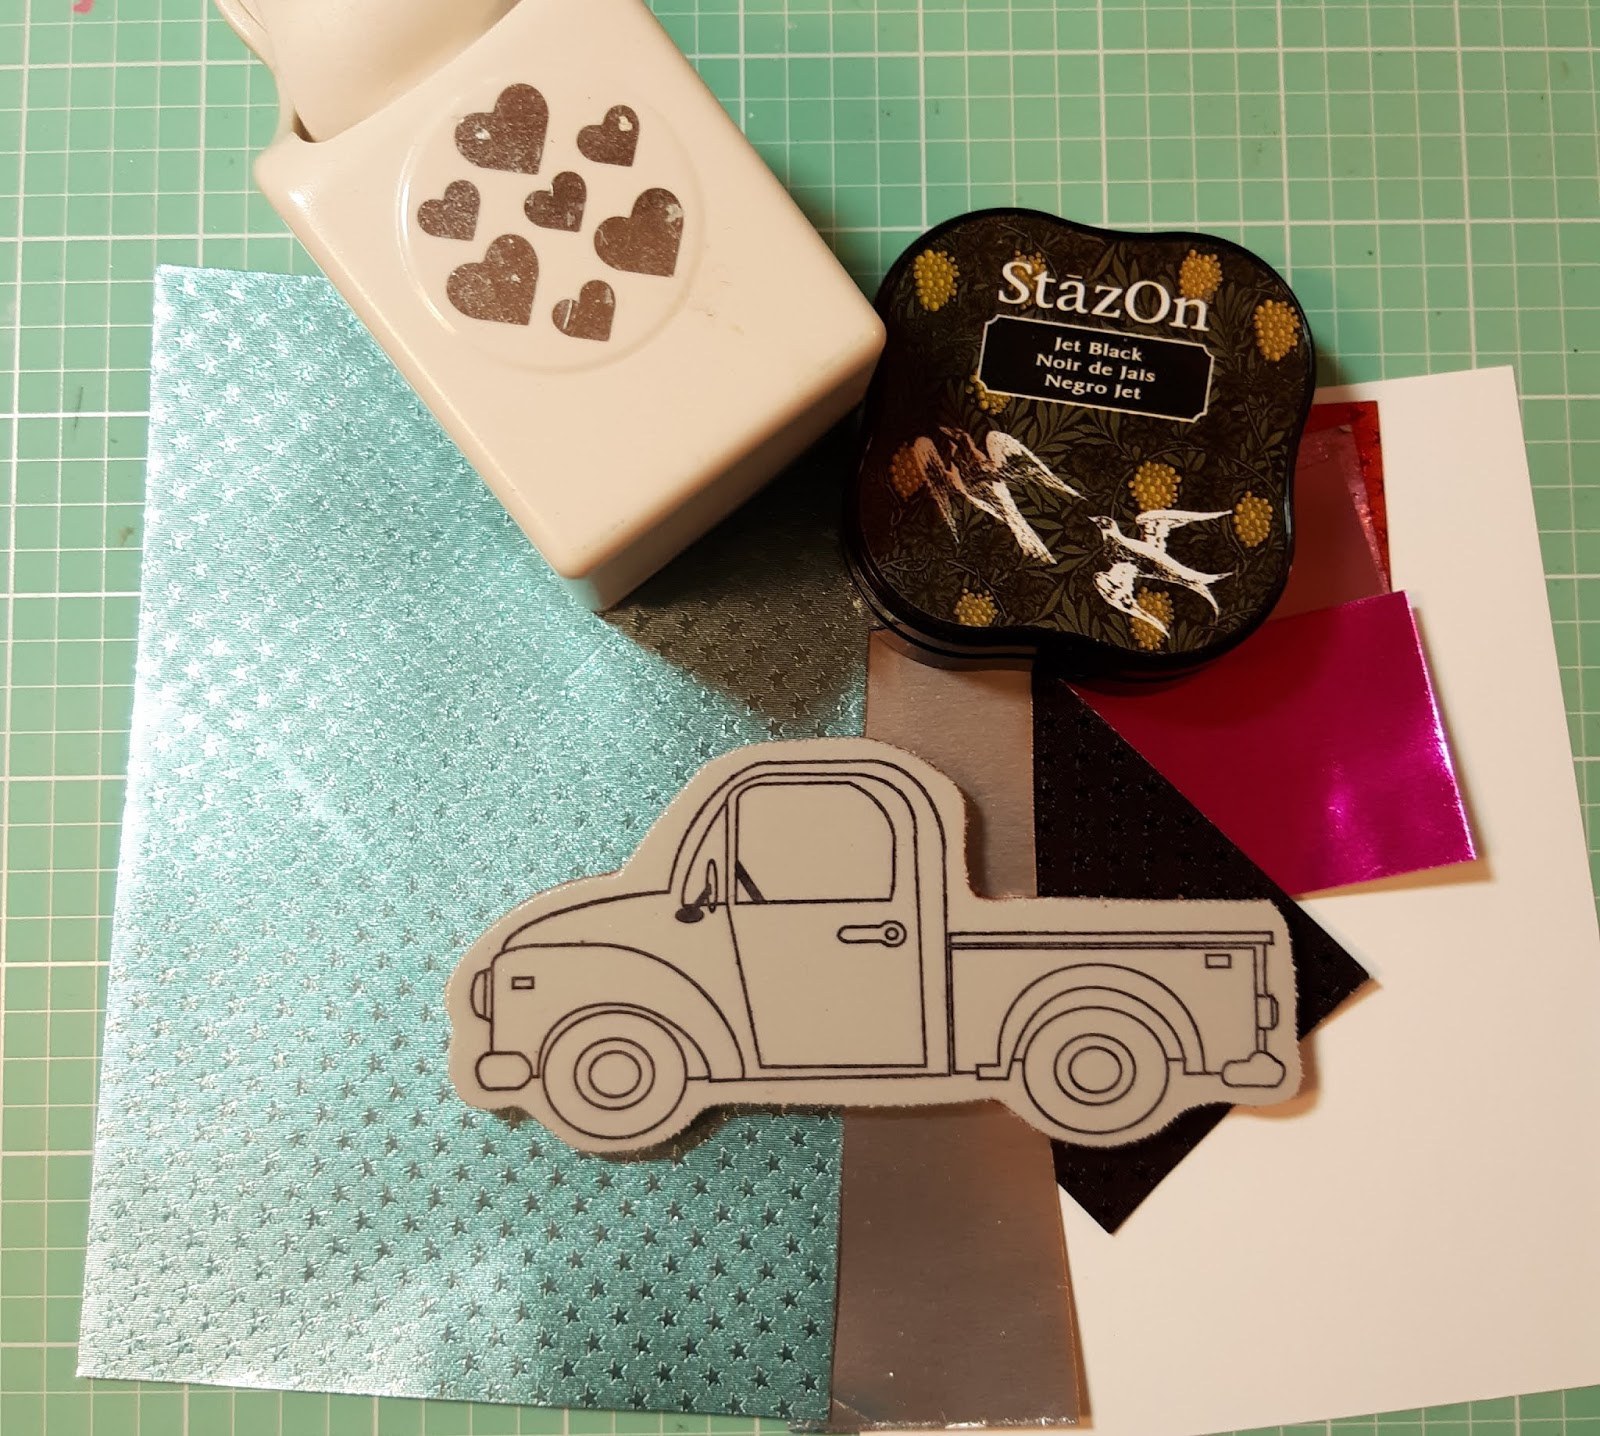
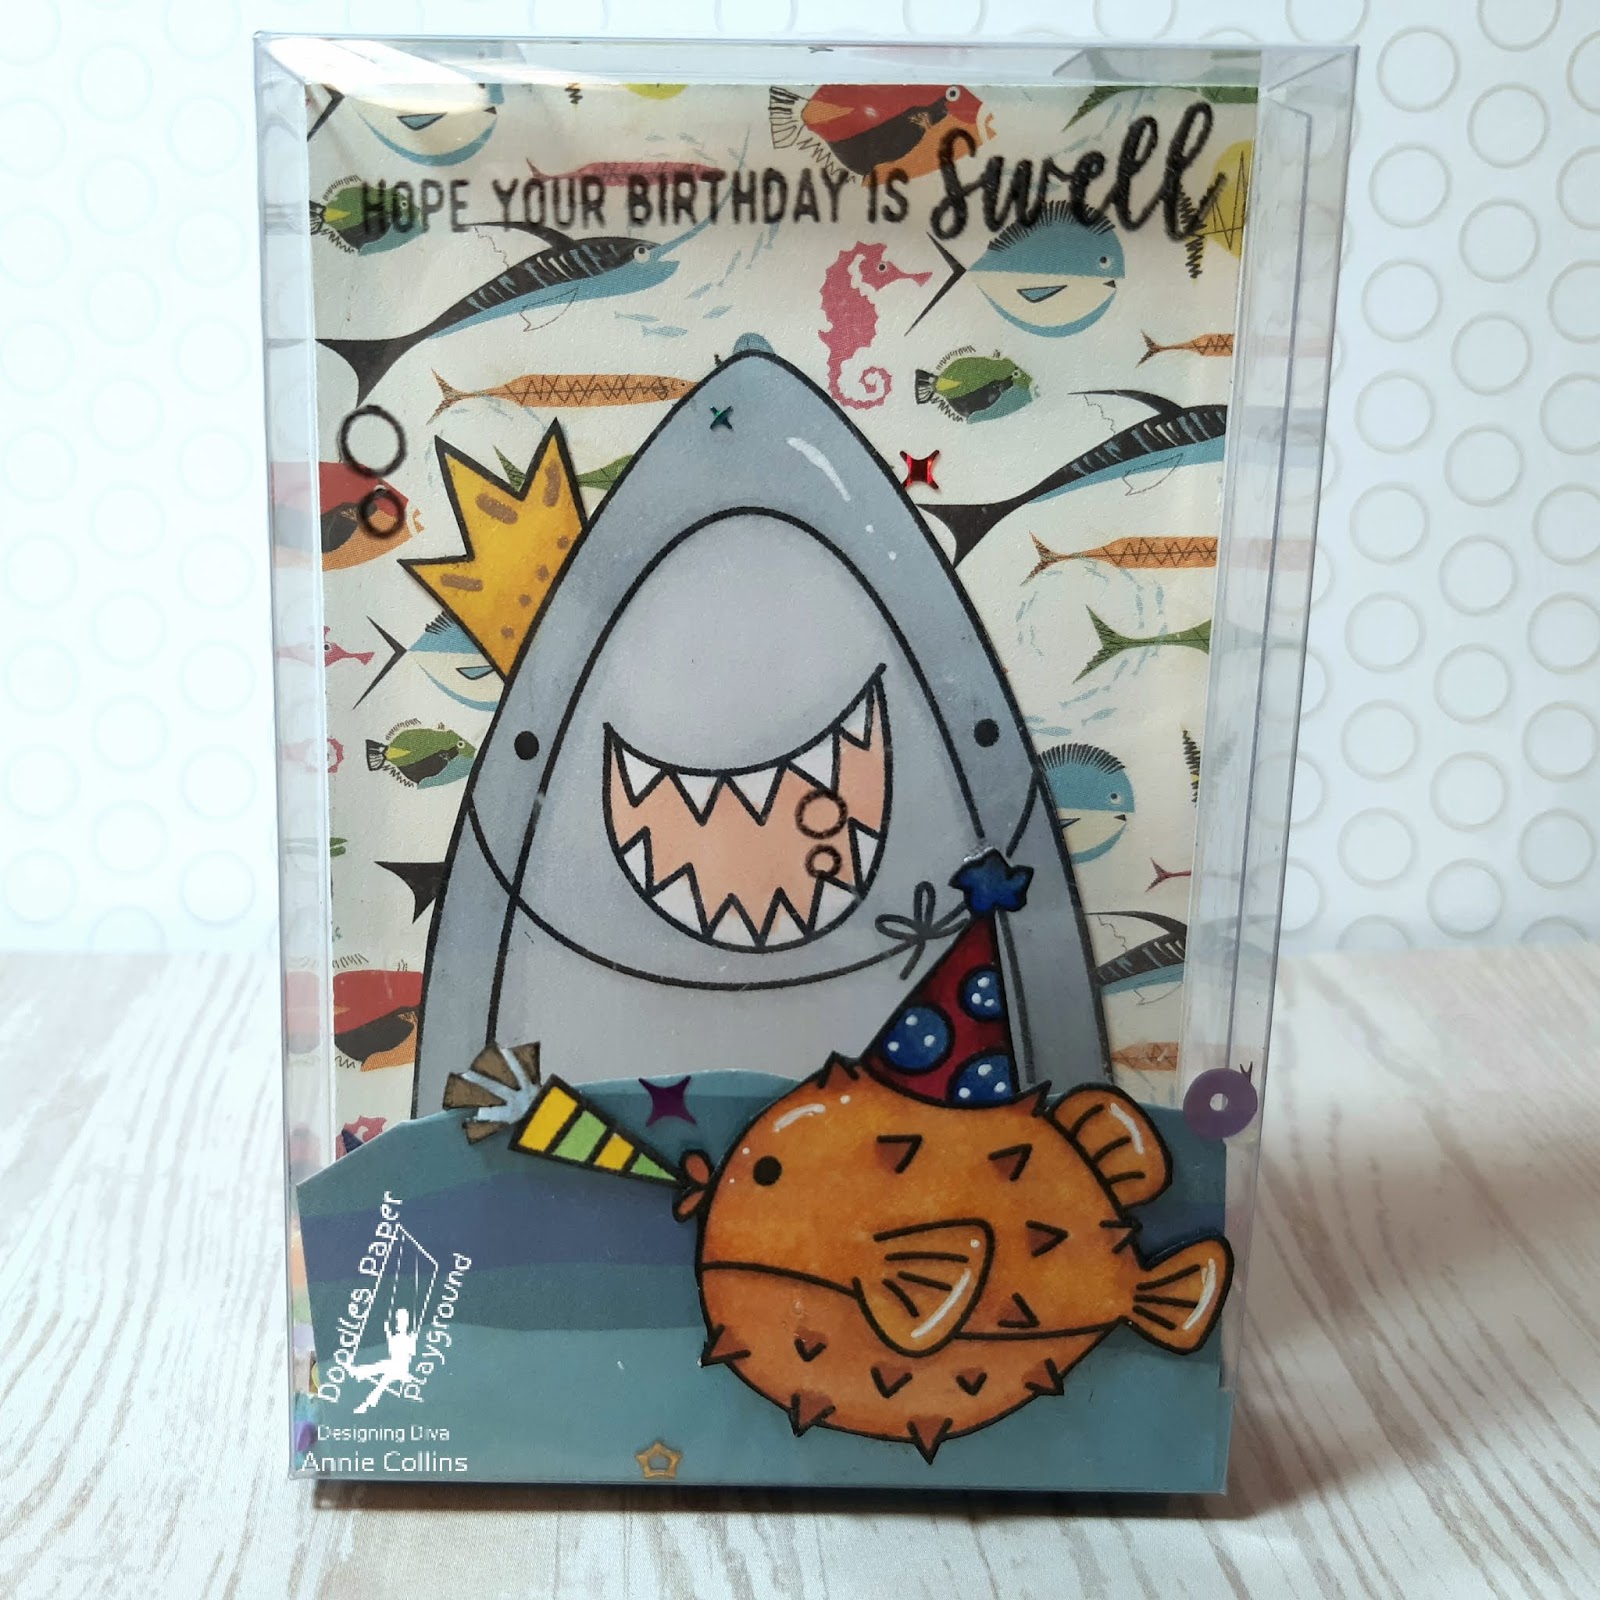
Now, not every card has to be a shaker. I love shaker cards but, sometimes you just need a quick card to send out to brighten up someone's day.

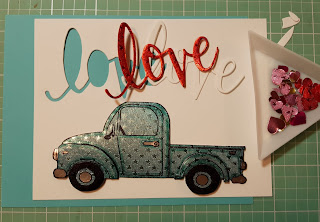
I used a card kit I had in my stash for a bit along with the
Spring Fling Sparkle Blend of Wink of Stella on the roses
I completed this card.


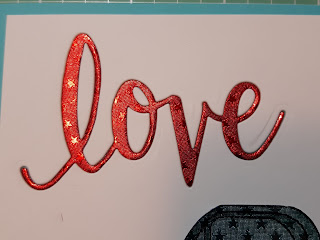
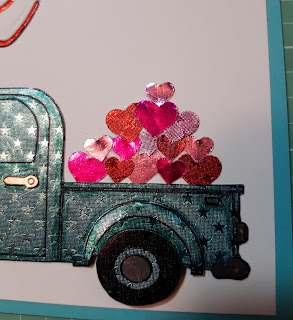
Enlarged to show the Spring Fling Sparkle Blend  and wink of Stella.


Thank you for stopping by the blog today! 

Be sure to tag us Doodles Paper Playground on social media 
if you create a project with our Sparkle Blends.
 All of our Sparkle Blends can be purchased on the 

Monday, February 11, 2019

Love You Truck Card with Rinea Foil Paper

Hello Crafty Friends - I am here with a fun LOVE card for the man or men in your life. Featuring Crackerbox & So Suzy Stamps Truck Side View. It's a simple paper piecing card - perfect if you don't have a coloring medium.
Materials used:
Ink: Tsukineko - Imagine Crafts StazOn Jet Black 
Tsukineko Versafine Onyx Black
Recollections Brand Cardstock: White & Turquoise
Hero Arts Die & Stamp: Love you
Martha Stewart Heart Punch
Adhesive:
3M Tacky Glue
Jot Brand Thin Foam
Let's get started.
I stamped the truck 2x onto the Rinea Starstruck Turquoise foil paper, once onto white cardstock and partially onto Rinea Glossy Silver foil paper with the Stazon ink.
I then trim out the trucks. I use the white as a base to adhere all the other pieces to. I trim apart the Turquoise trucks and the bumpers, headlights, door knob, hubcaps from the Silver truck. I also use a scrap piece of Ebony Starstruck Paper for the tires.
Next, I start gluing the truck back together using liquid adhesive (this allows for some wiggle room) and thin foam adhesive for some dimension.
Next, I die cut the word love into my card front panel. I also die cut the word love from Ruby Red Starstruck foil paper. I did an inlay technique with the die cut word. I also punched a few hearts from scraps of Ruby Red & Blush Pink Starstruck Foil paper; as well as Fushia and Blush Pink Glossy foil paper.
I  matted the white card front panel onto a turquoise card. 

Then, I did the inlay technique and adhered the truck to the front of the truck making sure to leave the truck bed unattached so that I could tuck a few punched out hearts. Lastly, I stamped the word you onto white cardstock and matted it on a scrap piece of Glossy Fushia foil paper added it to the love die cut on some foam tape. 

Now the card is done. 
Be sure to visit So Suzy Stamps

Saturday, February 9, 2019

Hope Your Birthday is Swell with Doodles Paper Playground

Hello Crafty Friends - I am here with a fun Birthday card!

I am using the New Limited Edition We're Turning One Sparkle Blend - However - If this blend is not available then you can use the Birthday Bash Sparkle Blend

I created a shaker box card. I used some clear packaging to make this.  The little puffer fish is on the outside of the card along with the sentiment and bubbles, I used some Stazon ink. The shark is on the inside along some background paper. I place a piece of cardstock on the back not only to cover the adhesive but also for writing the message.


This little video will show you the shaker in action.


Thank you for stopping by the blog today! 

Be sure to tag us Doodles Paper Playground on social media 
if you create a project with our Sparkle Blends.
 All of our Sparkle Blends can be purchased on the 

Tuesday, February 5, 2019

ATC's with The Robin's Nest

Hello Crafty Friends - I am here with some quick and easy ATC's using minimal supplies.

I created one more masculine and one more feminine ATC.  By keeping the supplies minimal you can make several of these wonderful little beauties in no time at all.


Let's get started!

I gathered up my supplies - Note: in the photo you will see some other Dew Drops I didn't use.

First ATC:
I started by doing a quick swipe or two with the Distress stain on the white cardstock that was trimmed down to 2.5" x 3.5". I set it aside to dry.  While the background was drying I trimmed my Chipboard ephemera down a bit. I also trimmed apart my rub-ons.


Next, Once my background was dry. I added the rub-on to the top left-hand corner. Then. I add a bit of washi tape to the bottom. I added some thin foam adhesive to the back of the chipboard ephemera and place on top of the washi. Next, I added a few tiny mulberry flowers and for the centers of the flowers, I added Pearl White and Silver Dew Drops.


Second ATC:

I started by doing a quick swipe or two with the Distress stain on the white cardstock that was trimmed down to 2.5" x 3.5". I set it aside to dry.  While the background was drying I trimmed my Chipboard ephemera down a bit. I also trimmed apart my rub-ons - for this ATC I used 2 rub-ons the detailed rectangle and the sentiment.


Next, Once my background was dry. I added the rub-on the detailed rectangle to the top - layering the sentiment in the middle. Then. I add a bit of washi tape to the bottom. I added some thin foam adhesive to the back of the chipboard ephemera and place on top of the washi. Next, I added 3 Silver Dew Drops.


Now you have 2 quick and easy Artist Trading Cards complete.


Supplies Used


Distress Stain: Tumbled Glass
Cardstock: Recollections Brand Heavy Weight White
Flowers: Prima Brand
Washi: We R Memory Keepers Brand
Adhesive: Thin Foam and Aleene's Tacky Glue

Have a Great Crafty Day!!

Sunday, February 3, 2019

Congratulations Card with Doodles Paper Playground

Hello crafty Friends - I am here with a sweet congratulations card. 

I used the New beautiful 


For the crafter who loves purple, this blend runs the gamut from 
deep dark plum shades to raspberry toned violet shades and pale lavender. 
To give the blend its crystalline shine, you’ll find everything from 
satin champagne sequins to aubergine glitter and 
transparent purple with a touch of iridescence. 


I die cut a flower shape for my shaker and some smaller flowers for accents. I kept all the elements of this card in shades of purple. I stacked die cuts of the word congratulations for the sentiment. 
Did some finishing touches with some of the 

Here's a close up of the shaker.


Thank you for stopping by the blog today! 

Be sure to tag us Doodles Paper Playground on social media 
if you create a project with our Sparkle Blends.
 All of our Sparkle Blends can be purchased on the 

Monday, January 28, 2019


Hello Crafty Friends - I am here with a quick card.
Today, I am using Hero Arts Constellation Printable PT101 Digital these printables are perfect for quick and easy cards. I like to have them on hand - printed and cut.

image 0

I used the aqua colored constellation, the multi-linked star, and the sentiment. I cut off a point from the star to create a constellation shape heart. I used dark blue cardstock for my card front, layering white cardstock an1/8" smaller. Then, matted the aqua colored star print onto dark blue shimmer cardstock. I did the same for the sentiment. 

The sentiment you & me is from Hero Arts DC175 Love Stamp & Cut Set. 

For finishing touches, I added some tiny stars and heart sequins.
20190126_215831


Hero Arts Monthly Challenge


anything goes
Please join us in this month’s “Anything Goes” challenge for your chance at a free digital stamp set AND, if you used Hero Arts or Sugartree Stamps, a $20 gift card to our etsy store. Our current monthly challenge can always be found in the menu bar, and runs from the 1st to last day of the month.  Please join us on TwitterInstagram and Facebook so you don’t miss any fun promotions or new challenge announcements! 


 Supplies Used:
Versafine Onyx Black Ink
Recollections Brand Cardstock: White & Dark Blue 
Grafix Craft Sensations Dark Blue Shimmer Cardstock
Sequins: Elle Tru
Adhesive: 3M Scotch tape runner and foam

Sunday, January 27, 2019

My Silly Mini Valentines

Hello Crafty Friends - I am here with some quick and easy mini Valentine's Day cards. 
They are perfect for a small gift, a box of chocolate or even a lunch note for that special someone.


So, let's get started. 

I stamped with Versafine Onyx Black ink onto Strathmore Bristol Smooth cardstock
 and colored the images with Arteza Real Brush Markers. 
*Note: Please use whatever coloring medium you have or feel comfortable with.
I then fussy cut the images. Set them aside.


Next, I cut 7 pieces of cardstock measuring 3"x6" - 
I then, score on the long side at 3" to create mini 3"x3" cards. 

Then, I die cut 7 hearts from a variety of pattern paper. 
*Note: this is a good way to use up those scraps.


Now, that we have everything cut and ready - let's assemble the cards. 
I start by stamping a sentiment in the right-hand corner of card front. 
Next, I adhere the image onto the die cut heart and pop
up the heart using foam adhesive to the center of the card front. 
I repeat this for all the cards. 


Supplies Used:
Stamp:

Die:

Ink:
Versafine Onyx Black 

Markers:
Arteza Real Brush Watercolor 

Cardstock:
Strathmore Bristol Smooth
Recollections Brand - White and Yellow

Pattern Paper:
Various brands

Adhesive:
3M Foam & Tacky Glue

Thank you for stopping by today!

Don't forget to come join in the fun at the Dies R Us Challenge Blog.
There's a new challenge theme offered on the 1st and 15th of each month and
one lucky randomly drawn winner will receive a gift voucher prize
to the Dies R Us Store. For your convenience,
all the important Dies R Us links are provided below.