Monday, May 6, 2019

You and Coffee with Doodles Paper Playground - Spring/Summer Coffee Lover's Blog Hop


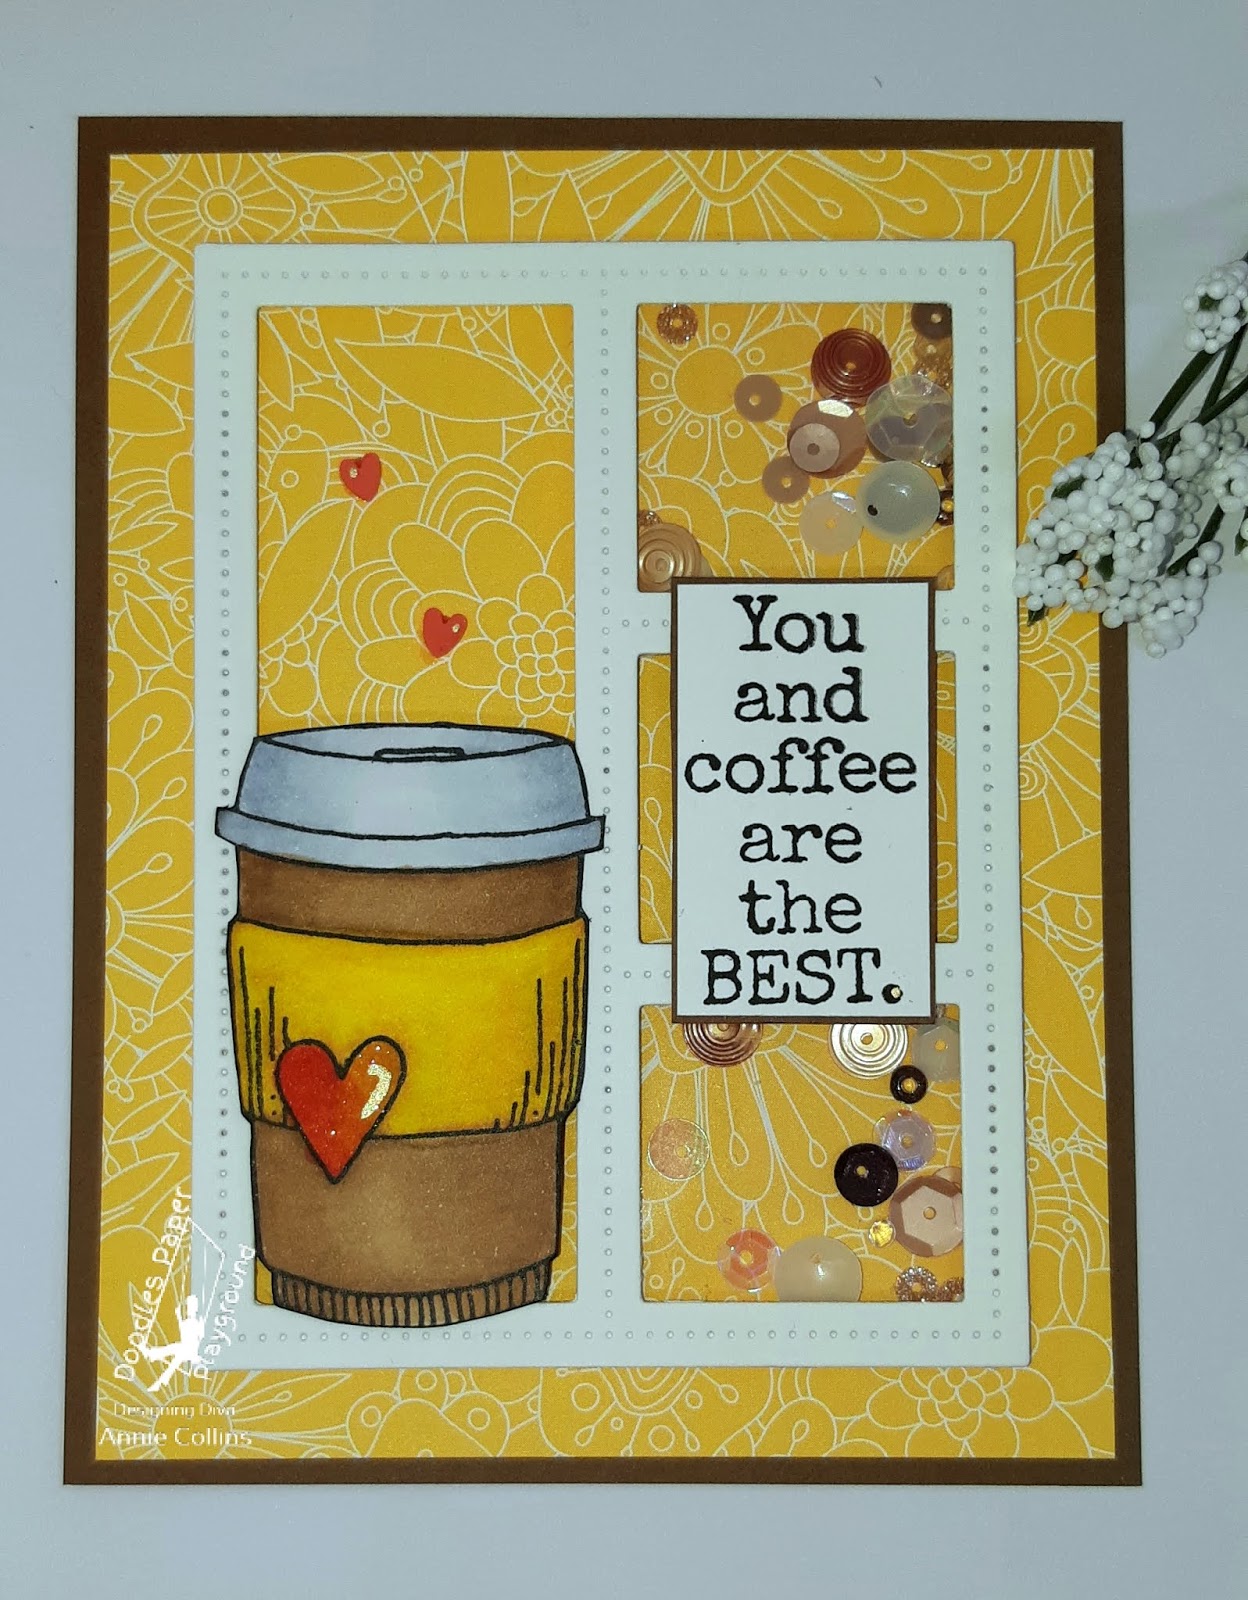
Hello Crafty Friends - I am here with a Coffee shaker card featuring 

No photo description available.
This blend looks exactly how I take my coffee—light, rich and creamy!
 A beautiful blend of buttery cream colors,
tan, light brown and ecru, you simply can’t go wrong 
adding this blend to your trendy Coffee themed projects.

Here's my card

Showing more of the Doodles Paper Playground Sparkle Blends
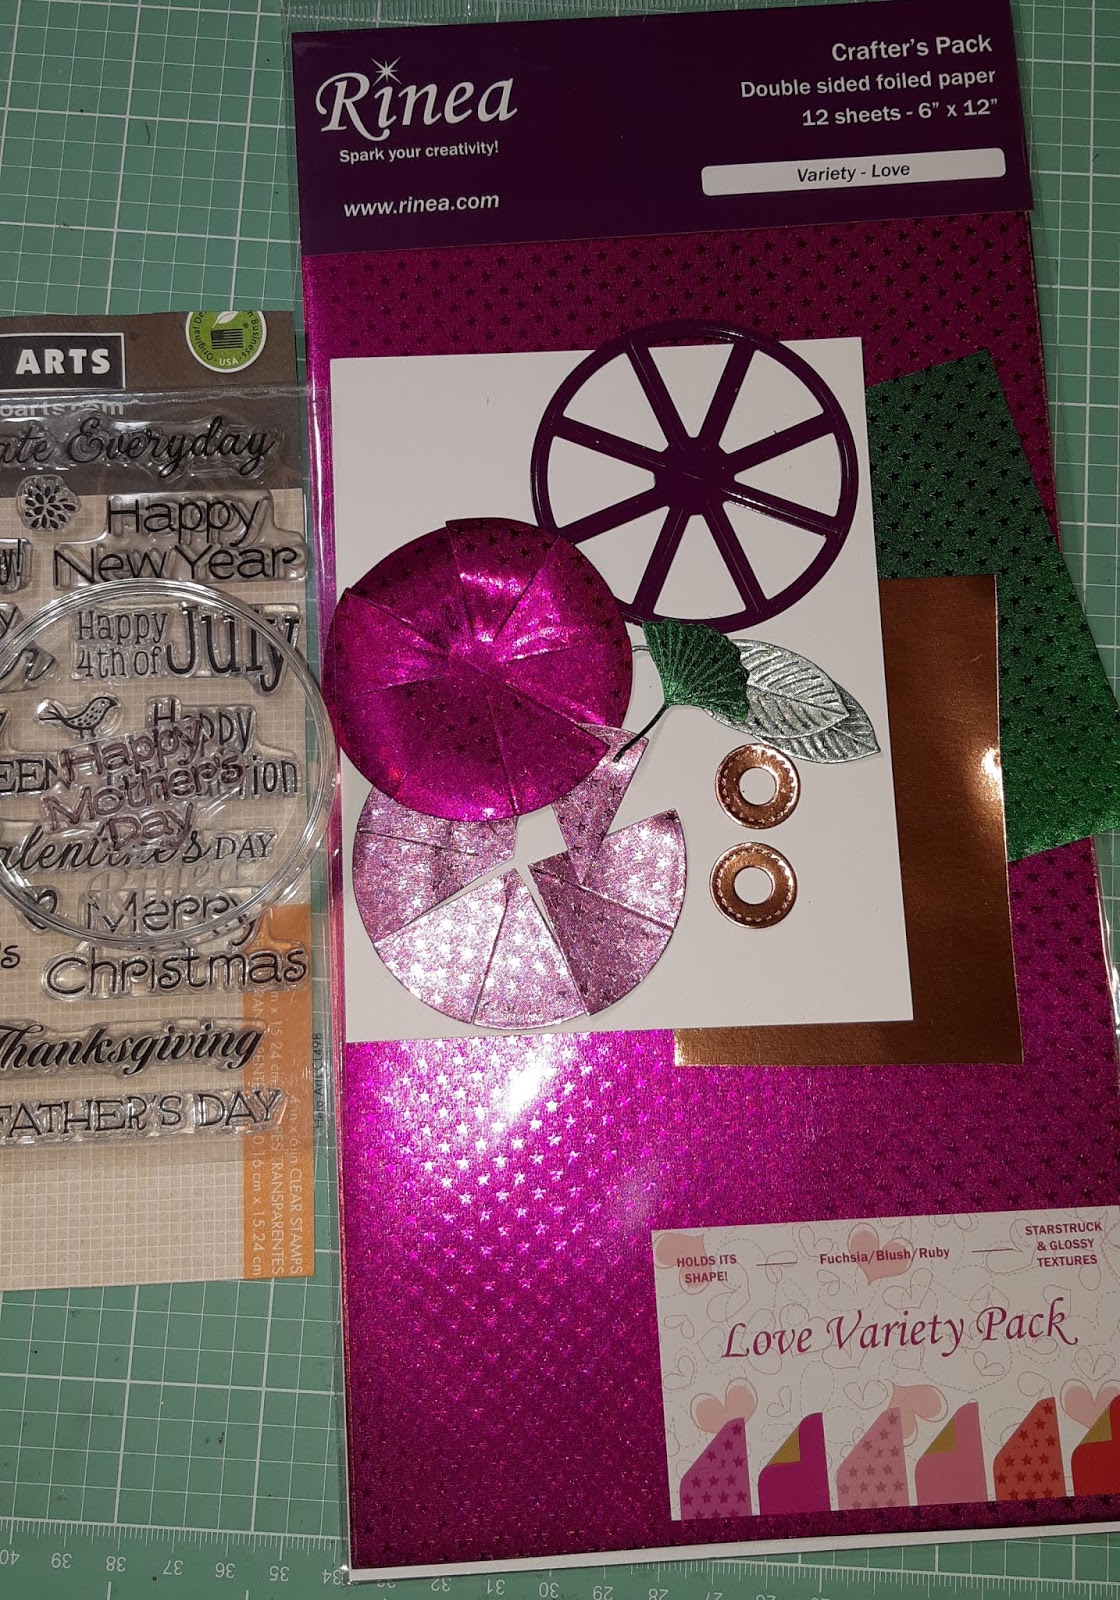
Supplies Used:
Which can be purchased at White Rose Crafts LLC

Other Supplies Used:
Stamps: 
Die: MFT Blueprints Die-namics #27
Pattern Paper: MFT Bundles of Blossoms
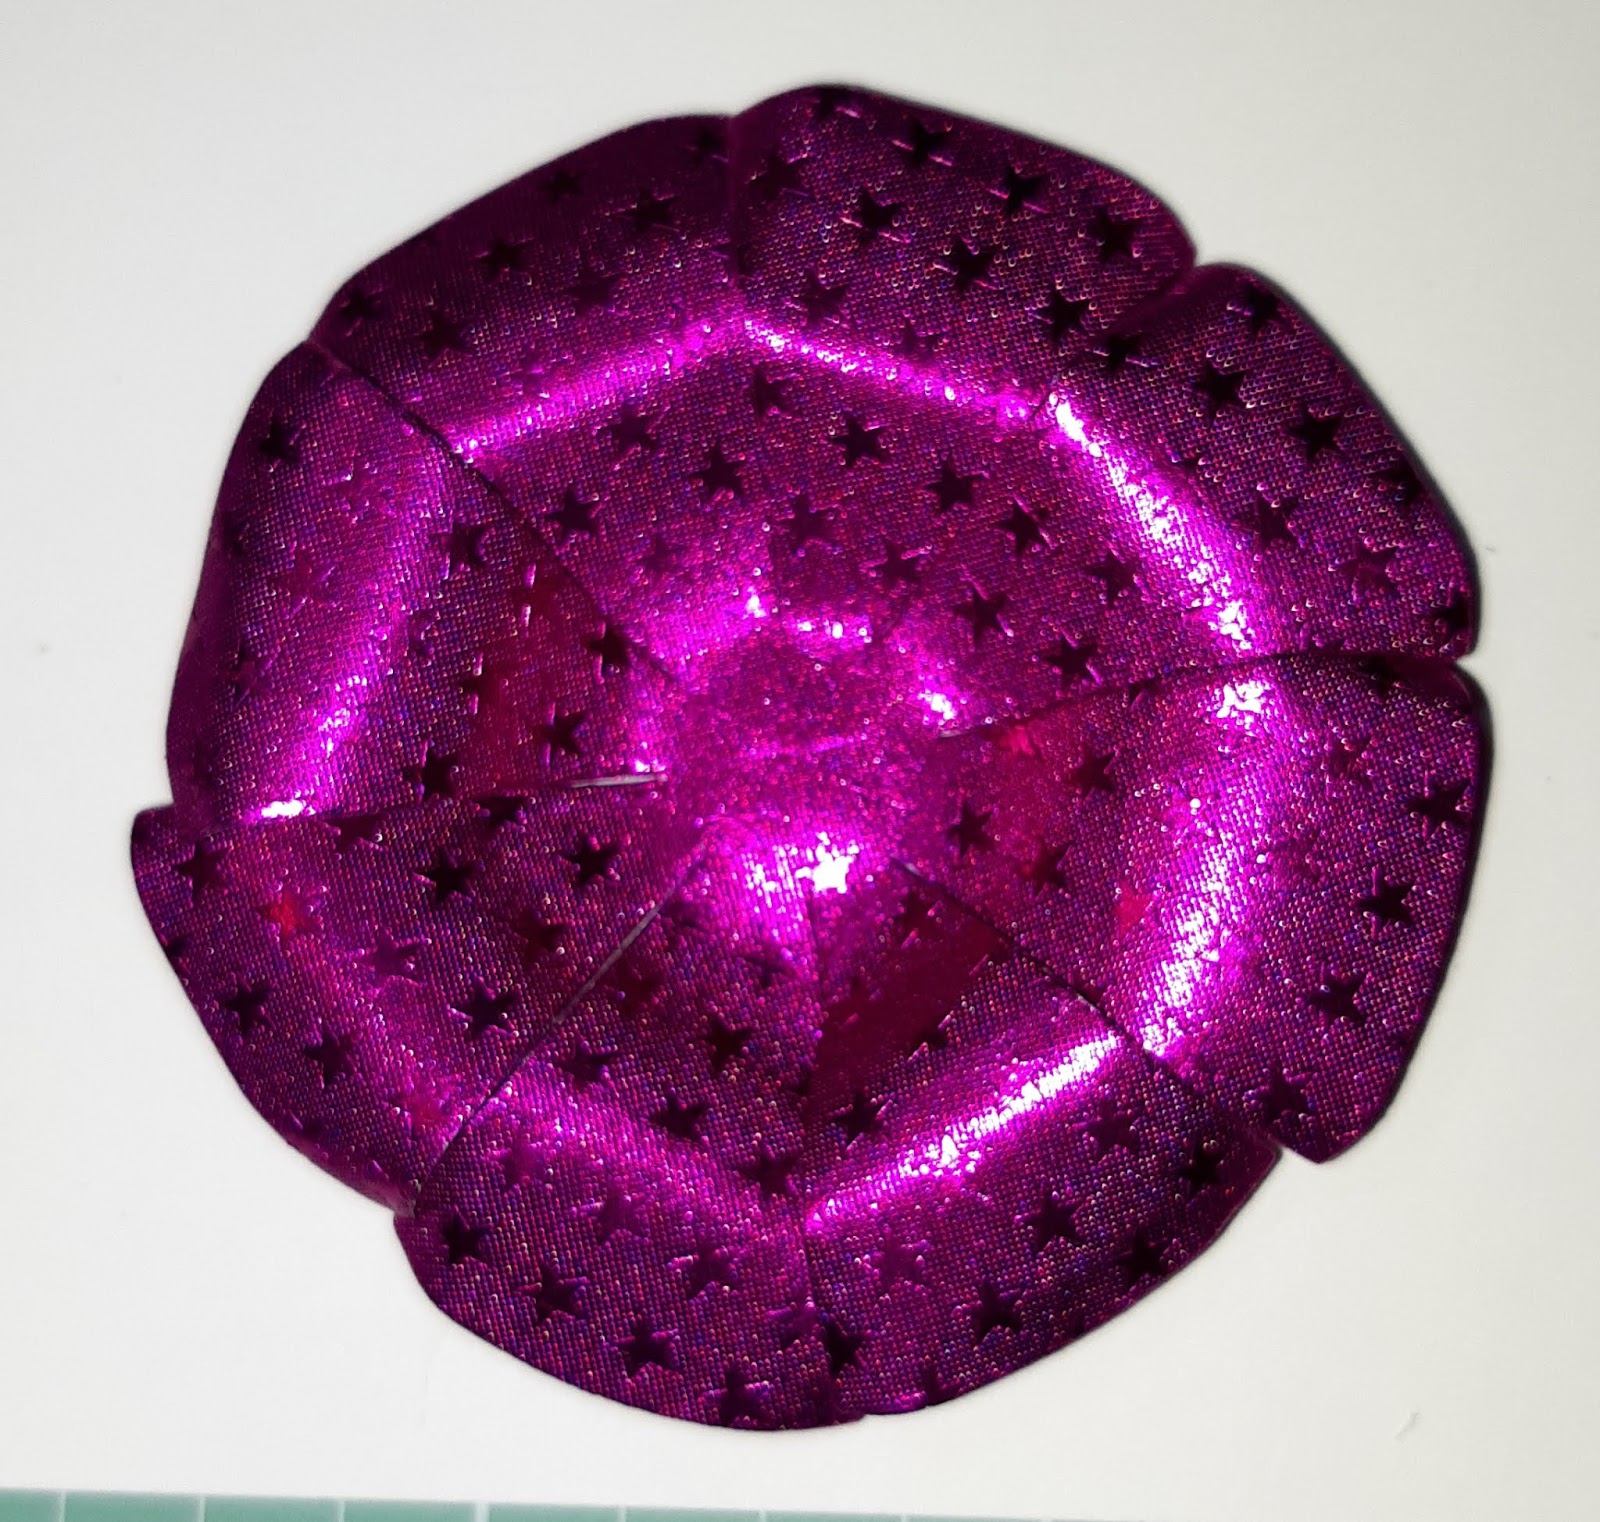
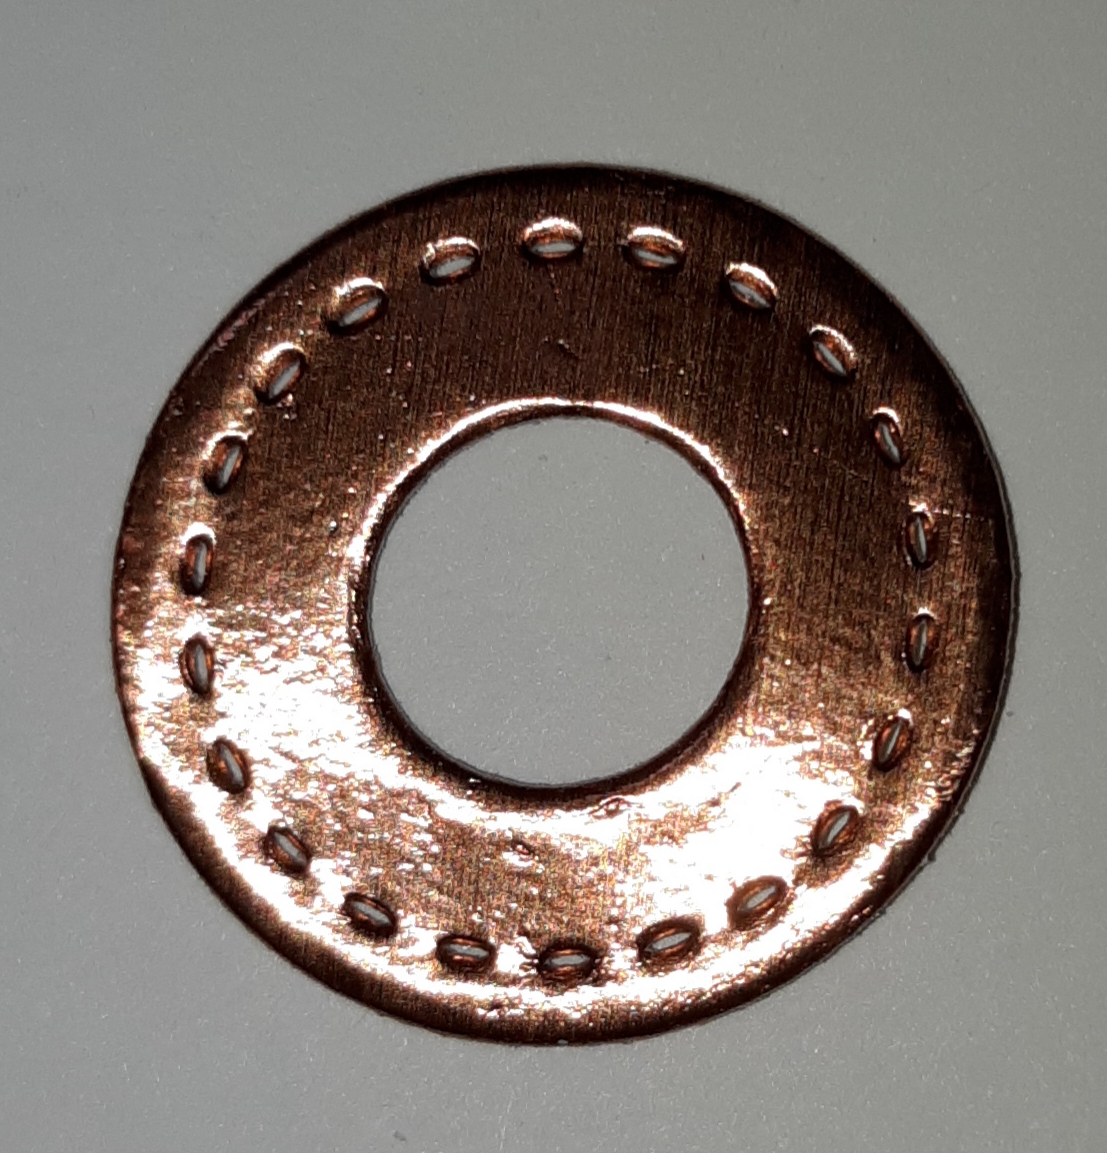
Embellishments:
Alcohol Markers:
Copic: C1, C2, & C3 - Lid
Spectrum Noir: MB1, MB2 & MB3 - Cup
CT1, CT2, & CT4 - Cozy
CR7, CR10 & OR1 - Heart
Sakura Gelly Roll Metallic Gold Pen
Recollections Brand Cardstock: White & Coffee 

Thank you for stopping by the blog today! 

Be sure to tag us Doodles Paper Playground on social media 
if you create a project with our Sparkle Blends.
 All of our Sparkle Blends can be purchased on the 
be sure to use the discount code
 Annie 10(there's a space between my name and the number).

Happiness is a Cup Cowfee with White Rose Crafts LLC

Hello Crafty Friends - I am here with a cute coffee card using the New Barista Blend Kit from 
White Rose Crafts LLC (this kit is sold out)
Image may contain: 1 person, foodNo photo description available.


Here's my card

Supplies Used
Little Acres Stamp Moo Brew,
Echo Park Coffee Pattern Paper, 
Doodles Paper Playground - Sparkle Blends: Caffeinated

Other Supplies Used:
Alcohol Markers
Copic: C1, C2, & C3 - Cow
Spectrum Noir: PP1, PP4 & AP1 - Mug
Sakura Gelly Roll Metallic Gold Pen
Recollections Brand Cardstock: White, Coffee & Teal

Thank you for stopping by the blog today! 

Be sure to tag us Doodles Paper Playground on social media 
if you create a project with our Sparkle Blends.
 All of our Sparkle Blends can be purchased on the 
be sure to use the discount code
 Annie 10(there's a space between my name and the number).

Saturday, May 4, 2019

Congrats Grad Shaker Card with Doodles Paper Playground

Hello Crafty Friends - I am here with a Graduation card. Yes, it's that time of year when we start making cards for all the grads we know.

I created this shaker card using the New Released Sparkle Blends: Birthstone Collections: April- Diamonds

No photo description available.
A glittering, transparent blend of crystal, 
iridescent and moonshine clear sequins, 
beads and crystals in different sizes and shapes. 
You’ll find beautiful, silvery, cupped flowers, 
iridescent stars, large flat rounds, and other assorted shapes, 
in addition to the classic round, cupped sequins in several sizes. 
This blend is the perfect final touch for any project.

Here's my card. I just love how the Sparkle Blends: Birthstone Collections: April- Diamonds
give the right amount of shimmer. I die cut my letters out of shimmer dust cardstock. I kept to black, white and gray so that I could give the card to any graduate regardless of school.


Thank you for stopping by the blog today! 

Be sure to tag us Doodles Paper Playground on social media 
if you create a project with our Sparkle Blends.
 All of our Sparkle Blends can be purchased on the 
be sure to use the discount code
 Annie 10(there's a space between my name and the number).

Friday, May 3, 2019

Spring/Summer Coffee Lover's Blog Hop


Hello Crafty Friends - I am here with a fun coffee card for this Coffee Loving Hop!!

image 0


I printed the digital image and colored it with my Copic Markers added a few punched flowers and sprigs. For finishing touches, I added a few jewels and some Nuvo drops in Copper Penny and Caramel Cream

Saturday, April 27, 2019

You're Owl Old? with Doodles Paper Playground

Hello Crafty Friends - I am here with a fun birthday shaker card featuring 2 Sparkle Blends.
Image may contain: 1 person, food
this is a beautiful, more subtle spring blend. 
A perfect palette of pastel pink, yellow, teal, grey and 
silver, Springtime heralds a time of New life,
fresh blooms and budding leaves.


No photo description available.
Teeming with little white bunny heads, 
pastel sequins in a wide variety of sizes
 and finishes, shaped confetti, teeny flower sequins,
 and a sprinkling of large pastel, iridescent, plaid paillettes,
 this blend screams Easter and Spring.


Thank you for stopping by the blog today! 

Be sure to tag us Doodles Paper Playground on social media 
if you create a project with our Sparkle Blends.
 All of our Sparkle Blends can be purchased on the 
be sure to use the discount code
 Annie 10(there's a space between my name and the number).

Beyond The Stars with A2Z Scrapbooking

Hello Crafty Friends - I am here with a fun U Fold shape card. This card is much easier to make that it appears - plus it fits in your standard card envelope.

I am using Hero Arts Lucky Star Stamp Set CM315.


The best part is that it stands up creating a fun display.


1. Start with a piece of card stock measuring 6" x 10".


2. Score at 11/2", 3", 7" and 81/2". The measurements I've used will give you a card measuring 6" tall x 7" long when folded.


3. Fold along the score lines beginning with a mountain fold, then a valley fold, another valley fold and ending with a mountain fold.


4. If desired, you can add some patterned paper and stamps at this point. Once you add the bottom panel it will be a lot more difficult to add embellishments to the background.

5. Cut a piece of card stock measuring 2" x 7". If desired, use a pair of scissors or a border punch to give a decorative edge. Apply glue or double-sided tape to the back of the last 11/2" of the card stock as shown in the photo below.

6. Secure the card stock to the bottom of one end of your card. Stand the card upright to make aligning the bottom easier - you want it to be flush with the bottom edge of your card.

7. Now repeat with the other end of the card stock strip to complete base of your U-Fold card. 


Thank you for stopping by today!!

Friday, April 26, 2019

Happy Mother's Day Card with Rinea

Hello Crafty Friends - I am here with a quick and easy Mother's Day Card.

I used the 3D Rolled Star Die to create some flowers for my card and added a sentiment.


Materials Used:

Other Items:
Hero Arts CL498 - Celebrate Stamp Set
StazOn Jet Black Ink
Cardstock: Recollections Brand 110lb White
Evaney Stamps/Dies: Small Stitched Circle
Manual Die Cutting Machine
Adhesive: Aleene's Tacky Glue & Jot Brand Low Profile foam


So, let's get started.

I started by die cutting 2 of the #1 Rolled Star bases- 1 in Fushia/Fushia Starstruck and 1 in
Blush/Blush Starstruck, I also cut 3 leaves: 2 in Jade/Jade Starstruck and 1
Emerald/Emerald Starstruck, also with 2 small stitched circles from Marigold/Gold Glossy.

Once I have all the components die cut; I stamp my sentiment onto a card front panel measuring
 4-1/4"x 5-1/2" (the same as my card base).

Next, I take the Fushia/Fushia Starstruck Rolled Star-base and start to curl the edges and curve the sections creating petals for the first flower.

I then add the circle I cut from the Marigold/Gold Glossy to the center of the flower.

Next, I adhered the flower using foam adhesive to the left bottom corner of the card front panel. I then tucked in a leaf under the flower.

then, I took the other Rolled Star-base that was cut from Fushia/Fushia Starstruck and trimmed it apart. I kept a three-part section and a two-part section as shown in the picture below. Along with the other stitch circle and the other leaf.

From the two-part section; I flip it over and curled the edges to form petals. I then gentle curved them downward. I set them aside for a moment.
 Next, I adhere the circle to the three-part section toward the bottom. Then, I adhered the petals I just created on top of the three petals. I again, curl the edges and curve each of the little segments to form petals.  Next, I adhere the leaf to the bottom of the petals.


I flip over the flower and add low profile foam adhesive and a bit of liquid adhesive to the stem.

Place the flower onto the card front panel. 
Tucking it just under the larger flower. I add another leaf to the flowers. 

Now for some finishing touches. I adhered some purple sequins to the center of the larger flower. I layer a larger light purple sequin and a smaller dark purple sequin. I also add some next to the flowers.


Now,  the card is complete. 

This quick and easy card can be created for more than just Mother's Day. You can create it for birthdays, anniversaries or just because - any reason! The 3D Rolled Star Dies along with the Rinea Foil paper make it all so easy!

Thank you for stopping by the blog today- I hope you are inspired!