Sunday, May 19, 2019

Let's Go Fishing - Father's Day Gift Box with Simply Crafty SVG

Hello Crafty Friends - I am here with a cute gift box for Father's day!

Now, this cute Fishing Boat gift box is perfect for any fishing loving member of your family or circle of friends.

I used the Fishing Boat Box SVG from Simply Crafty SVG. This file comes with a PDF with simple and clear instructions & SVGs. Sandy has provided the live preserver, Oars, Starfishes and the catch of the day!


Top View of the Box.

Thank you for stopping by the blog today.  I hope you found some inspiration. 

Be sure to give this or any of the wonderful SVGs that are available a try!!

Be sure to join us over on the Facebook Group Simply Crafty SVGs Creators Group.
If you create any of the Wonderful Project designed by Sandy from Simply Crafty SVG share them with us in the group and social media.

Happy Father's Day Card with Dies R Us

Hello Crafty Friends - I am here with a simple Father's day card.

I mostly used dies and one stamp to create this card. 
I feel that you can remake several of these for all the Father's you would like to celebrate.


Let's get started!

First I gathered the supplies and die cut the trees, deer and the HAPPY sentiment. Next, I trimmed my cardstock for my card front panel - the brown is standard A2 (4-1/4"X5-1/2") and the cream one is a 1/4" smaller than the brown. Then, I stamped my sentiment.

I wanted my trees a bit thinner than the die cut so I simply cut them with my scissors and then I ink the edges slightly- to define the edges better.

Now, I am ready to create the card. I adhered the cream cardstock to the brown cardstock. Then, the trees to the card front panel. Starting from the left to right biggest to smallest.

Next, I adhered the happy die cut sentiment to the card front panel. 

Then, I inked the edges of the deer with a bit of the same Distress Oxide ink I used on the trees. This time I went a bit more on the ink.

Next, I adhered the deer just above the word happy. Then, I trimmed the stamped sentiment into a fishtail banner and inked the edge of the banner. I adhered it to the card front panel.  
Then, I added a bit of white detail to the deer with a Gelly Roll pen.

Now, the card is complete!

Thank you for stopping by the blog today I hope you found some inspiration!

Supplies Used:
Hero Arts - Stamp & Cut Happy Set DC150
Recollection Brand Cardstock:
Cream, Brown, Tan, Kraft, & Medium Green
Versafine Ink: Onyx Black
Sakura Gelly Roll White Pen
Low Profile Foam Adhesive

Saturday, May 18, 2019

You're Sweet with Doodles Paper Playground

Hello Crafty Friends - I am here with another fun shaker card.


A pastel blend of sprinkle shaped beads,
artificial Fimo sprinkles, hearts, stars, 
cup sequins, iridescent crystals and 
cupcake & ice cream cone shaped Fimo shapes
is a fun addition to any birthday card or project!


This unexpected Valentine’s Day mix has tons of interest,
from its contemporary bright palette to the assorted size 
and style heart confetti and sequins in bold yellow, orange, green, 
purple and blue tones. You’ll find sparkly, shiny, transparent, iridescent, 
and holographic elements in this updated take on Cupid’s favorite holiday


I made this cool treats shaker.

I feel it a fun way to start thinking of summer cards.

Supplies Used:
Avery Elle - Stamp & Die Set
Lawn Fawn - You're Sweet Die
Memory Box - Collage Frame Die
Spectrum Noir Markers

Thank you for stopping by the blog today! 

Be sure to tag us Doodles Paper Playground on social media 
if you create a project with our Sparkle Blends.
 All of our Sparkle Blends can be purchased on the 
be sure to use the discount code
 Annie 10(there's a space between my name and the number).

Friday, May 17, 2019

Happy Anniversary Card with A2Z Scrapbooking

Hello Crafty Friends - Annie here with another card for you.


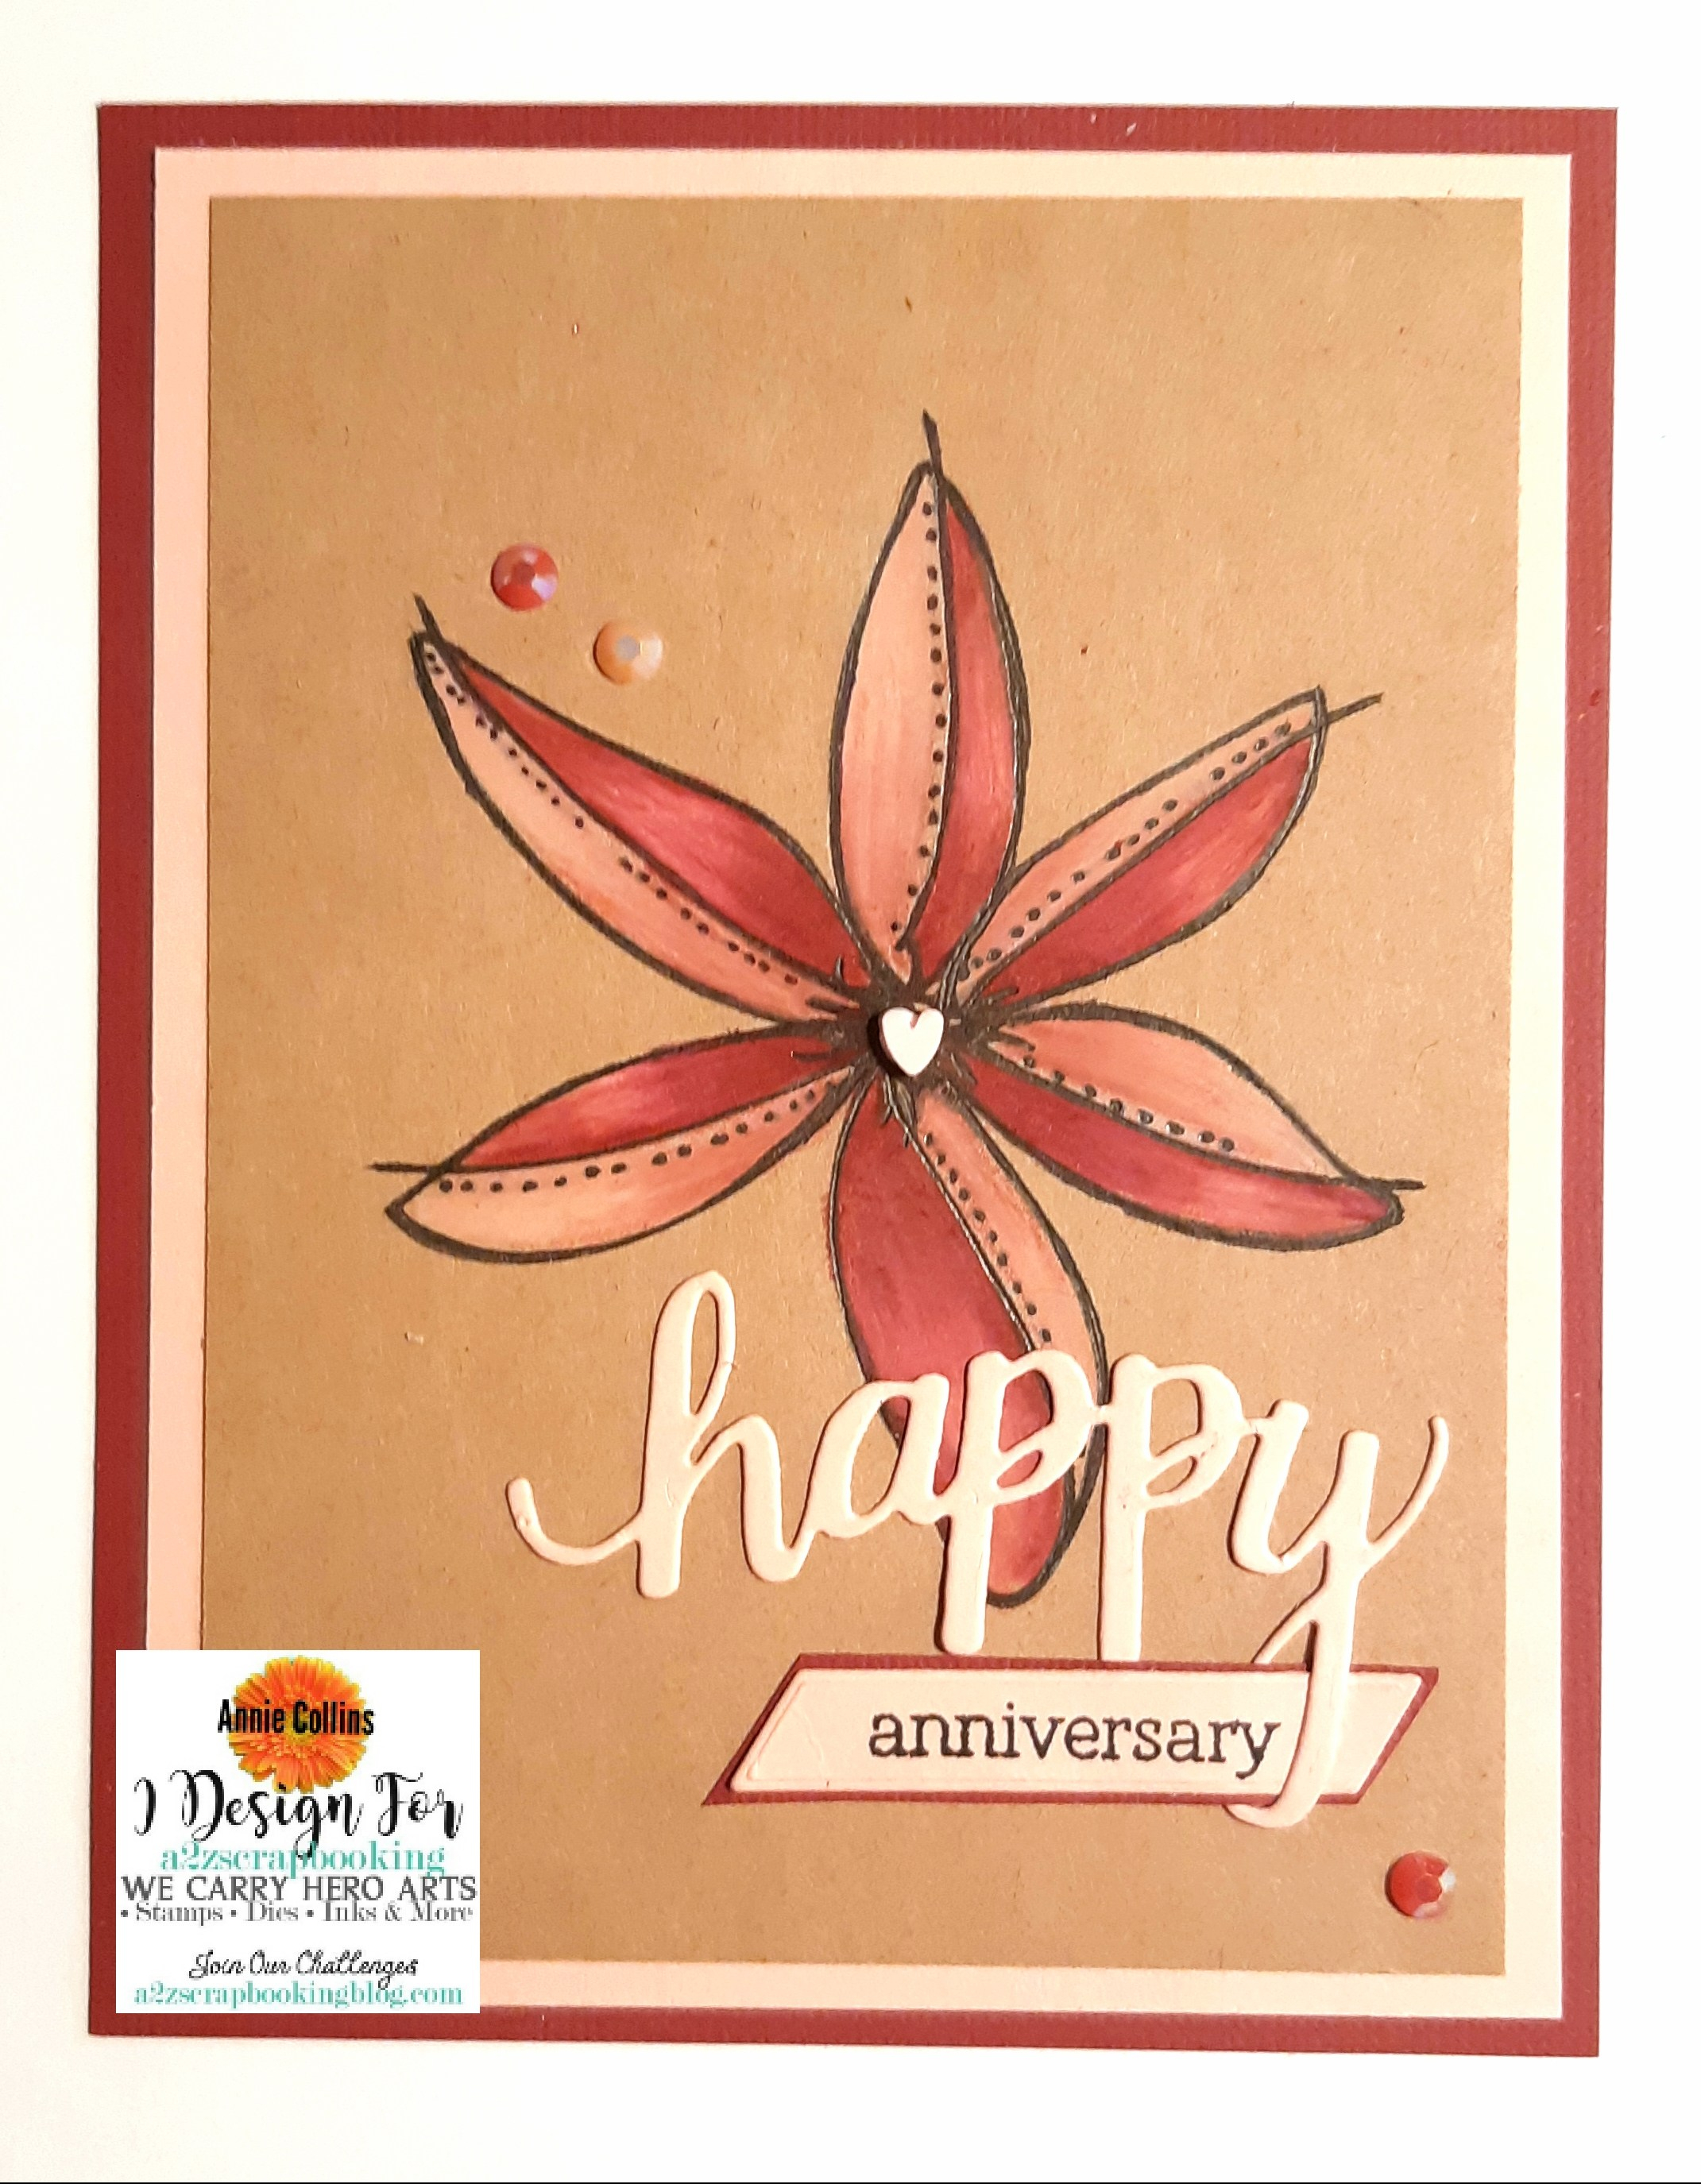
In keeping with this month's challenge, I created a floral anniversary card.  

Here is the card I made.
20190516_224722.jpg
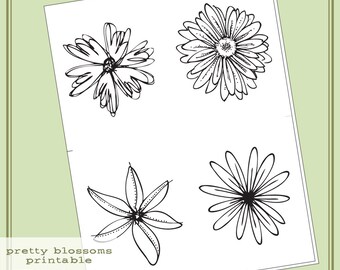
I printed out the PDF onto Kraft cardstock at 85% and then I cut the flower I want to use. I then colored the image with my Prismacolor pencils. Next, I matted the colored image onto Pale Pink cardstock. Then, matted that onto deep burgundy cardstock to coordinate with the flower. 
I then die cut the word happy from the pale pink and I stamped the word anniversary onto the pale pink. Next, I matted the sentiment anniversary onto the burgundy cardstock and adhered both sentiments to the card. I then adhered my card front panel to my card base. I finished off the card with a few jewels and heart.   
Thank you for stopping by today!

Hero Arts Monthly Challenge


a2z scrapbooking may challenge 
Join us in this month’s “May Flowers” challenge for your chance at a free digital stamp set AND, if you used Hero Arts or Sugartree Stamps, a $20 gift card to our etsy store.  Our current monthly challenge can always be found in the menu bar, and runs from the 1st to last day of the month.

The a2z scrapbooking store carries Hero Arts products as well as a nice selection of digital stamps!  Proceeds from our store benefit Celiac & Behcets disease foundations. Use my discount code Annie15 to get 15% off your purchase of $25 or more.


Supplies Used 

Sunday, May 12, 2019

Thank You Card with Dies R Us

Hello Crafty Friends - I am here with a simple thank you card.

Today, I am using ScrapMan Bloom Die and a Thank You Die for this card.


Let's get started.


I start by doing some die cutting. I cut 2 Blooms from Watercolor paper and 2 from regular white cardstock.  I then die cut the sentiment several times - 3x from white cardstock, 1x from Rinea Glossy Gold Foil Paper and 1x from Violet Starstruck Foil Paper. 


I then got some Distress Oxide Inks and did some water-coloring on the Blooms. 


Next, I starting gluing the layers of Blooms and sentiment. 


Then, I started creating the card. I layered the cream cardstock onto the violet cardstock to create the card front panel. Next, I twirled some thread onto my fingers and adhered it to the card front.


Then, I adhered the Blooms on top of the thread.


Next, I adhered the sentiment to the right bottom of the card front. 
I finished off the card with some sequins. 


That's it the card is complete!


Materials Used:
ScrapMan - Dies - Bloom


Frantic Stamper - Dies - Brush Script Thank You

Distress Oxide Ink Pad - Bundled Sage
Distress Oxide Ink Pad - Peeled Paint
Distress Oxide Ink Pad - Shaded Lilac
Distress Oxide Ink Pad - Wilted Violet

Best Glue Ever

Other Materials Used:
Doodles Paper Playground- Sparkle Blends: Mardi Gras Parade
Coats & Clark Metallic Gold Thread
Cardstock: Recollections Brand - White, Cream & Violet
Canson Watercolor Paper
Water Brush

Saturday, May 11, 2019

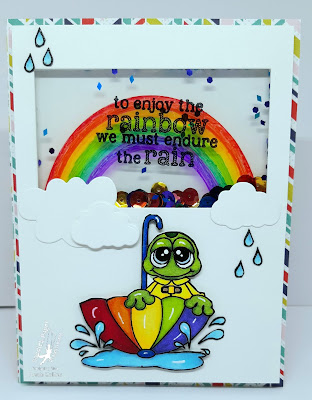
Enjoy the Rainbow! with Doodles Paper Playground

Hello Crafty Friends - I am here with a fun shaker card.

Just a bit of rainbow fun for this card!

I used Doodles Paper Playground Sparkle Blends: Crown Jewels for the shaker part of the card.

Jewel tones are always on trend - when do jewels go out of style?!
 This bold combination of ultraviolet, teal, ruby red, emerald green,
 and coppery orange and gold, is sure to fit the bill, 
with its variety of bright metallic cup sequins, assorted-sized star confetti, 
sparkly faceted crystals and prismatic giant glitter 
in both hexagonal and diamond shapes. 
You can't go wrong with this striking blend for any celebration!


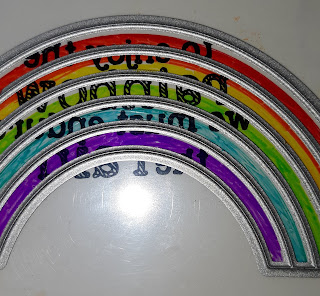
To create the sheer rainbow I taped the rainbow die onto the acetate and filled in the area with sharpies. I then removed the die and filled in any area that still needed more color.


Materials Used:
Pink & Main Rain Frogs
Echo Park Anything Goes Pattern Paper
Momenta Dies - Rainbow & More
Lawn Fawn Die - Stitched Rectangle 
Copic Markers: B00, B01, B93, BV17, R59, G21, G29 & 0
Spectrum Noir Markers: TB4, TB5, HB1, LY1, CT1, CT4, 
GB3, OR1, OR3, DR1, CG1,CG3 & CG5

Thank you for stopping by the blog today! 

Be sure to tag us Doodles Paper Playground on social media 
if you create a project with our Sparkle Blends.
 All of our Sparkle Blends can be purchased on the 
be sure to use the discount code
 Annie 10(there's a space between my name and the number).

Splash Fun with Rinea

Hello Crafty Friends - Annie here with a quick and easy layout.

Materials Used:
Echo Park Barck Collection
DMC Silver Metallic Floss
Foam Adhesive & Tape Runner

For this layout, I keep things simple. I cut a few strips of paper to anchor my photos. I matted my photos with coordinating mats. I die cut a few banner pieces which I stitch to the top left side of the layout with some metallic DMC floss.


I created the photo mats from a die - which is cut from Ruby Red Starstruck Foil Paper and Sapphire Blue Starstruck Foil Paper. The Banners are also die cut from Ruby Red Starstruck Foil Paper,  Sapphire Blue Starstruck Foil Paper and Silver Starstruck Foil Paper - which I inlay the stars back into the banners. Along with some of the Echo Paper Bark pattern paper. I added a few finishing touches from the sticker sheet from the Echo Park Bark Collection as well as a few die cut bones & paw print from the frames.

Thank you for stopping by the blog today - I hope you found some inspiration!