Monday, June 17, 2019

Mini Notepad Holder with A2Z Scrapbooking


Hello Crafty Friends - Annie here with a fun project you can make in about an hour or less.

These mini note pad holders are perfect to add to a gift basket or just as is.
Adobe_20190529_204825

So, Let's begin the project. - I like to break it down into a few steps.

1. Stamp the images (which are layering bird, leaves, branch, and flowers). Fussy cut them. Then, Stamp the sentiment on a banner shape. Set them aside while you work on the cover. Next, trim the 12" x 12" White heavyweight card stock into 3-1/2" x 11-3/4". Save the remaining card stock for another project.
2. let's score the cover for our note pad. Using a scoring board or a trimmer channel - using the bone folder - score at  5" & 5-1/4".  Then at 10-1/4" & 10- 3/8". 
Next, crease the score lines - using the bone folder.


3. Apply a bit of Gesso on to your cover; heat set or air dry. (I heat set mine). Then, Spray some Tim Holtz Distress spray (heat Set). Next, do a few splatters with Heidi Swapp Colorshine.

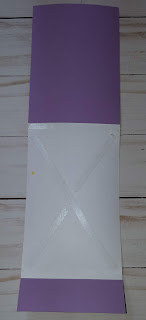
4. Adhere the pad into the cover. Place adhesive of choice on the back of the note pad and the creased section of the cover. I added an extra piece cardstock to the inside of the cover as well as to the bottom closer.  Press firmly.    
 
 .  

Next, push on the crease to the top of the note pad really sticks to the cover. I use the bone folder to press it. Plus it will give it a nice crisp look.

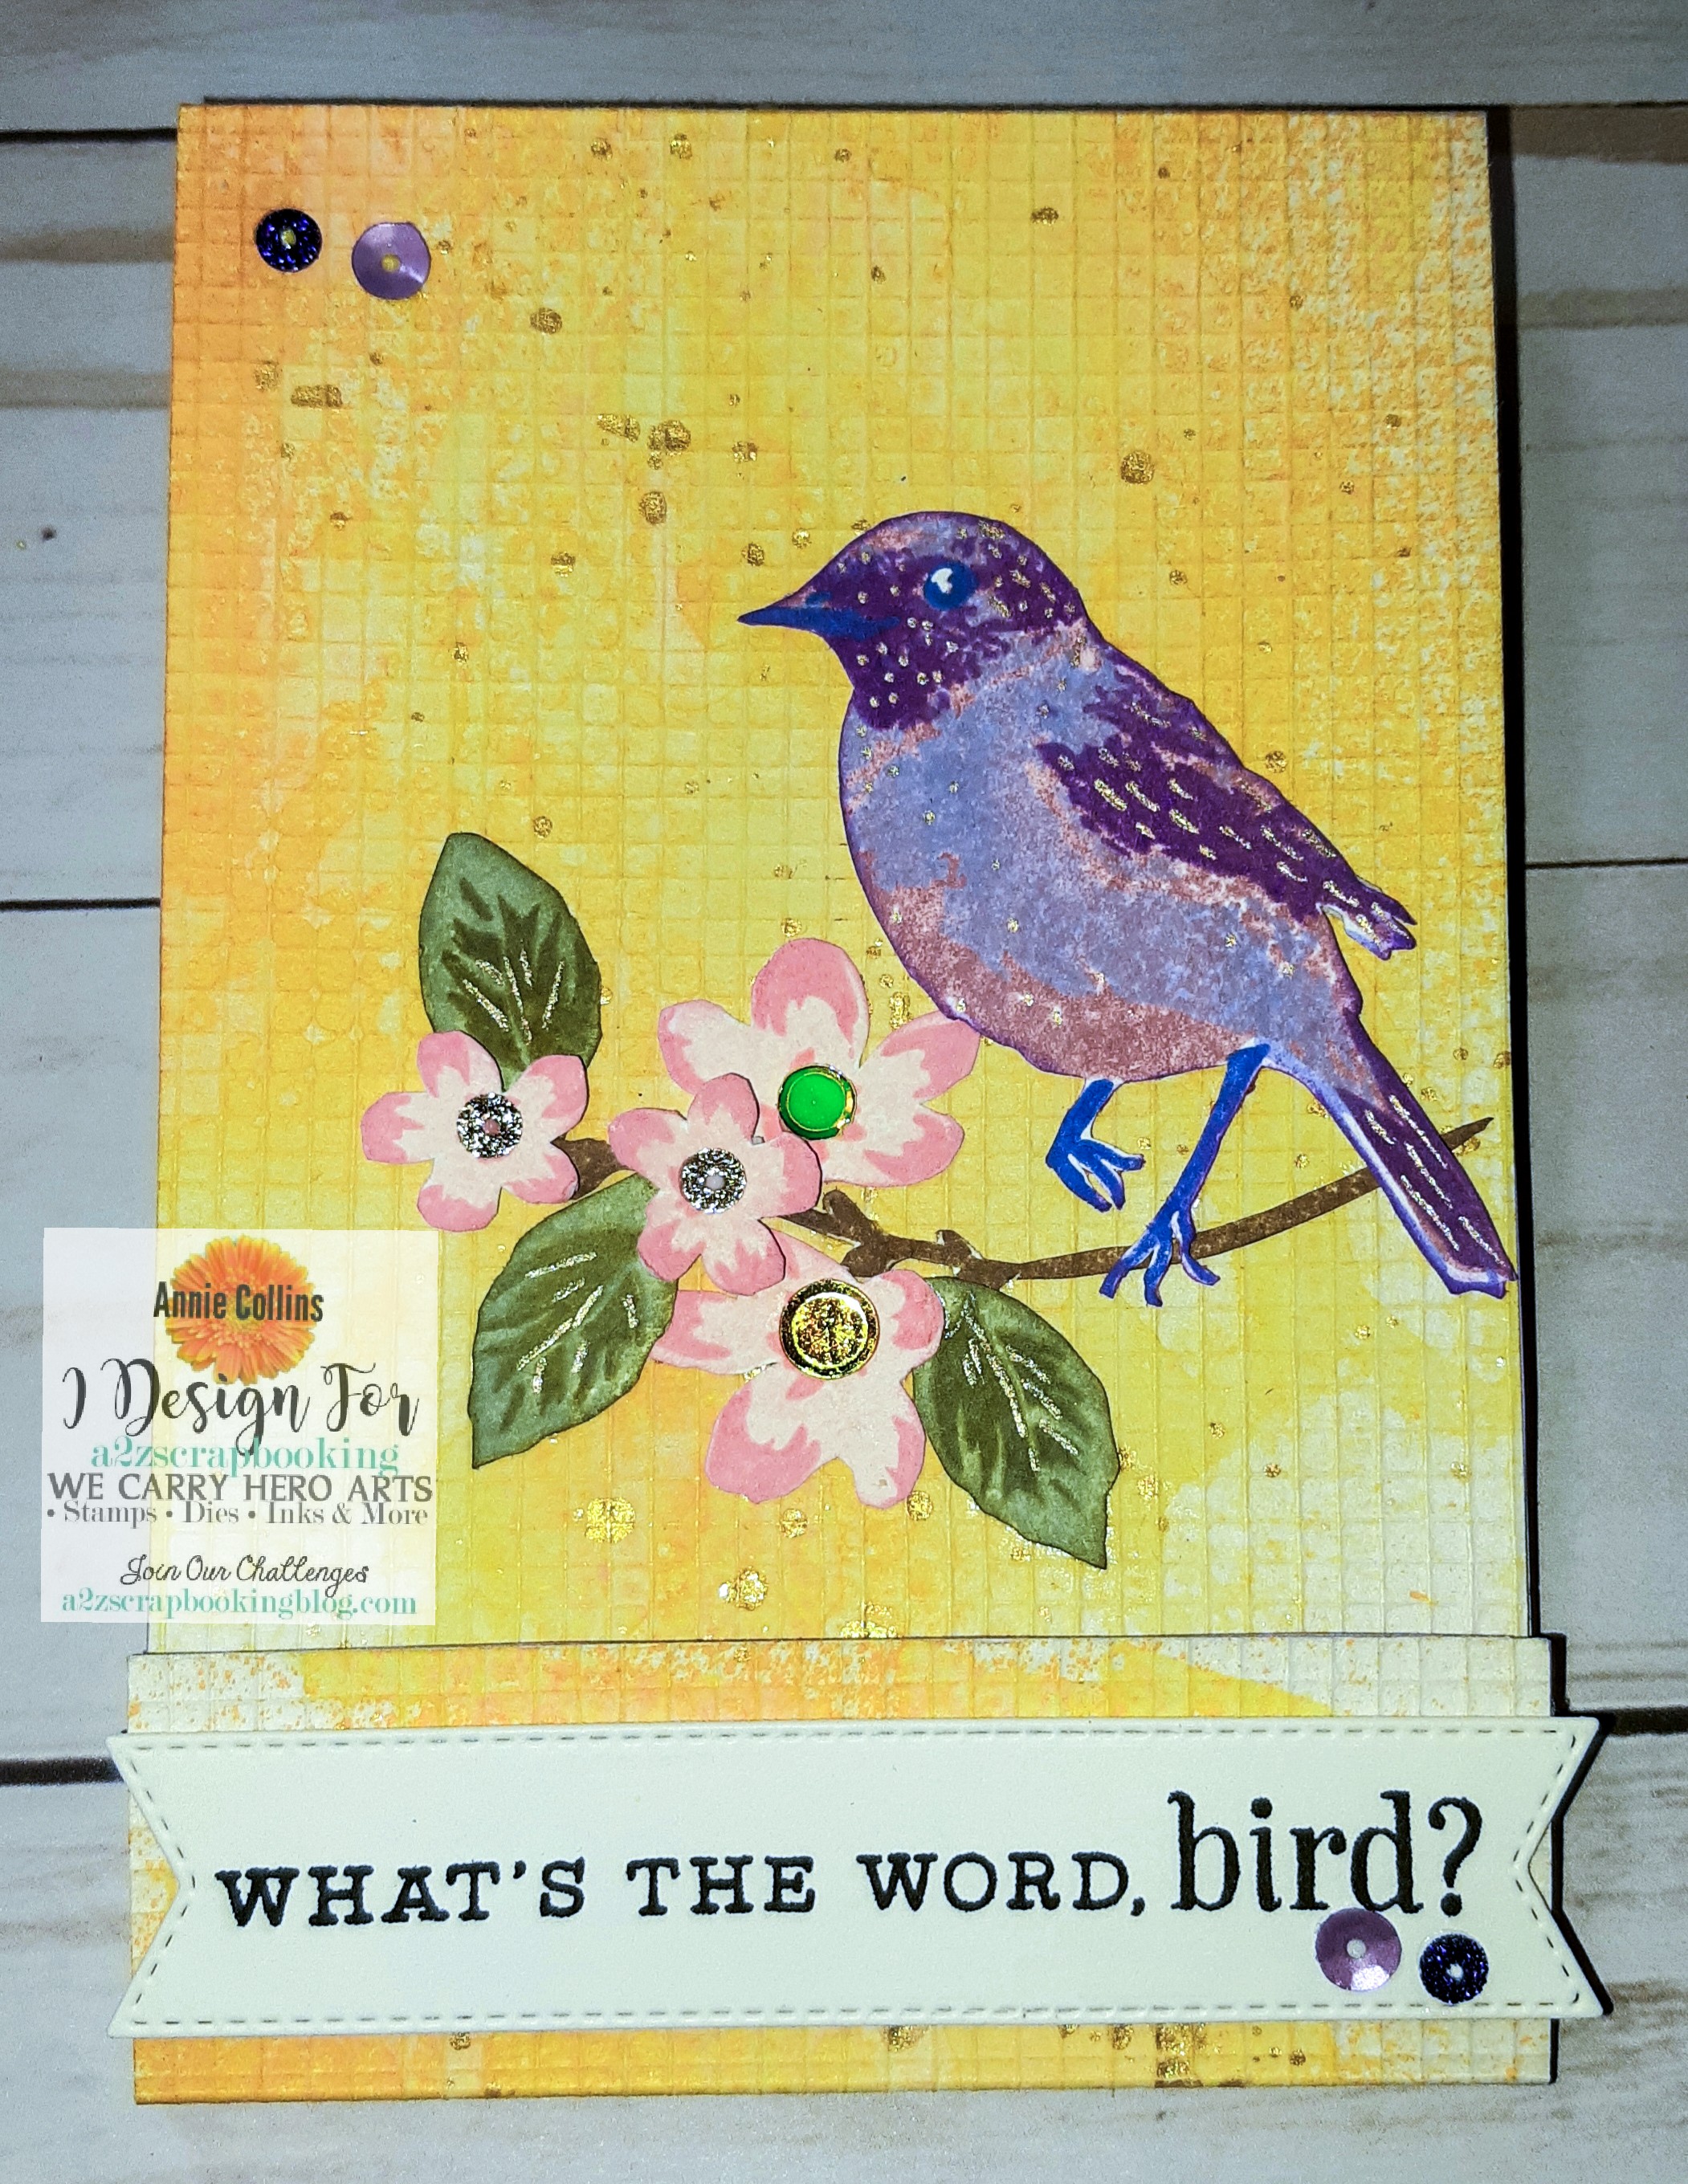
5. Now, Adhere the branch to the cover. Then, the larger flowers. Followed by the leaves and the smaller flowers which I added a bit of foam adhesive.
 

Nest, adhere the bird to the branch having the back leg touching the branch. Then, add the sentiment onto a banner and adhere to the bottom flap.
 
   
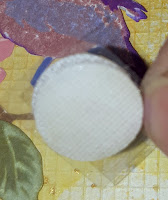
6. Now, for the closer - I peel off one Velcro tab and center it onto the other - stacking them. The Velcro has strong adhesive this is why I only expose one side first - I then center the Velcro stack onto the lower tab - press in place - then remove the remain plastic backing and press the lower tab closed.
 

Finally, Add a few embellishments. I added a few sequins at the top left and by the sentiment. I added one to each of the flower centers.  

Now, your Mini Notepad Holder is complete!
You can Modify this tutorial using a masculine design and colors.

Materials Used:
Hero Arts Stamp Layering Bird and Branch CL866
Heavy Weight Textured White Cardstock
Liquitex Gesso
Dollar Tree Mini Notepad
Sakura Metallic Gelly Roll Pen - Gold
Heidi Swapp Colorshine Gold
Tim Holtz Distress Spray Spiced Marmalade
Recollections Brand Purple cardstock
Tim Holtz Distress Oxide Inks: Victorian Velvet, Shaded Lilac,
Wilted Violet, Blueprint sketch, Tattered Rose, Worn Lipstick,
Bundled Sage, Forest Moss, Gathered Twigs, Squeezed Lemonade
Doodles Paper Playground Sparkle Blend: Sunshine and
Birthstone Collection: February Amethyst

Thank you for stopping by the blog today. I hope you found some inspiration!
Annie

Sunday, June 16, 2019

Poppin' Up To Say... with Dies R Us

Hello Crafty Friends - I am here with a fun Pull-up card featuring the Let's Toast Stamp set from Lawn Fawn.

I thought it would be festive to have a birthday party breakfast.


Showing the Tarts poppin'

Let's get started!

I am going to try my best to explain how to set up the pull-up tab die. 
If you prefer a video version Kelly the Owner of Lawn Fawn has a wonderful YT video.

1. On a card front panel A2 Size - You can use cardstock or pattern paper - for this portion I used White cardstock. Center the Pull-tab Notch die to the top of the cardstock - draw a line down from the center of the notch.  Next, following the drawn line place the straight slot piece. Die cut. 
  

Then, die cut the pull-tab piece, sleeve, and the pull indicator. 

Next, pull-tab piece you'll notice some scored lines. Fold on the scoreline closest to the center in. Then,  on the next scoreline fold out creating a zig-zag.  

This is what it will look like when you have folded both sides.

Now, Insert the folded section through the straight slot area from the back of the card.
 

Next, on the scorelines fold the sleeve. Then, add adhesive only to the center rectangle. Attach it to the card just below the notch area. Next, insert the arm of the pull-tab piece in the sleeve. Wrap the sleeve around the arm and adhere on the angled section to the sleeve.


 To attach your image to the pull-tab you put some adhesive onto the flap that was inserted through the straight slot. I attached the Tarts together then onto the flap of the pull-tab. Next, add some foam adhesive to the back of the toaster only on the sides carefully slide the tarts through the toaster slot and press the toaster in place.


 Ok - I know that was a lot. but that is just the basic steps 
on how to use the Let's Toast Pull-tab Add-on.

Now, for the card.

 I start by stamping and coloring my images. I then fussy cut them out (at the time I ordered my supplies the coordinating dies were out of stock-however, they are now available). Then, I die cut the pattern paper and the Pull-tab pieces. I assembled the card front just like above. 
 

Next, I pushed the tarts into the toaster and cut off any extra off the arm.
 

I put the pull tab indicator and a coordinating piece of cardstock into my Xyron Sticker Maker and run it through. I then layer the white indicator on top of the purple cardstock piece. I then stick it onto the pull-tab arm right in the notch and fold it over on the scoreline. I like to burnish it with a bone folder.


Then, I turn over the card front panel and add foam to the back and adhere it to the card base. Next, I stamped my sentiments and adhered them to the card front. The top directly to the panel and the bottom one with a bit of foam adhesive. I also added the hat, horn, and mug to the card front.
 

Now, the card is done!

Materials Used
Stamps:
- Toaster, Tarts, Faces & Sentiment
Lawn Fawn - Let's Toast Stamps

 - Happy Birthday Sentiment
Lawn Fawn - Hay There Stamps

Lawn Fawn Party Animal Stamp Set - Hat & Horn
Lawn Fawn - Party Animal Stamps

Dies:
Lawn Fawn - Let's Toast Pull Tab Add-On Dies

I didn't use them, but they are avaible
Lawn Fawn - Let's Toast Dies

Lawn Fawn - Small Dotted Rectangle Stackables Dies
Inks:
VersaFine Clair Ink Pad - Nocturne

Distress Oxide Ink Pad - Tattered Rose
Other Supplies Used:
Adhesive:
Pens:
Sakura Gelly Roll Pen - White & Metallic Silver
Memento Tuxedo Black Pen

Toaster: Copic Markers: 
C1, C2, & C3
Tarts: Spectrum Noir: TN1, RB1, FS6 & PV2
Hat: Copic: G21, G29 & Spectrum Noir: CT4
Horn: Spectrum Noir: CT4 & GY4
Mug: Copic: B00, B01 & B93 Spectrum Noir: TN1
Cardstock
Recollections Brand Heavy Weight
White & Medium Purple

Thank you for stopping by today. I hope you found some inspiration!

Don't forget to come and join in the fun at the Dies R Us Challenge Blog. There's a new challenge theme offered on the 1st and 15th of each month and one lucky randomly drawn winner will receive a gift voucher prize to the Dies R Us Store. For your convenience, all the important Dies R Us links are provided below.