Friday, August 21, 2020

2 Cards using Pencil Me In Set with Joy Clair Designs

Hello Crafty Friends - I am here with 2 cards today featuring our 

Pencil Me Digital Stamp Set, Illustrated by Lindsay Adreon,
features 27 images and sentiments that can be separate for multiple uses. This set is designed to put color to the life. Twenty seven illustrations and sentiments. Exclusive Digital Download purchase includes files in 3 formats: Regular PDF, PNG and JPEG


Here are the 2 cards I created with this set.


Wishing You A Colorful Day

Materials Used:
Copic Markers: Paint Brush - C1, C2, YG06, YR12, YR68

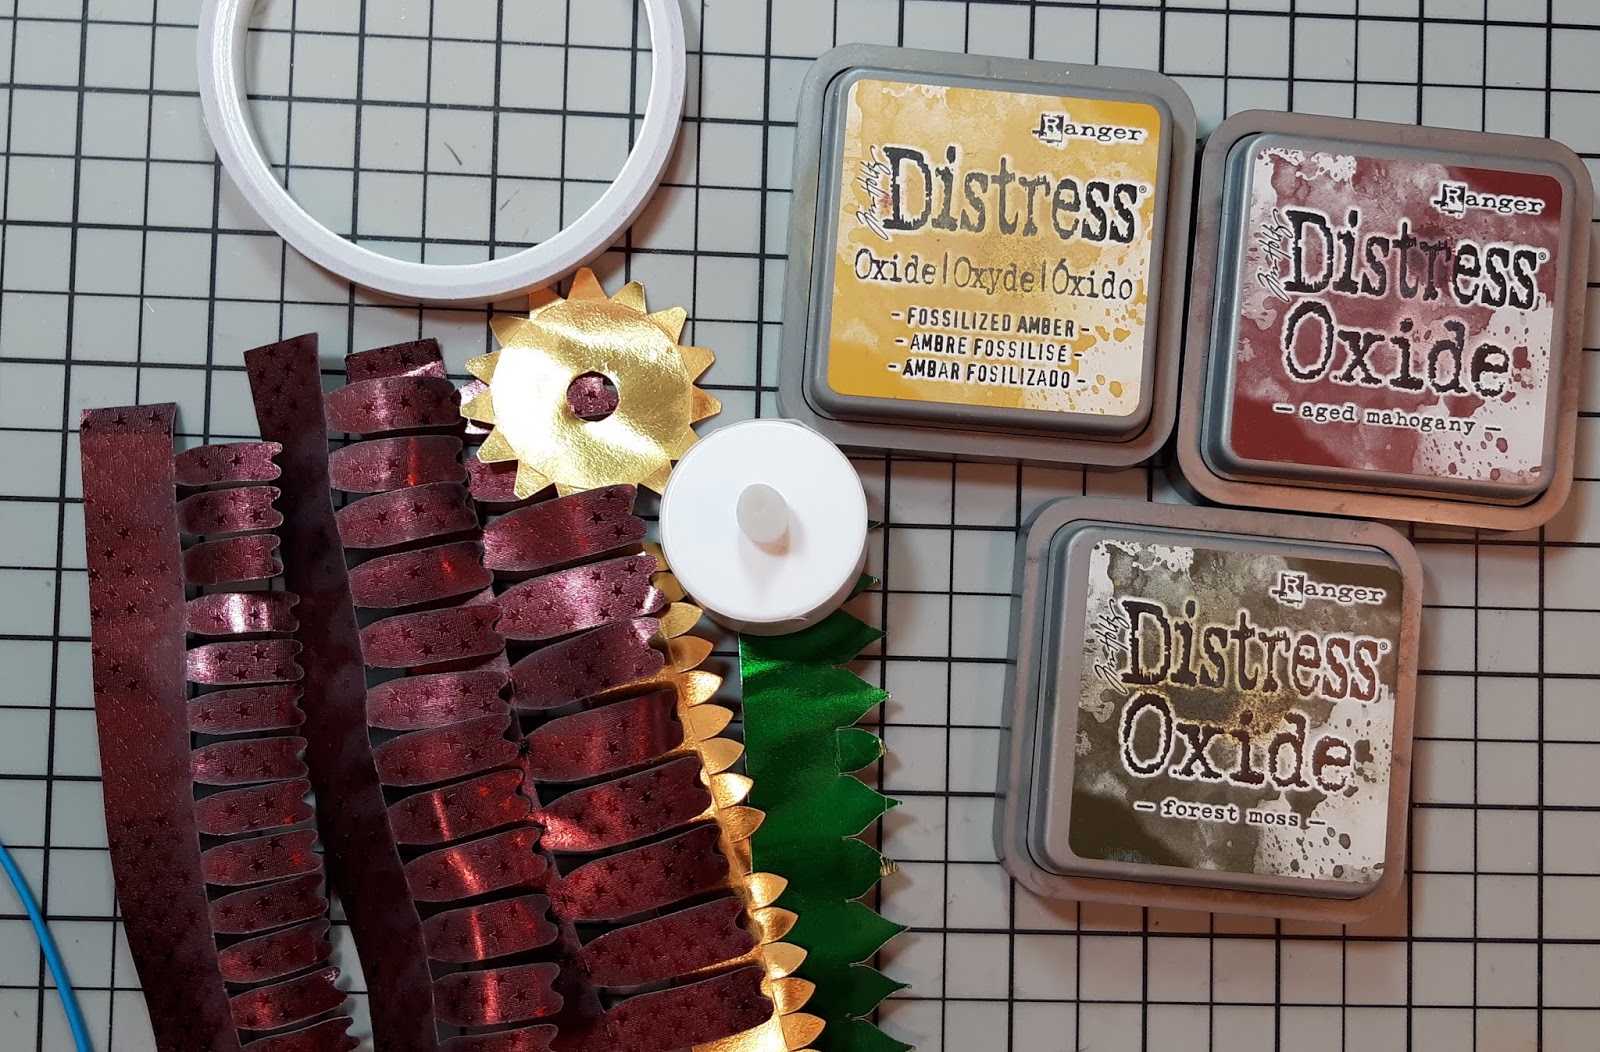
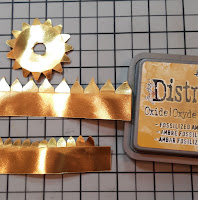
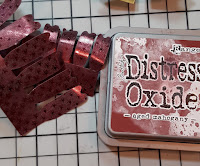
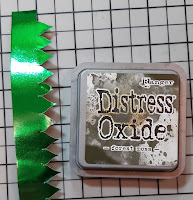
Tim Holtz Distress Oxide Ink: Mermaid Lagoon
Tim Holtz Distress Oxide Ink: Squeezed Lemonade
Tim Holtz Distress Oxide Ink: Twisted Citron
Tim Holtz Distress Oxide Ink: Wilted Violet
Zig Wink Of Stella: Clear Shimmer
MFT: Stitched Fishtail Sentiment Banners
Recollections Brand 110lb Cardstock: White
The Paper Studio Brand Pattern Paper: Bright Blocks
Accent Brand 80lb Ultra Smooth Cardstock: Bright White
Doodles Paper Playground Sequins: Lavender, Yellow. Lime & Lagoon
Art Glitter Glue
Jot Brand: Thin Foam Tape


Pencil Me In Card
Materials Used
Copic Markers: Pencil & Hearts: Y00, Y02, Y32, C5, R20

American Cards Project Life Card: Teen Collection
In Love Arts Die: Stitched Label
Tim Holtz Distress Oxide Ink: Worn Lipstick
AC-Amy Tangerine: Rise and Shine Collection
Recollections Brand 110lb Cardstock: White
Recollections Brand 65lb Cardstock:  Black and Pink
Accent Brand 80lb Ultra Smooth Cardstock: Bright White
Fimo: Tiny Hearts & Stars
Art Glitter Glue
Jot Brand: Thin Foam Tape


Thank you for stopping by the blog today. I hope you found some inspiration!

Please remember to join us on Social Media.

Tuesday, August 18, 2020

Thinking Of You Butterfly Card with In Love Arts

Hello Crafty Friends - I am here with a Butterfly Thinking of You card.

I was invited to create some projects by In Love Arts Shop
Yes, I did my research and this company only sells their own designs.
I am excited to share a few project with you in the following months.

Here is the card I created using the Pattern Butterfly Die.

Here's the Video Tutorial

Products Used from In Love Arts Shop:

Other Products Used:
Art Glitter Glue
Recollections Brand 110lb Cardstock: White
Recollections Brand 65lb Cardstock: Teal
Darice Brand :Embossing Folder
ColorBok Glitter Cardstock: Teal
Gold Shimmer Cardstock
Tsukineko: VersaMark Ink
Ranger Brand Embossing Powder: Detail Gold
MFT Brand: Fishtail Sentiment Strip
Sincere Sentiments Stamp Set

Thank you for stopping by the blog today. I hope you  found some inspiration!

Please stop by the In Love Arts Shop to see all the wonderful products they have in shop.

Monday, August 17, 2020

With Heartfelt Thanks Card with Die Cut Divas

Hello Crafty Friends - I am here with another card featuring the Sketchy Rose Spray Digital Stamp by Rachel Vass Designs for Die Cut Divas Monthly Challenge.

Rachel Vass Designs is our terrific sponsor for August. 
The theme for August is all about the FLOWERS.

Rachel Vass Designs specializes in beautiful floral hand-drawn digital stamps.


The challenge winner will be able to pick 
three digi stamps from her store.

Here's the card I created with the Sketchy Rose Image.

Materials Used:
Copic Markers: Leaves: YG06, G07, & G14
Rose Petals: C1, Y0000, Y02, R20,  & 0
Dies: Pink Fresh Studio: Slimline 
MFT: Fishtail Sentiment Strip
Sakura Gelly Roll Pen: Gold
Recollections Brand 110lb Cardstock: White - card base
Recollections Brand 65lb Cardstock: Light Pink & White
Accent Brand 80lb Ultra Smooth Cardstock: Bright White
Doodles Paper Playground: Sequins
Heart and Jewels

Thank you for stopping by the blog today. I hope you found some inspiration!

Don't forget to join the challenge over at The Die Cut Diva's Blog

Friday, August 14, 2020

Doodles Paper Playground August 2020 New Release Hop

Together with the Doodles Paper Playground design team, 
I am participating in the August Sparkle Blends Release Inspiration Blog Hop! 

There were 12 amazing new Sparkle Blends in this release &; I am so excited to share some of them with you! Make sure you head over to the Sparkle Blends Shop & check out Pizza Party

 If you act quickly, there even a few discounted release bundles left for order that include 2 free gifts &; you will receive a pack of Glow In The Dark Bubbles with every order of $10 or more (while supplies last)!

Want a chance to win one of 6 awesome prize packs? Make sure you leave comments on all blog hop posts! Comments must be posted no later than 11:59pm Eastern on Sunday, August 16th 2020. See the Doodles Paper Playground Hop Post for additional prize info, giveaway rules and entry details!
Use Coupon Code: AUG15OFF to take 15% off your total order. 
(Excludes August Release Bundle. Can not be combined with other coupons or offers. Can not be applied to previous Purchases. Offer ends August 22nd, 2020.)

Here's the card I created using Grown Up Grape Juice

Please hop along with the Design Team Below

Annie (you are here)
EK

Thursday, August 13, 2020

Happy Birthday Card with In Love Arts

Hello Crafty Friends - I am here with a floral birthday card.

I was invited to create some projects by In Love Arts Shop
Yes, I did my research and this company only sells their own designs.

I am excited to share a few project with you in the following months.

Here is the card I created using the Plant Leaf Flowers Stamp and Diamond Grid Background Die.

Here's the Video Tutorial

Products Used from In Love Arts Shop:

Other Products Used:
Copic Markers: Y11, RV11, RV95, G14, G07, 
BV00, BV01, BV02, B00, B01,  & B02
VersaFine Ink: Onyx Black
Art Glitter Glue
Recollections Brand 110lb Cardstock: White
Recollections Brand 65lb Cardstock: Lavender
Accent 80lb Ultra Smooth Cardstock: Bright White
Jewels: Lavender and Aqua

Thank you for stopping by the blog today. I hope you  found some inspiration!

Please stop by the In Love Arts Shop to see all the wonderful products they have in shop.

Wednesday, August 12, 2020

Hello Crafty Friends - Annie here with a sweet Moon Fairy Card.

Please note that I misspoke -
The Fairy Hugs - Fairy-Scapes 6X6 Cardstock Pattern Papers
Do NOT come in a pack. They are sold individually.

Here's the tutorial video
Products Used: 

 Other Products
 EK Succes Powder Tool 
DCWV Shimmer Cardstock: Slate Blue
Recollections Brand 110lb Cardstock: White 
Recollections Brand 65lb Cardstock: Blue 

Thank you for stopping by the blog today. I hope you found some inspiration! 

Lavinia World Resident Artist/Design Team Member 

Tuesday, August 11, 2020

Daisy Tea Light with Rinea

Hello Crafty Friends - I am here with a fun and quick table decoration featuring our

Materials Used:
Distress Oxide Ink: Aged Mahogany
Distress Oxide Ink: Forest Moss
Distress Oxide Ink: Fossilized Amber
Imagine Crafts: Tear It Tape
Mainstay Brand: Battery Tea Light
Brother Scan n Cut Machine

Let's get started.

I used the Brother Scan n Cut to cut all the pieces for the daisy.
I cut the 3 sizes of the daisy's petal from Rinea: Merlot/Merlot Starstruck Foiled Paper.
I cut the 2 centerpieces of the daisy from Rinea: Gold/Gold Glossy Paper. Finally, I cut the leaves from Rinea Emerald/Gold Glossy Paper

Next, I inked the center Rinea: Gold/Gold Glossy Paper with Distress Oxide ink Fossilized Amber, followed by the  Rinea: Merlot/Merlot Starstruck Foiled Paper petals in Distress Oxide ink in Aged Mahogany and thRinea Emerald/Gold Glossy Paper leaves with Distress Oxide ink in Forest Moss. I do this for extra definition and to hide the white core of the Rinea Foiled Paper. I then applied Imagine Crafts tear it tape to all the pieces.
  

Then, I applied some Imagine Crafts tear it tape to the base of the tea light. I then placed the top of the daisy to the tea light. It just slips onto the tea light. Next, I remove the backing to the adhesive and press the top's anchoring tabs to the side of the tea light.  


Next, I remove the backing for the tear tape and start applying the Rinea: Gold/Gold Glossy Paper center petals. You just press them to the sides of the tea light. 
  

Then, I repeated the process with the Rinea: Merlot/Merlot Starstruck Foiled Paper. Starting with the small petals, then medium petals, and finally the large petals.

I again repeated the process with the Rinea Emerald/Gold Glossy Paper leaves.

Here's what the daisy tea light looks like on its side. Then, gently curl the leaves and petals downwards to form the daisy. I love that the Rinea Foiled Paper holds its shape.


Now, the Daisy Tea Light is complete! 
This little tea light is perfect for any table setting. With fall just around the corner the New Release 
Rinea: Merlot/Merlot Starstruck Foiled Paper will make it so easy to create beautiful Fall projects.


Thank you for stopping by the blog today. I hope you found some inspiration!

Don't forget to stop by the Rinea Shop to pick up some of our wonderful Foiled Paper.