Friday, March 19, 2021

You & Me = Perfect Blend Shaker Card with White Rose Crafts Coffee Lovers Hop!


We are so excited to be a part of the Spring/Summer Coffee Lovers Hop! 

If you are New here welcome to White Rose Crafts! We specialize in  International crafting supplies. We have unique and hard to find stamps, stencils and papers, mediums and so much more from around the world without the international Shipping cost.We carry over 4000 different products - we have a little something for everyone!

This is always one of our favorite events of the year and we are excited to be offering a prize of one of our Coffee Themed Craft Kits.

The "Seriously Caffeinated" cardmaking and craft kit is available now for purchase and shipping. So, you don't want to miss out on this Wonderful kit! You can view the kit on the White Rose Crafts Blog.

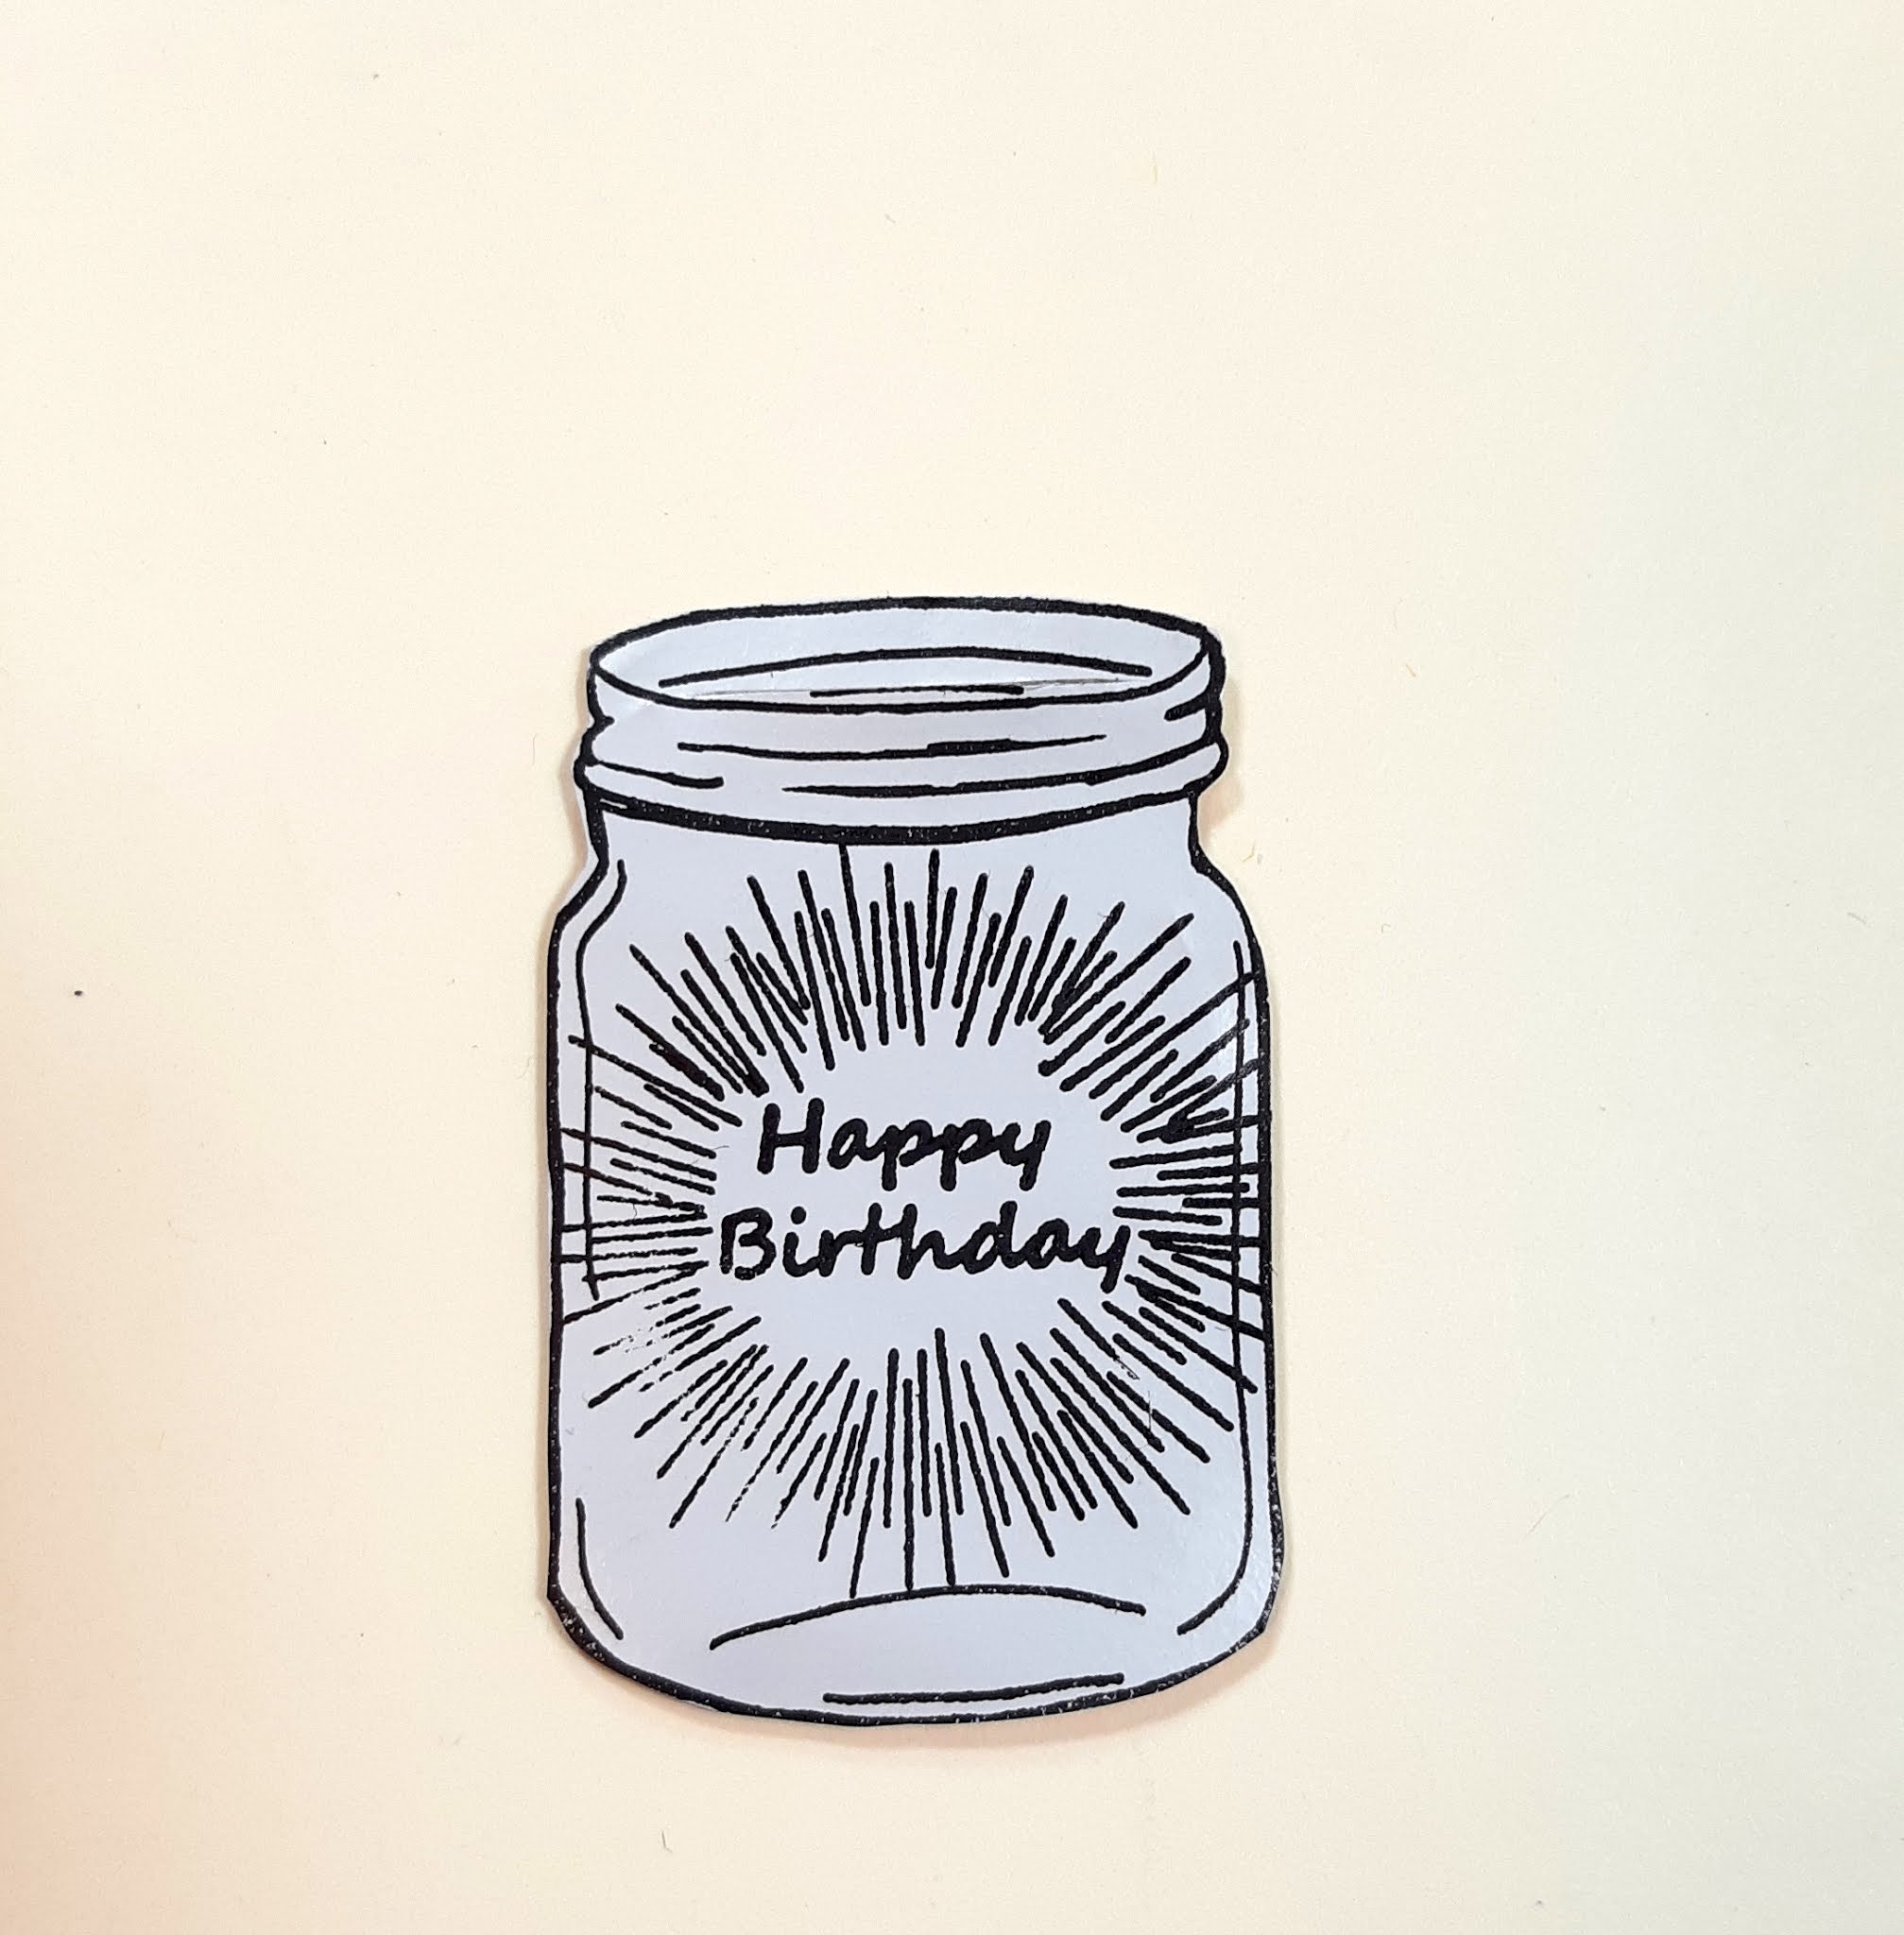
Here's the card I created using components from the kit.


Supplies Used:
Seriously Caffeinated" cardmaking and craft kit
(cardbase & envelope, die cut frame, sentiment sticker, 
tiny coffee cup stickers, mixed flower rhinestones, Echo Park pattern papers)
Distress Oxide Ink: vintage Photo
Acetate
Foam Adhesive
Sequins

Thank you for stopping by the blog today. I hope you found some inspiration!


Thursday, March 11, 2021

Bunny and Carrot Goodie Holder with Rinea

Hello Crafty Friends- I am here with a fun project for you today. These cute Bunny and Carrot goodie holder are perfect for Easter. I know that the kiddos will love to have one or both in their basket or at their table setting.

Supplies Used:
Distress Oxide Ink: Carved Pumpkin
Distress Oxide Ink: Hickory Smoke
Copic Multiliner .01
Imagine Crafts: Tear It Tape
Aleene's Tacky Glue
Green Paper Clip
White 80# Cardstock
Light Green Satin Ribbon 
Green Leafy Trim
Tim Holtz Tiny Attacher
Scissors
Small Hole Punch
Template (see below)

Bunny

I printed the template onto my white cardstock and trimmed it out. I then adhered it to the back of 
Rinea Foil Paper: Glossy Arctic/Gold. Next, I trimmed it out on the cut lines. I then, score it on the score lines indicated on the template. Next, I inked the edges with some Distress Oxide Ink in Hickory Smoke. I punch some circles from the Rinea Foil Paper: Starstruck Ebony/Ebony for the eyes of the bunny and I cut some small petal shapes and a tiny triangle from the Rinea Foil Paper: Starstruck Blush/Blush for the inner ears and nose of the bunny.


Carrot

I printed the template onto my white cardstock and trimmed it out. I then adhered it to the back of 
Rinea Foil Paper: Starstruck Marigold/Marigold. Next, I trimmed it out on the cut lines. I then, score it on the score lines indicated on the template. Next, I inked the edges with some Distress Oxide Ink in Carved Pumpkin. I cut 2 strips of the Rinea Foil Paper 1 in Rinea Foil Paper: Glossy Jade/Gold and 1 in


Next, I put some Imagine Crafts Tear It tape of the side tab of the Carrot and adhered it shut. I set it aside. Then, I trimmed my ribbon and leafty trim to about 4". I placed the ribbon, trim, and Foil Paper into the paper clip and used the Tiny Attacher to hold them in place. Next, I attached the clip to the top of the Carrot.


Now, both you Bunny and Carrot Goodie holders are complete. You can fill them with Jelly Beans, stickers, chocolate etc. I hope you give this fun project a try using our Wonderful Foil Papers.


Thank you for stopping by the blog today. I hope you found some inspiration!!

Wednesday, March 10, 2021

Mini Card Set and Folder with Stamploration

Hello Crafty Friends - I am so honored to be Guest Designing for Stamploration.

Today, I am sharing with you 4 cards and a mini holder featuring the Boxed Blooms Set - 4 Digital Stamps perfect for a gift. You can add a ribbon or clip for a closure. 


These are mini square cards (3-1/4"x3-1/4"). I printed the Boxed Blooms Set - 4 Digital Stamps onto Accent Opaque White cardstock and colored the images with my Copic Markers. Next, I trimmed my image. I then used the Halftone Slant Slimline Stencil to dry emboss onto 110# white cardstock. I then, die cut them into squares.


I adhered the image using some thin craft foam to the embossed stenciled background. I used the Big Greeting Stamp set for my sentiments. I kept it simple and used the same sentiment on all 4 cards.

I then created a mini folder to hold the card set. I attached a photo of the template I created below. 


Close up inside of folder.


Template 11" long X 4-3/4" wide. Score at 1-1/2" from each end. Score about 1/2" from the bottom to create the tabs. Cut in angle. Score in center.


Please, share your projects using this wonderful digital stamp set with us. We would love to see them.

Thank you for stopping by the blog today. I hope you found some inspiration!

Monday, March 1, 2021

Spring Greeting with Die Cut Divas

Hello Crafty Friends - I am here with a fun Spring card. 

It's a New month so that means a New Challenge on the Die Cut Divas Blog.

I made a mini slimline card featuring the Sunny Studio Spring Greetings Stamp Set.


Supplies Used:
Sunny Studio: Spring Greeting Stamp
Memento Ink: Tuxedo Black
VersaMagic Inks: Pretty Petunia, Thatched Straw and Mango
DCVW: Spring Stack (pattern paper)
Accent Brand 80# Cardstock: Opaque White Smooth
Recollections Brand 110# Cardstock: White
Recollections Brand 65# Cardstock: Light Green and Medium Blue
Bearly Art Glue
Foam Tape
Copic Markers: Tulips: Stem:YG06 & G03
Petals: Y11, Y02, R20, & R21
Bunnies: W1, W3, W5, & R30

Our sponsor, Sunny Studio Stamps has some fabulous products and our DTs want to show you some of them.


This month, it's all about making those slimline cards.  

Winner will receive a $15 gift card from Sunny Studio Stamps

Also note: they have free digital downloads at http://sunnystudiostamps.blogspot.com/p/blog-page.html#.X9aeFthKhPY

Join us in our merry use of stamps and dies from Sunny Studio Stamps, our fabulous sponsor for March. Note you can use any stamps and dies you have.  

Thank you for stopping by the blog today. I hope you found some inspiration!

Friday, February 26, 2021

Floral Happy Birthday Card with Rinea and It's Cheaper Than Therapy

Hello Crafty Friends - I am here with a fun Love card featuring 
our wonderful Rinea Foil Paper.

Material Used:
Joy Clair Doodles Flowers Stamp Set (Jar)
Stazon Ink: Jet Black
Memento Ink: Pear Tart
Recollections Brand 110# Cardstock: White 
Recollections Brand 65# Cardstock: Medium Pink and Cream
Bearly Arts Glue
Crafter's Choice: Foam Adhesive


I die cut all the florals from our foil paper. I arranged them and adhered them onto my card front. Next, I stamped the jar and the sentiment onto Rinea Foil Paper Glossy: Arctic/Gold and trimmed it out. I then adhered the Jar using foam adhesive - making sure that the flower stems were tucked into the jar. Then, I stamped a few of the smaller starburst using some Memento Ink: Pear Tart around the flowers.

I adhered my card front to the card base. Our card is complete!

Thank you for stopping by the blog today. I hope you found some inspiration!

Wednesday, February 24, 2021

3 Cards 1 Stamp Set with Stamploration Stamps

Hello Crafty Friends - I am so honored to be Guest Designing for Stamploration for the next few months.

Today, I am sharing with you 3 cards featuring the Fluttery Garden A2 Card Front Digital Set.

Card # 1 - Hello 

This card is a mini slimline (3x6). I printed the Fluttery Garden A2 Card Front Digital Set onto Accent Opaque White cardstock and colored the image with my Copic Markers. Next, I trimmed my image. I then used the Halftone Slant Slimline Stencil with some Imagine Crafts Creative Medium in Shimmer with a bit of Fireworks Spray in the color Summer Sky on 110# white cardstock. I adhered the image using some foam tape to the stenciled background. I used the Big Greeting Stamp set for my sentiment.

Card # 2 -  Thanks So Much

This card is a A2 standard card. I printed the Fluttery Garden A2 Card Front Digital Set onto Accent Opaque White cardstock and colored the image with Distress Oxide Inks for a soft watercolor effect. I added a bit of gold with a Sakura Gelly Roll pen. Next, I trimmed my image. I then used the Xoxox Stencil with some Imagine Crafts Creative Medium in Gold on a110# white cardstock panel. I adhered the image using some Bearly Arts Glue to the stenciled background. I used the Big Greeting Stamp set for my sentiment.

Card # 3 - Happy Birthday Shaker card

This card is a A2 standard card frameless shaker card. I printed the Fluttery Garden A2 Card Front Digital Set onto Accent Opaque White cardstock and colored the image with my Copic Markers. Next, I trimmed my image. I wrapped a bit of plastic packaging around 110# white cardstock panel. I then added some sequins to the panel. I adhered the panel closed and adhere it to the pink cardstock panel.I adhered the image using some Bearly Arts Glue to the shaker panel. I used the Big Greeting Stamp set for my sentiment.


 I love to mix digital stamps with stencils and bold sentiments. All three cards have the same image and similar colors but each has a different feel. I hope you enjoyed the cards I created for you today.

Thank you for stopping by the blog today. I hope you found some inspiration.


Thanks Card with Fairy Stamper

Hello Crafty Friends Annie here with a Thank card Featuring Ciana Fairy.

Video Tutorial

Supplies Used:
Here's a link to a Thanks Die Lawn Fawn - Scripty Thanks 
I used A Thanks Die from The Maker's Movement 
Strathmore Cold Press Watercolor Cardstock 
Recollections Brand 110# Cardstock: White
 Dollar Tree Thin Craft Foam
 Distilled Water and Spray Bottle

Thank you for stopping by the blog today. I hope you found some insspiration!