Hello Crafty Friends - I am here with a fun project featuring the Clear Scraps DIY Tier Tray and the Clear Scraps Mini Pallet Flower.

Supplies Used:
Plaid Paints: White, King's Gold and Aquamarine
Water
Wood Glue
Masking Tape
Papertowels
Mircofiber Towel
Paint Brush
Sandpaper & Sanding Block
Magnet Sheet
Crinkle Circle Die
Glue Stick & Hot Glue Tool

Let's get started!
I start by gathering the supplies for the Clear Scraps: Mini Pallet Flower.


I adhere the die cut making tape circle to the center of the Clear Scraps: Mini Pallet Flower.
Pressing it firmly onto the center.

I paint the entire Clear Scraps: Mini Pallet Flower white.

I remove the making tape and paint the center with the golden paint.
I set the Clear Scraps: Mini Pallet Flower to the side to dry.


Next, I gather the pieces of the Clear Scraps: DIY Tier Tray

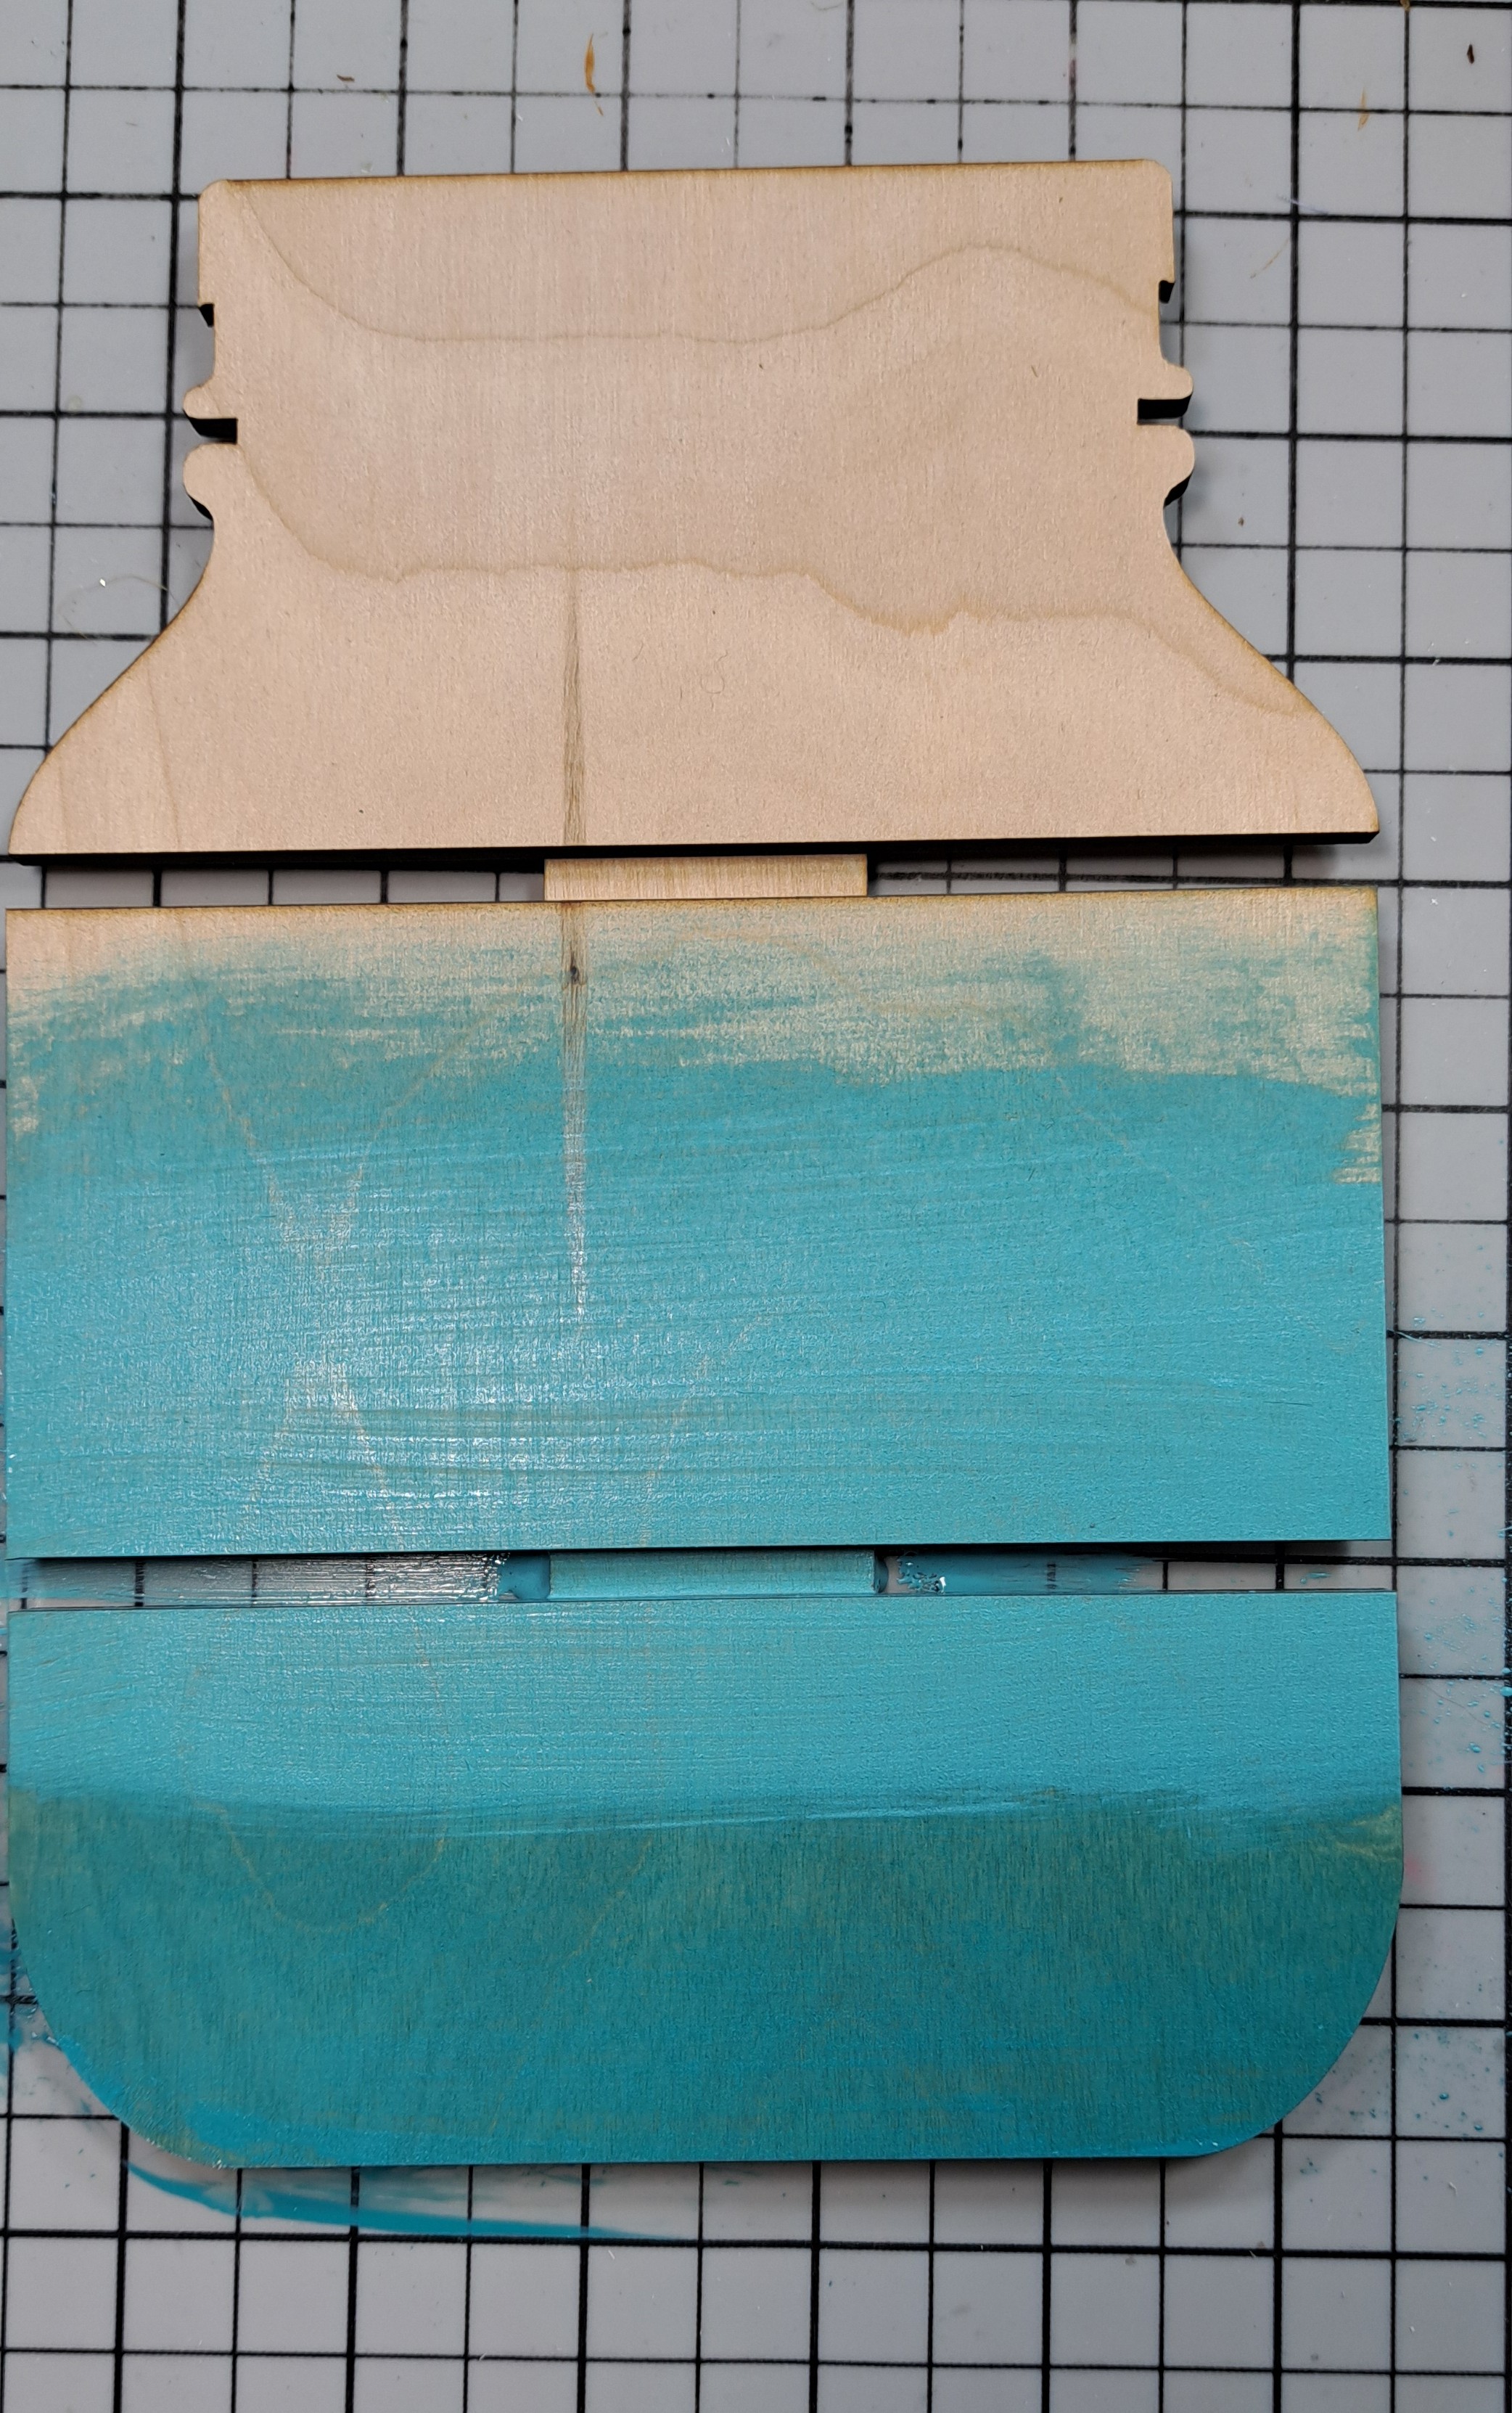
I start by painting the sides of the Clear Scraps: DIY Tier Tray with the Aquamarine paint that has been watered down a bit. I quick wipe off the paint with a papertowel creating a wash affect on the pieces. I repeat the process on all the pieces of the Clear Scraps: DIY Tier Tray


Then, once the pieces are dry(they dry quickly with the wash effect) I sand the edges of all the pieces. This gives the pieces a rustic look. Which goes perfectly with my kitchen.

I repeat this on all the pieces even the flower.

Now, it's time to assemble the Clear Scraps: DIY Tier Tray. I put a bit of wood glue on the tab of the bottom tier and the sides of the pieces. I insert them into the slots. I tape the sides using the palm of my hand to make sure they are completely inserted. Repeat for the top tier.

I glue the little strips or edges of each tier in place.

(because I do not own mini wood clamps).


Once the tier tray is dry I add strip of magnet sheet to the back of the flower and to the right hand corner of the bottom tier. I adhered the magnet with a bit of hot glue.


This will be where I will change the decorative piece with the other fabulous pieces of wood shapes that Clear Scraps has to offer for the seasons and holidays.

Now, the Clear Scraps: DIY Tier Tray is done!


Thank you for stopping by the blog today. I hope you found some inspiration!
Follow us for more inspiration on social media: