Showing posts with label Nuvo Drops. Show all posts

Thursday, February 20, 2020

A Little Kindness Card With Dies R Us

Hello Crafty Friends - I am here with a cute and easy card featuring Poppy Stamps and Dies.


Let's get started!

I gathered all the materials for the card. 


I die cut all the components and trimmed my cardstock and pattern paper. I die cut the trees twice.
I stamped my sentiment onto white cardstock. I matted the light blue cardstock onto the yellow pattern paper. 
 
Then, I adhered the green hill to the panel. Next, I adhered the light green trees onto the dark green trees. I wanted a lighter feel to the tree.
  

Next, I put the little sheep together. I used foam adhesive on the back of the sheep's body. I inlayed the head of the sheep. Then, I attached the legs with a bit of liquid and foam adhesive. Next, I adhered the hair and ears. 
  

Then, I used the Gelly Roll Pen in glitter to make small u shapes and dots on the sheep's body. I used a white Gelly Roll pen for the eyes.

I removed the backing from the adhesive and pressed the sheep into place. 
I adhered the card front panel to the card base.
 
Next, I adhered the flowers and the sentiment to the card panel. Then, I added a drop in each flower center of Nuvo Crystal Drops in pale gold.

Now, the card is complete!

Materials Used:
Poppystamps -Dies - Simple Sheep

Poppystamps - Dies - Sloping Hillside

VersaFine Clair Ink Pad - Nocturne
See the source image
Gelly Roll Pens - Clear Glitter - Set of 2

Gelly Roll Pens - White - Set of 3
DCWV Pattern Paper
Recollections Brand 110lb Cardstock: White and Black
Recollections Brand 65lb Cardstock: Dark Green, Light Green, and Light Blue


Thank you for stopping by the blog today. I hope you found some inspiration!


Before I write the list of the supplies I used, I wanted to share some exciting news with you. Dies R Us now has a sister store called Didi Crafts, which has warehouses located in the USA and Canada. Didi Crafts carries some of the same products as Dies R Us, but most are different and you will be able to purchase a huge variety of crafty supplies for a variety of crafts. Having this sister store means that our Canadian crafting friends won't have to worry about huge taxes or shipping fees. Isn't that great?! Go take a peek and be pleasantly surprised!

Don't forget to come and join in the fun at the Dies R Us Challenge Blog. There's a new challenge theme offered on the 1st and 15th of each month and one lucky randomly drawn winner will receive a gift voucher prize to the Dies R Us Store. For your convenience, all the important Dies R Us links are provided below.


click below for:


Monday, October 21, 2019

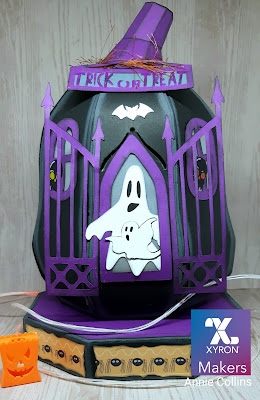
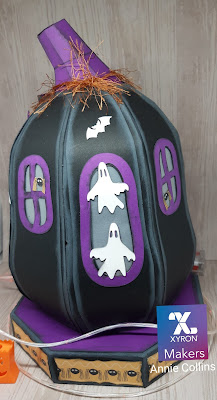
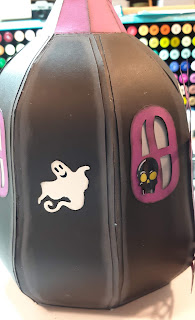
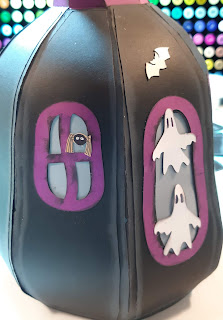
Halloween ghostly Pumpkin With Xyron

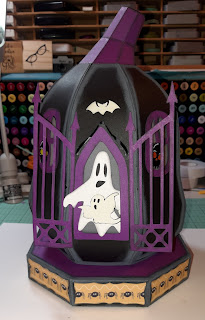
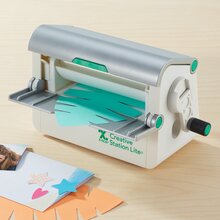
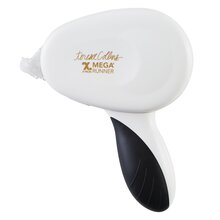
Hello Crafty Friends - I am here with a fun 3D Project using Xyron's Creative Station Lite and Xyron Teresa Collins Mega Runner with 1/4" adhesive.

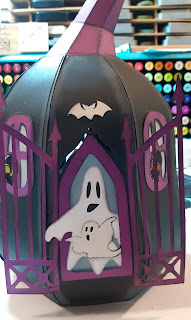
I used the Ghostly Pumpkin cut file from Simply Crafty SVGs for my project today.

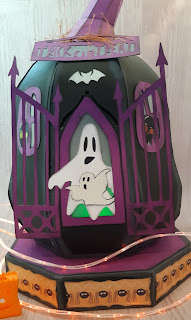
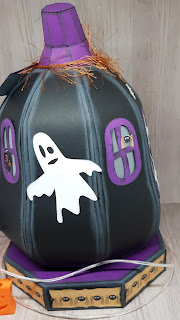
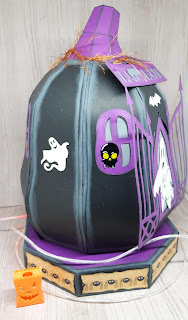
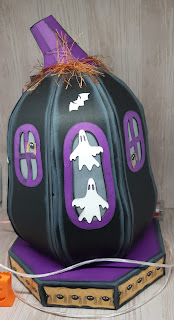
Here's my Project. 


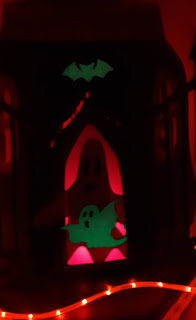
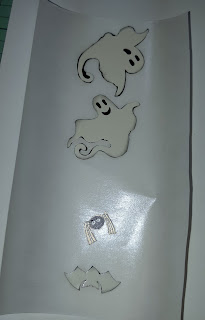
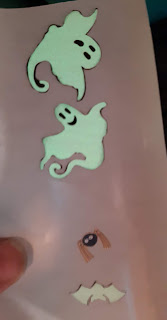
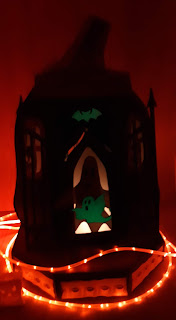
I added some Glow in the Dark Ghosts and Bats.

Let's get started!

I am going to break it down into sections. It will be easier to follow this way.
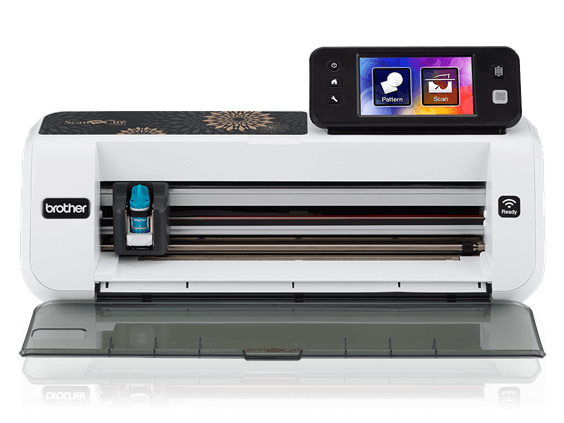
I start by downloading the Ghostly Pumpkin cut file and then uploading it into my Brother Canvas Workspace Software. **(if you have another electronic die cutting machine you can use that. If you don't you can use the PDF as a reference)

I then cut all the pieces I need to create the Ghostly Pumpkin. Then, I get some Distress Oxide Inks to ink the edges of the papers.

I ink the Black pieces with Hickory Smoke Distress Oxide ink and the Purple pieces with Black Soot Distress Oxide ink.

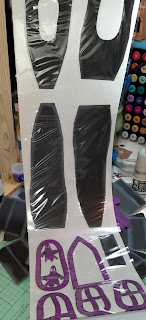
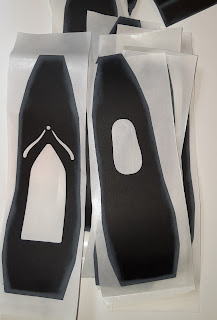
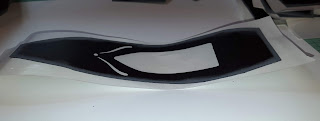
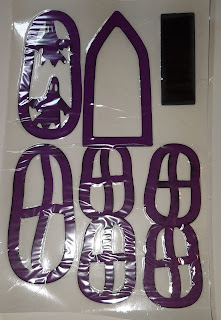
Next, I run the outer panels of the pumpkin, the windows, door ghosts, bats, spiders, and small decorative panels through Xyron's Creative Station Lite. This will make decorating the pumpkin quick and easy.

Pumpkin Base Assembly
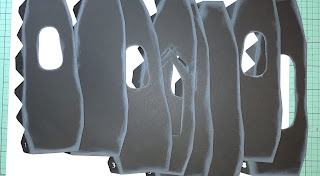
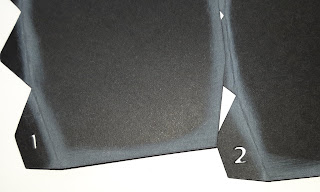
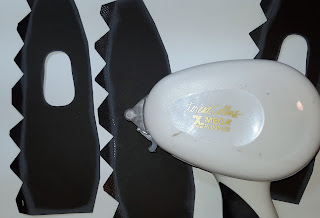
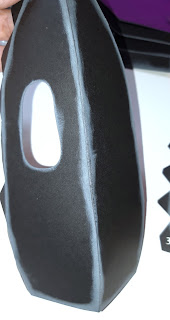
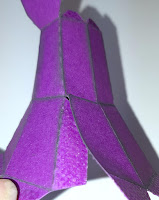
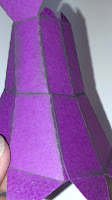
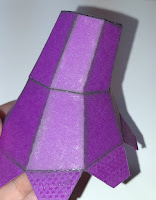
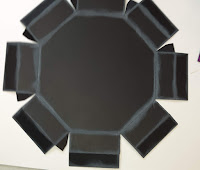
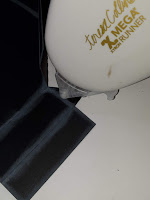
The base pieces are numbered 1-8. I put some Mega Runner adhesive on the tabs and start adhering the panels together. Take your time with this it's your foundation. You want to move slow to make sure your pumpkin forms nicely.


When all the panels are adhered your pumpkin base is done.

The Stem Assembly
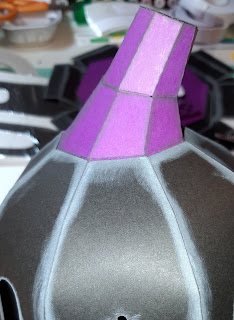
Now, the stem is small and can be a bit tricky. but if you take your time you can do it. I added Mega Runner adhesive to all the tabs. 

Next, I adhered the two pieces together. 
The stem will have a tilt to it. Then, I adhered the ends together. 
  

Next, I pushed down on all the small tabs of the top of the stem. I slowly line up the top flap and press in place. Then, I insert the stem into the pumpkin and press the tabs onto the inside of the pumpkin. **(you can decide which way you want your stem to be. Tilt to the left, right or back)


Outer Panels
I cut the panels apart. The Xyron Creative Station Lite strip is long and I want to work with each panel individually. I gently shape each panel to match the form of the pumpkin base. **(You can emboss your panels using an embossing folder. I chose not too. I chose to ink my edges). 
 

Next, I peel one end of the panel and place it onto the pumpkin base. I then slowly remove the backing of the Xyron Creative Station Lite strip and press the panel into place. The Xyron Creative Station Lite makes this part so easy. No messy glue to worry about just peel and go.
  

Door and Windows
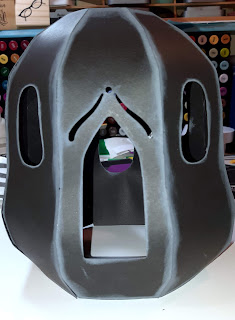
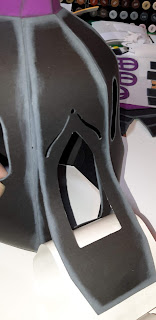
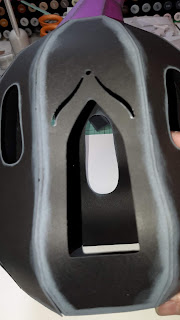
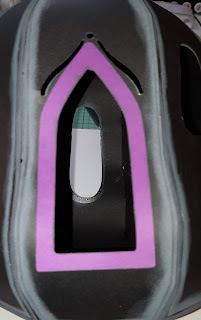
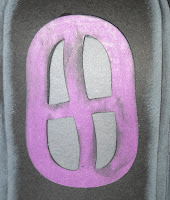
I remove the plastic cover from the door and windows. I gently start placing them onto the pumpkin. Again, the Xyron Creative Station Lite makes this part so easy. No messy glue to worry about just peel and go. I start with the door frame then move onto the windows.
 

I decided I wanted to add a bit of vellum to my windows. You don't have to do this if you prefer not to. I just cut small rectangles of vellum and using the Xyron Teresa Collins Mega Runner with 1/4" adhesive I just ran a bit of the adhesive on the edges of the vellum and press into place. I just did this on the inside of the pumpkin.
  

Decorating the Ghostly Pumpkin
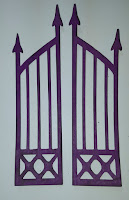
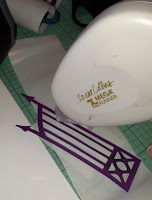
I started with the ornate gate for the door.  I simply used the Xyron Teresa Collins Mega Runner with 1/4" adhesive on the small side of the gate and then pressed the gate into place next to the door. One gate door on either side of the door opening. 
 

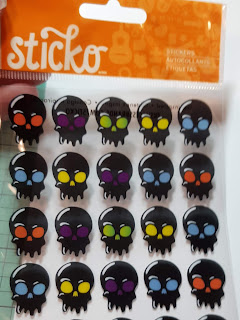
Next, I placed the ghosts in the door and window, along with some spiders, bats, and skulls
I cut some glow in the dark ghosts and bats from pattern paper. I thought it would give a fun effect. **(if you can't find this glow in the dark pattern paper. You can always heat emboss your ghost with some glow in the dark embossing powder or use some glow in the dark paint).


Platform Assembly
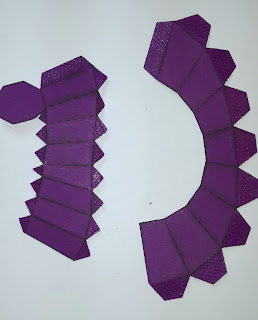
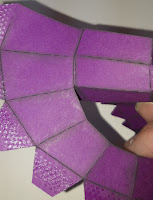
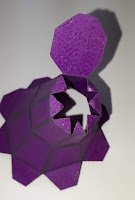
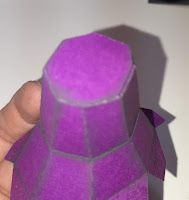
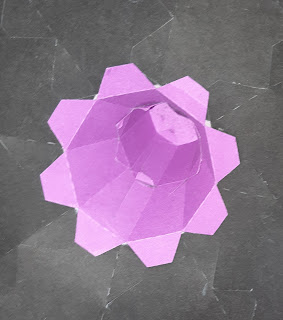
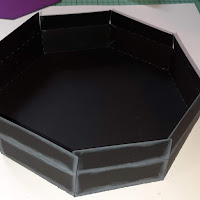
I added some Xyron Teresa Collins Mega Runner with 1/4" adhesive. to all the tabs(small triangles) of the platform.  Then, I press the side up onto the tabs. Making sure the tabs are inside. 


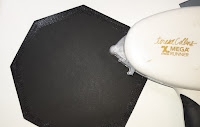
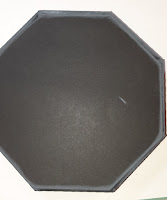
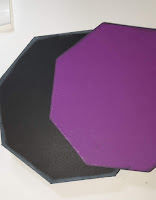
Next, I put some Xyron Teresa Collins Mega Runner with 1/4" adhesive on the edge of the black octagon panel and press it onto the platform to close the base.
  

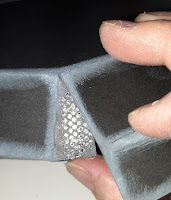
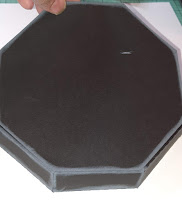
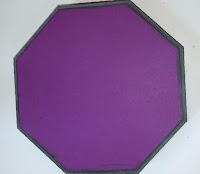
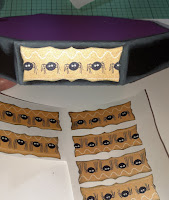
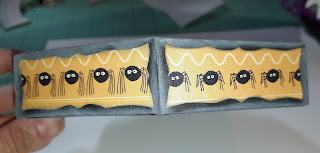
I flipped the platform over and adhered the purple octagon onto the platform base. Then, I added the pattern paper panels to the platform base edge. Again, quick and easy because of the Xyron Creative Station Lite 


Sign Assembly
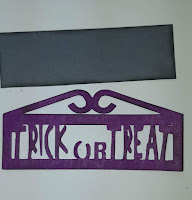
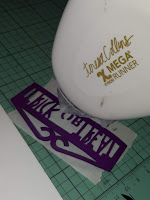
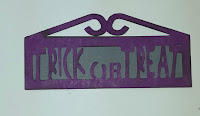
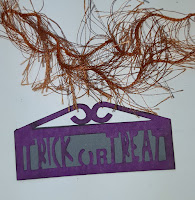
This is a simple one. I added adhesive using Xyron Teresa Collins Mega Runner with 1/4" adhesive on the edge of the backside of the word part of the sign. I press it onto the gray cardstock piece and the sign is ready for some string to hang it.
  

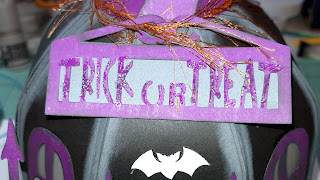
I used a bit of Eyelash yarn for some whimsy. I simply strung the yarn through the top part of the sign and wrapped it around the stem and tied a knot on the back. I added a bit of adhesive on the back of the sign to secure it in place. I also added a bit of Nuvo Glitter Drops in white blizzard for a bit of sparkle.
 

Now, the Ghostly Pumpkin is complete!

With the lights off - showing the glow in the dark ghost and bat


Materials Used:
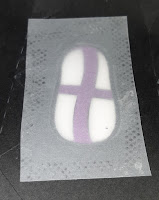
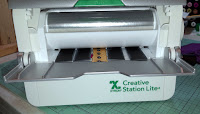
Xyron Creative Station Lite
Teresa Collins Mega Runner
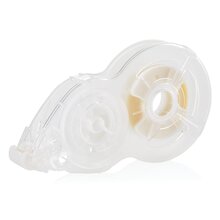
Xyron .25" Mega Runner Adhesive Refill

CM350_frontopen


img
img
img
img

Rose Gold Yarn Bee Gilt Eyelash Yarn

Thank you for stopping by the blog today. I hope you found some inspiration!