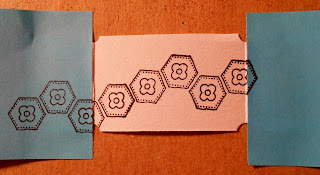
Handmade Tickets
Supplies:
*8-1/2x11" Cardstock/Pattern Paper (You can use any color - I just use white for tutorial purposes)
Stamps
Ink
Watercolor Pencils/Copic Markers
Post - it or any scrap paper
Mists (optional)
Trimmer
Hole Punch
Score Board (optional)
*You can use any scrap piece of paper that measures 1-1/4X10"
Directions:
Ticket base:
Cut cardstock/pattern paper 1-1/4" Wide by 10" Long.
Then score at every 2".
Fold on the score lines. (see photos)
I drew a notch point for the picture purpose you don't have to do this unless you find it easier.
As you can see the tickets are forming.
This is what your ticket base should look like when all the notches are done.
Decorating your Tickets:
Use stamps to decorate your tickets. I like adding some mists too. You can use anything in your stash to decorate them actually. For tutorial purposes I didn't use anything dimensional; I used stamps, watercolor pencils and mists.
I used a post-it to cover the next ticket so not to stamp on it.
When stamping the next one I used 2 post-its.
This is what a group of stamped tickets will look like. Uncolored.
This is what they look like colored in.
You can make this in any theme. It's a great way to use up those scraps too!


1 comment:
Great idea. Tks for sharing!
Post a Comment