
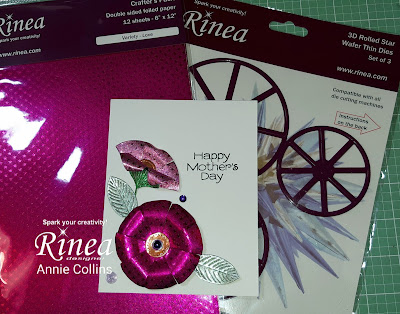
Hello Crafty Friends - I am here with a quick and easy Mother's Day Card.
I used the 3D Rolled Star Die to create some flowers for my card and added a sentiment.

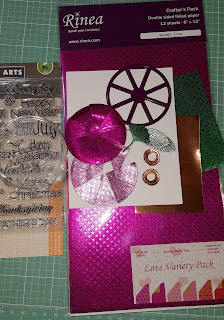
Materials Used:
Other Items:
Hero Arts CL498 - Celebrate Stamp Set
StazOn Jet Black Ink
Cardstock: Recollections Brand 110lb White
Evaney Stamps/Dies: Small Stitched Circle
Evaney Stamps/Dies: Small Stitched Circle
Manual Die Cutting Machine
Adhesive: Aleene's Tacky Glue & Jot Brand Low Profile foam
So, let's get started.
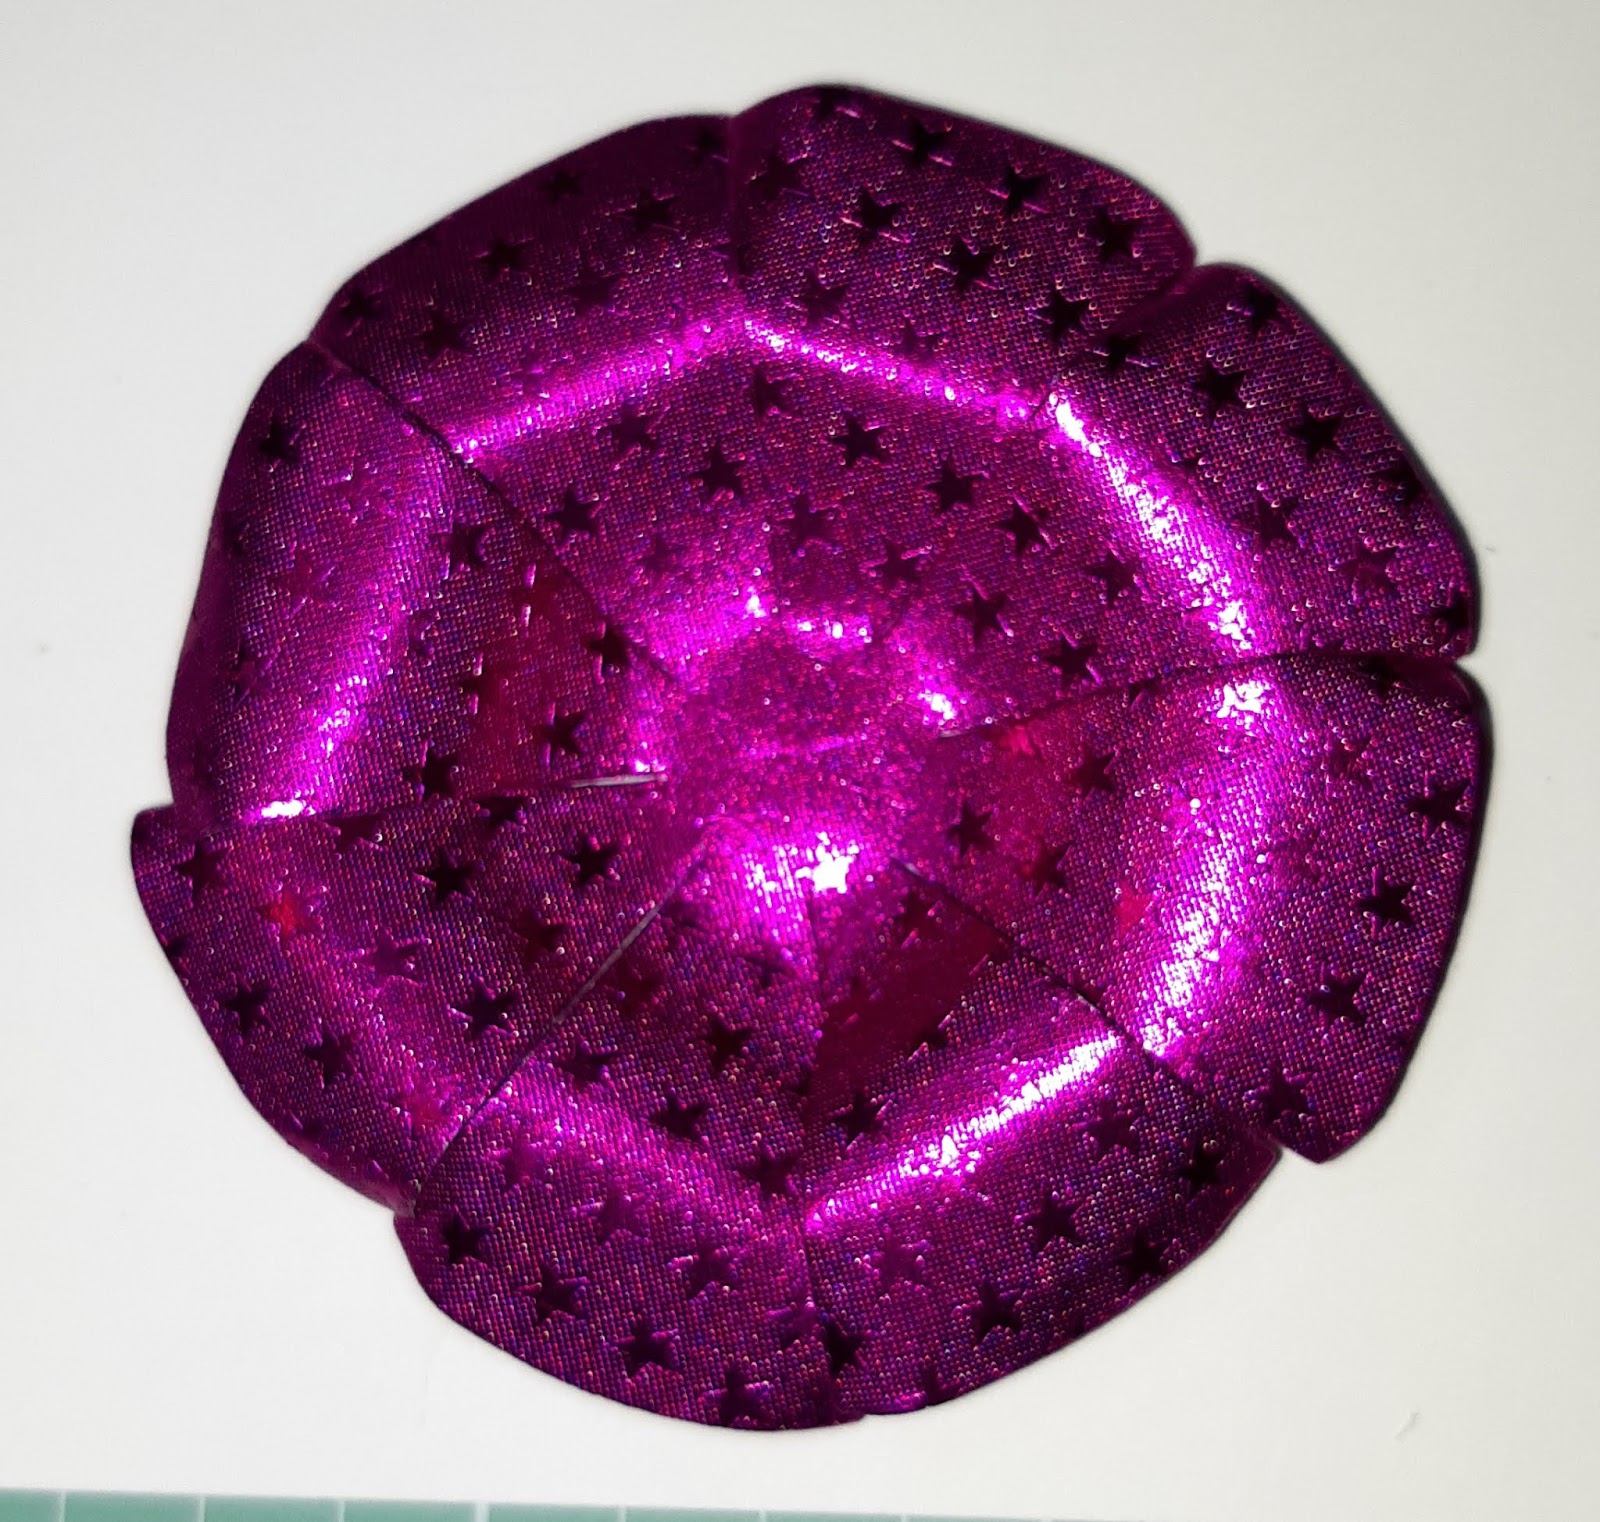
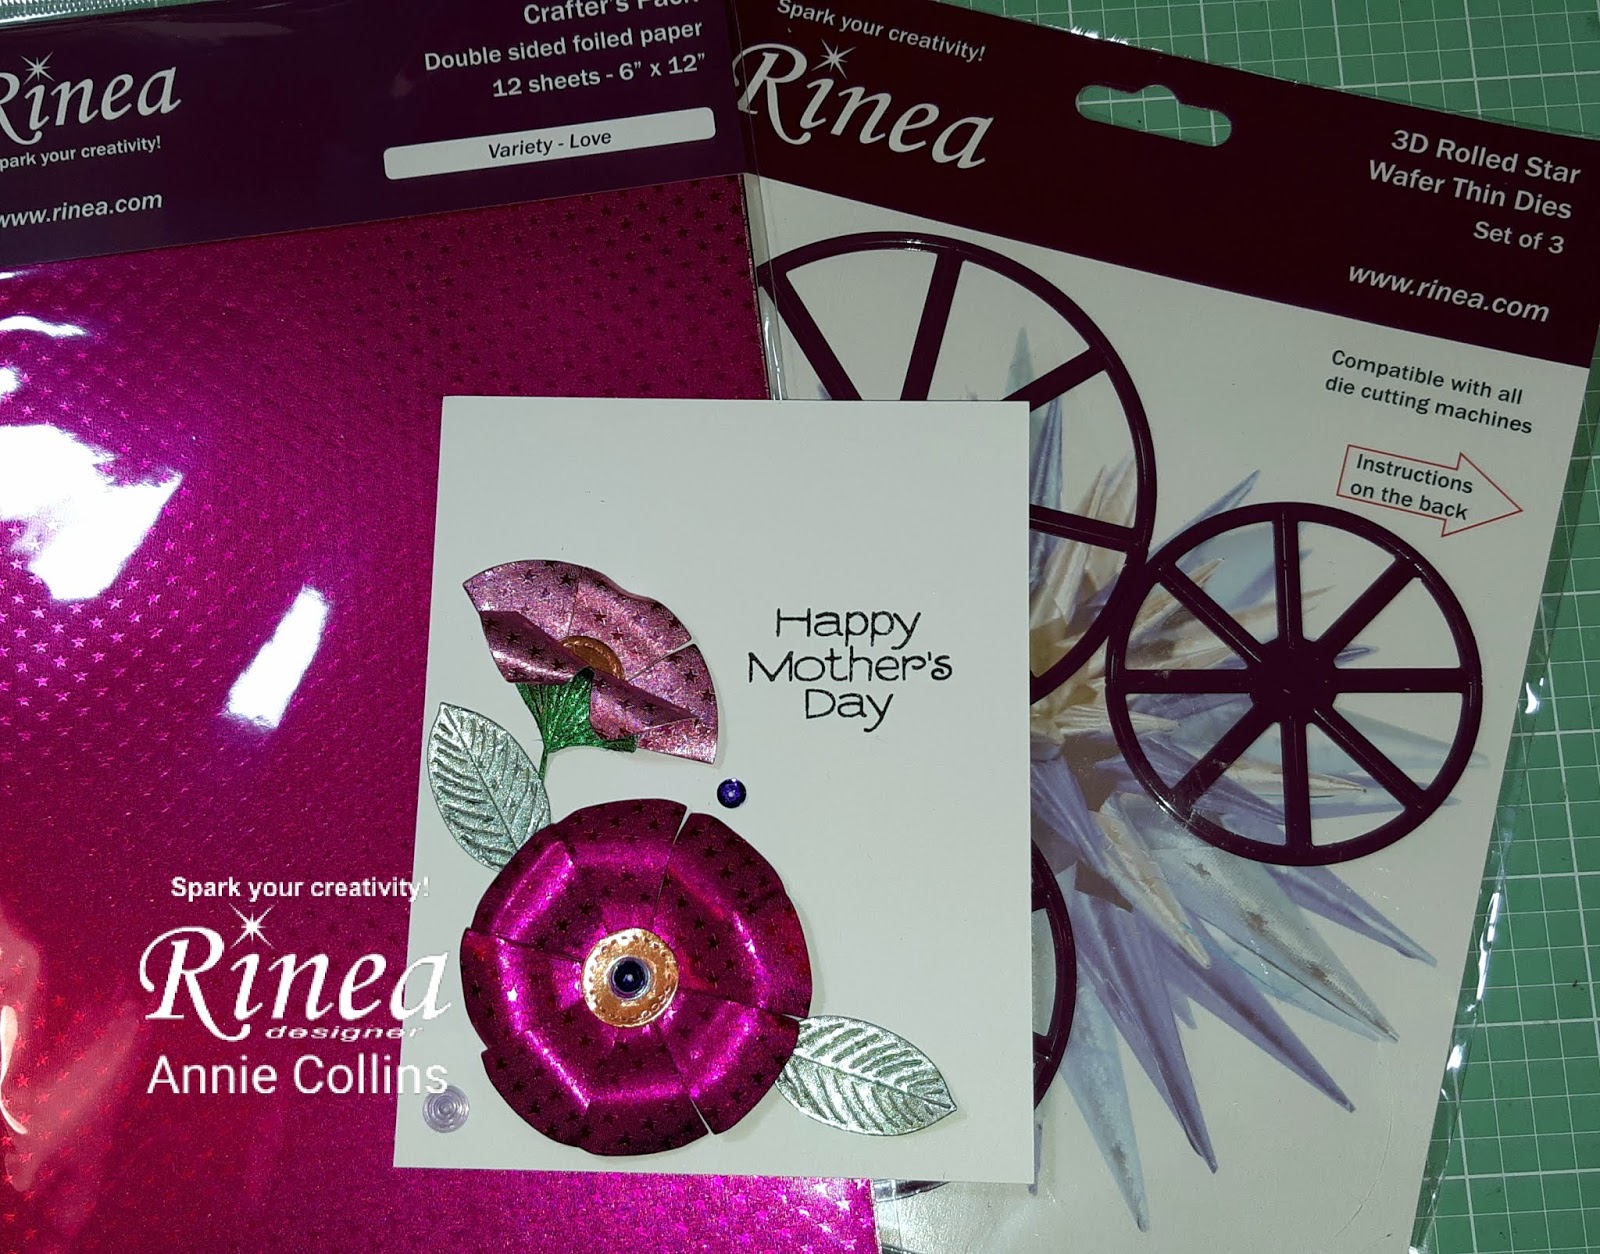
I started by die cutting 2 of the #1 Rolled Star bases- 1 in Fushia/Fushia Starstruck and 1 in

So, let's get started.
I started by die cutting 2 of the #1 Rolled Star bases- 1 in Fushia/Fushia Starstruck and 1 in
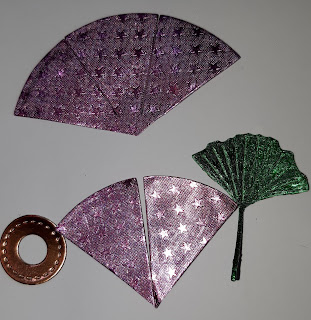
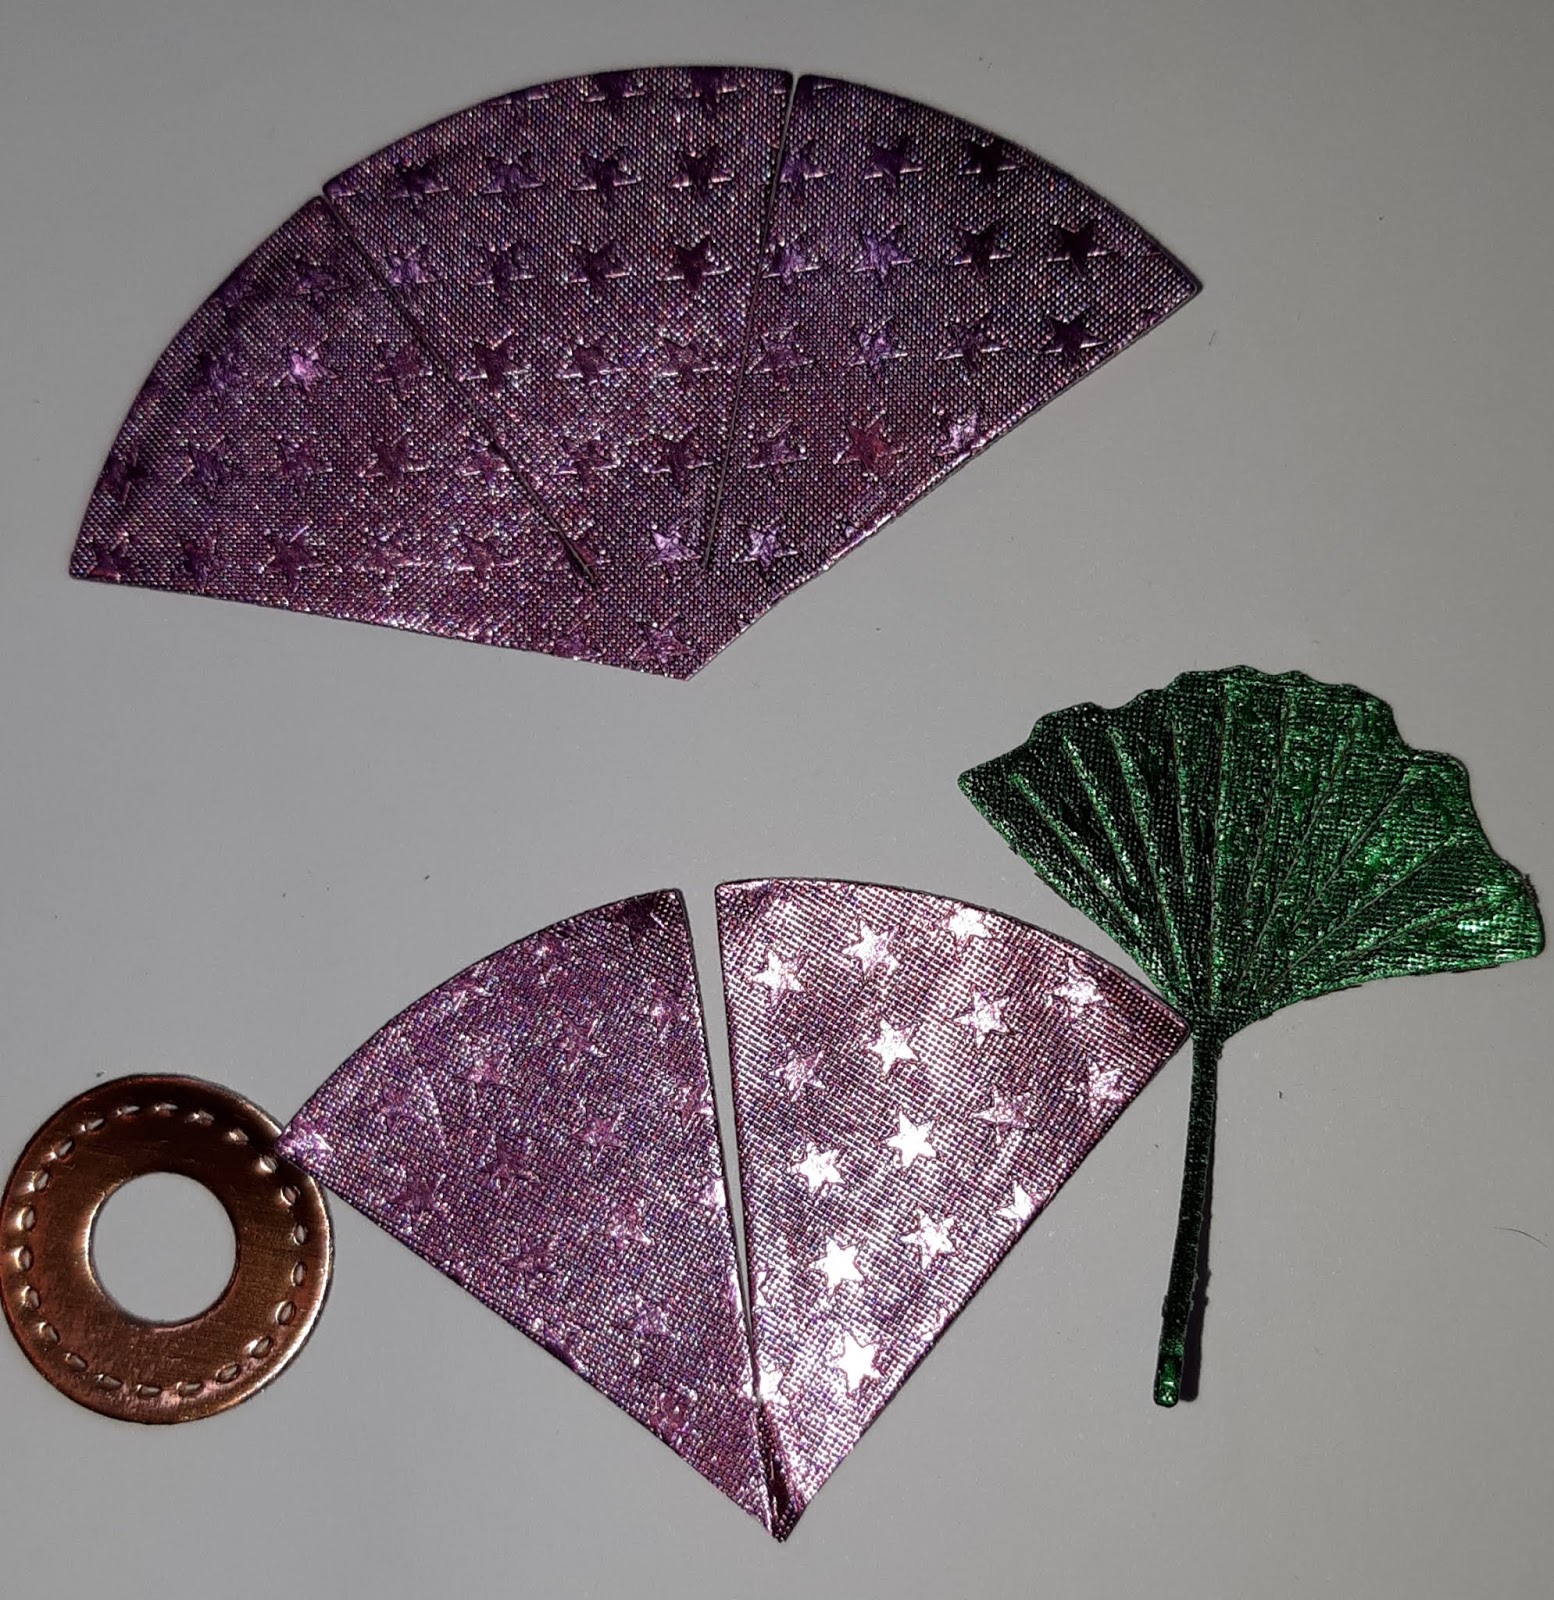
Blush/Blush Starstruck, I also cut 3 leaves: 2 in Jade/Jade Starstruck and 1
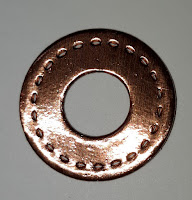
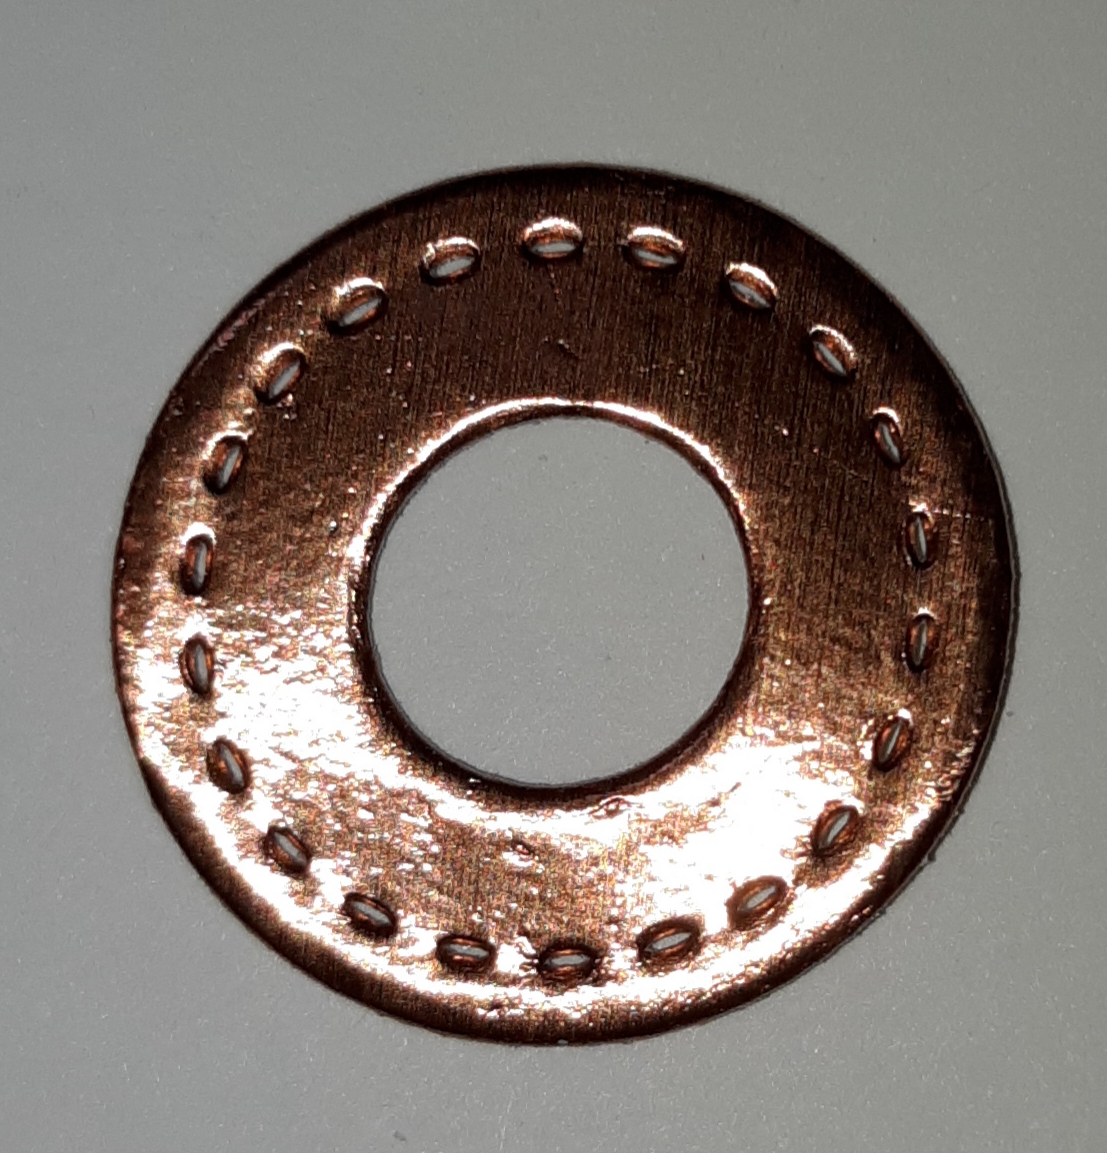
Emerald/Emerald Starstruck, also with 2 small stitched circles from Marigold/Gold Glossy.
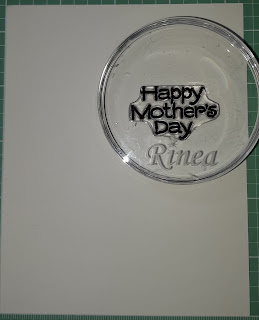
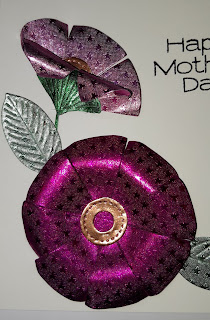
Once I have all the components die cut; I stamp my sentiment onto a card front panel measuring
4-1/4"x 5-1/2" (the same as my card base).
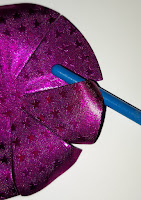
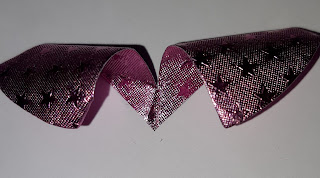
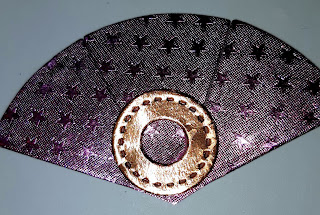
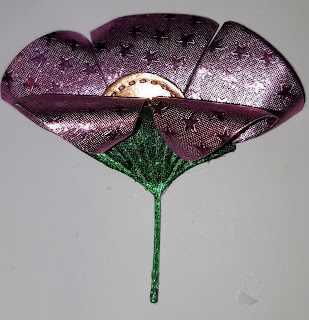
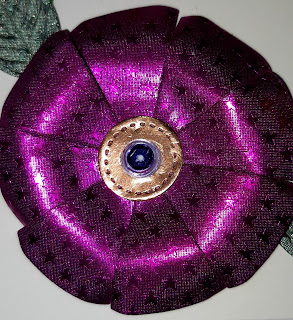
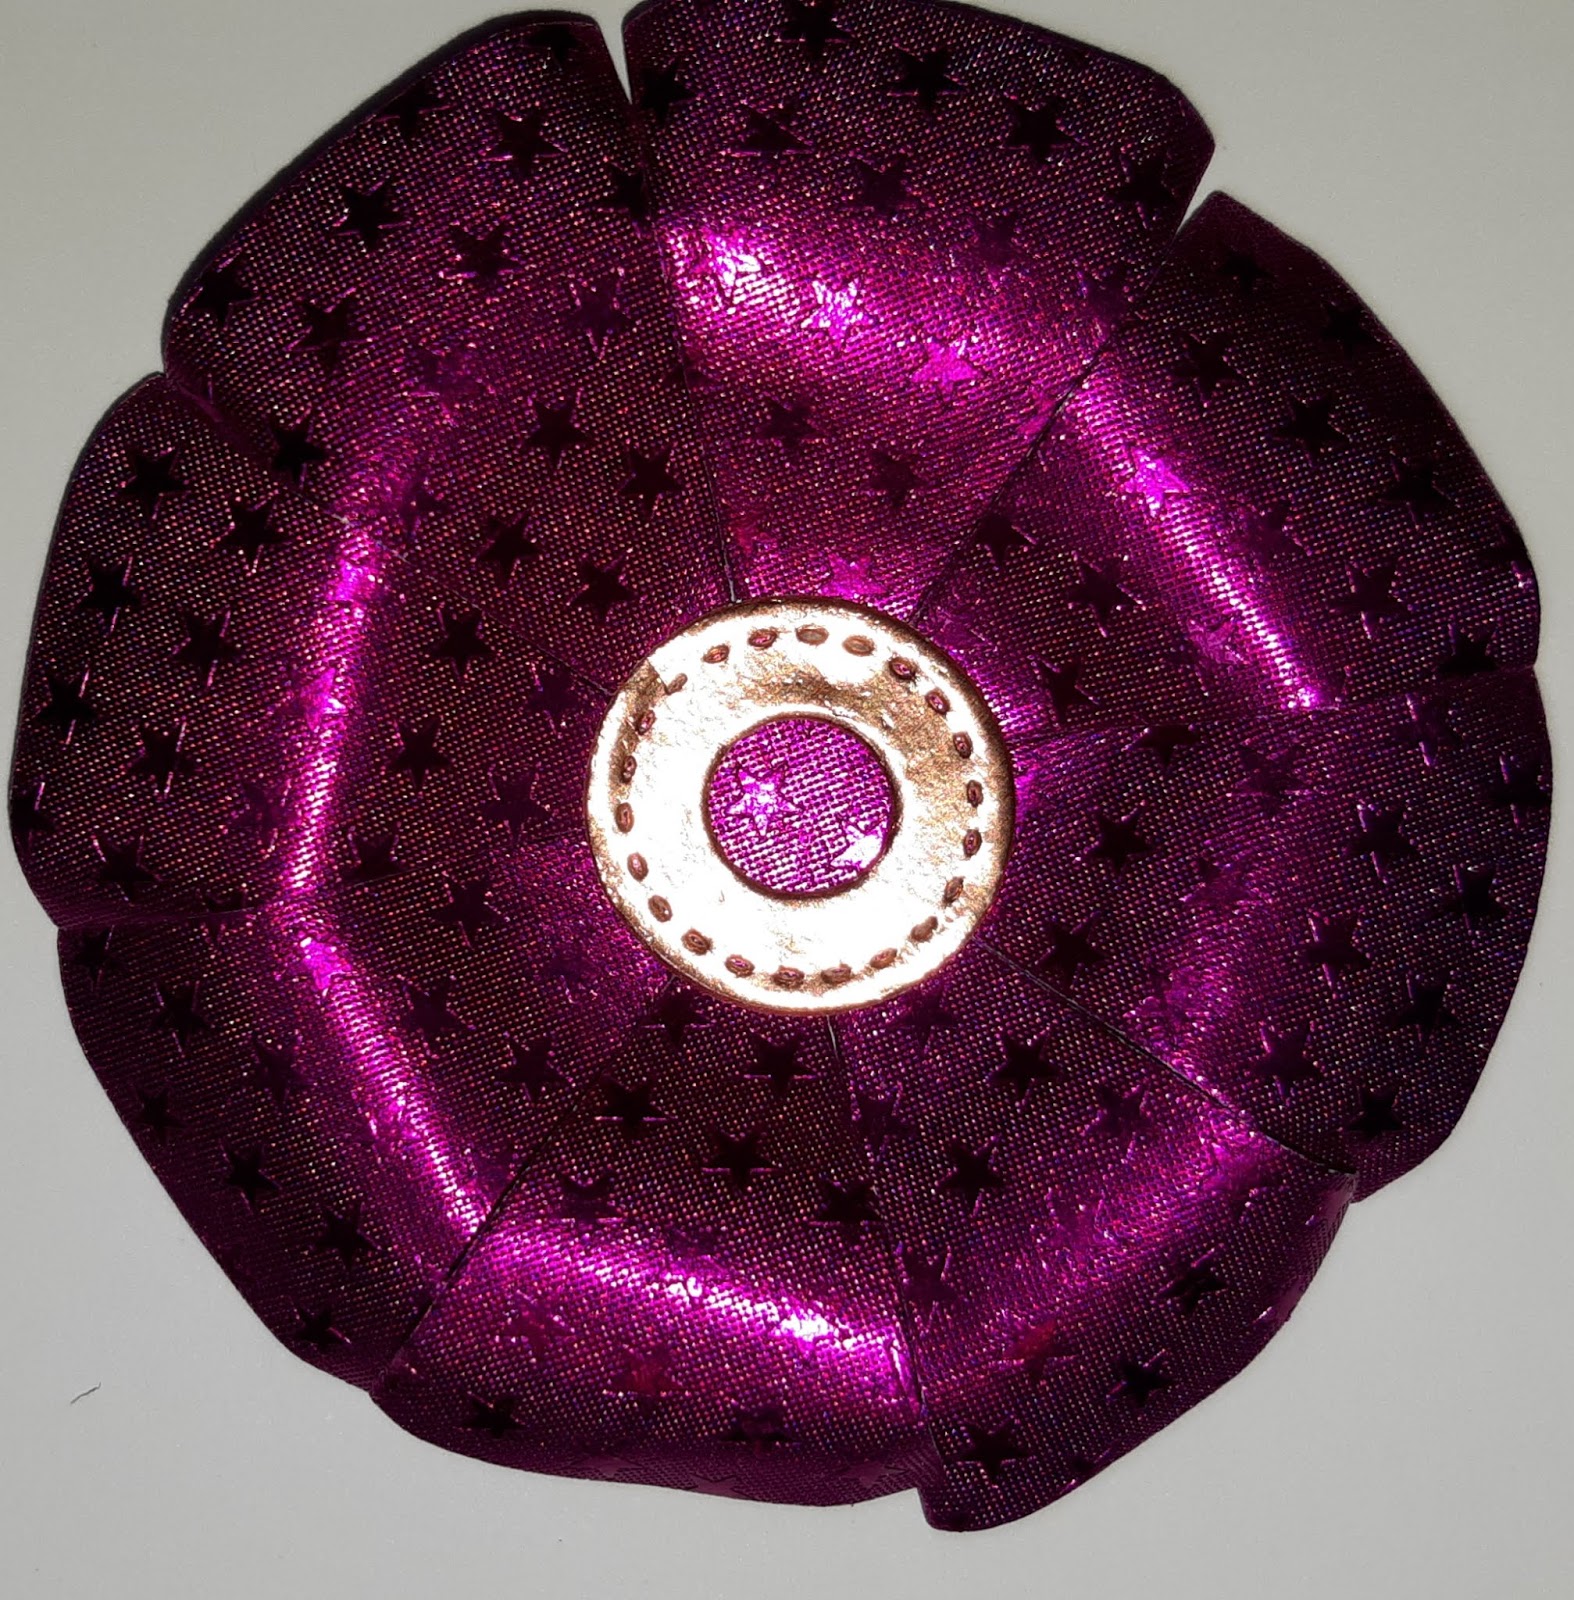
Next, I take the Fushia/Fushia Starstruck Rolled Star-base and start to curl the edges and curve the sections creating petals for the first flower.
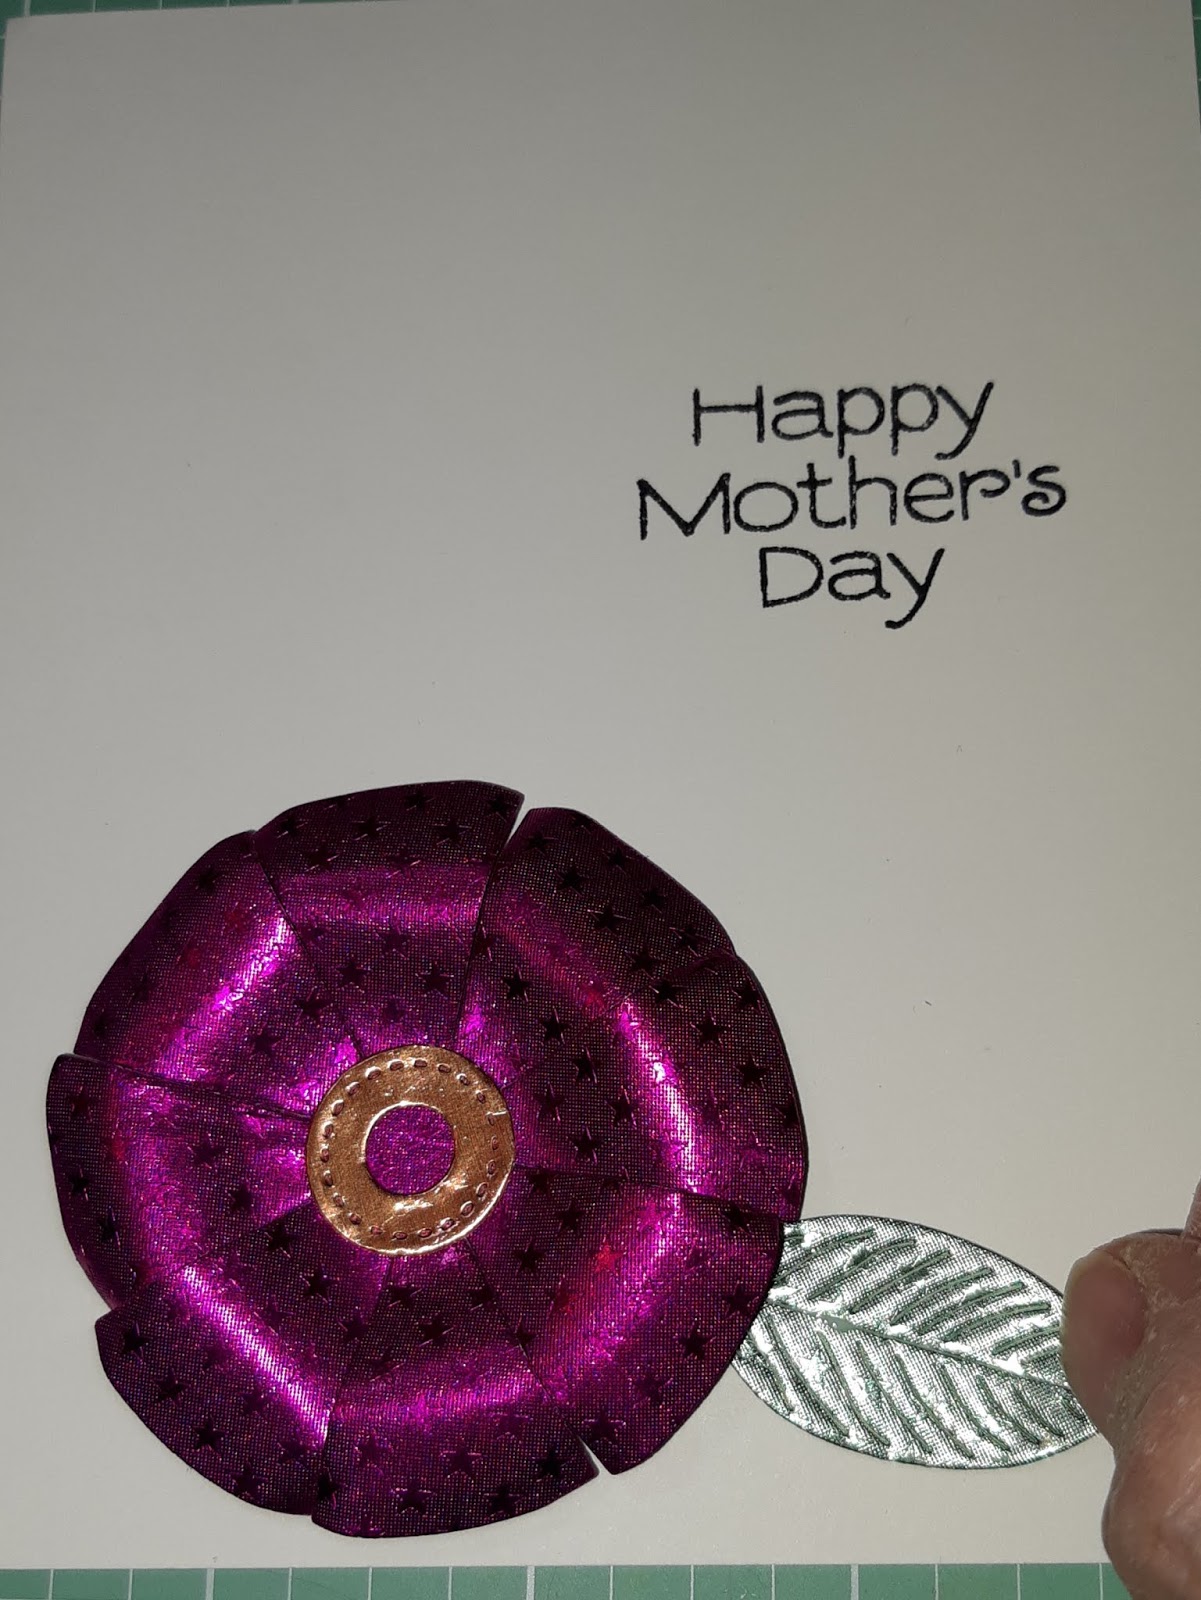
Next, I adhered the flower using foam adhesive to the left bottom corner of the card front panel. I then tucked in a leaf under the flower.

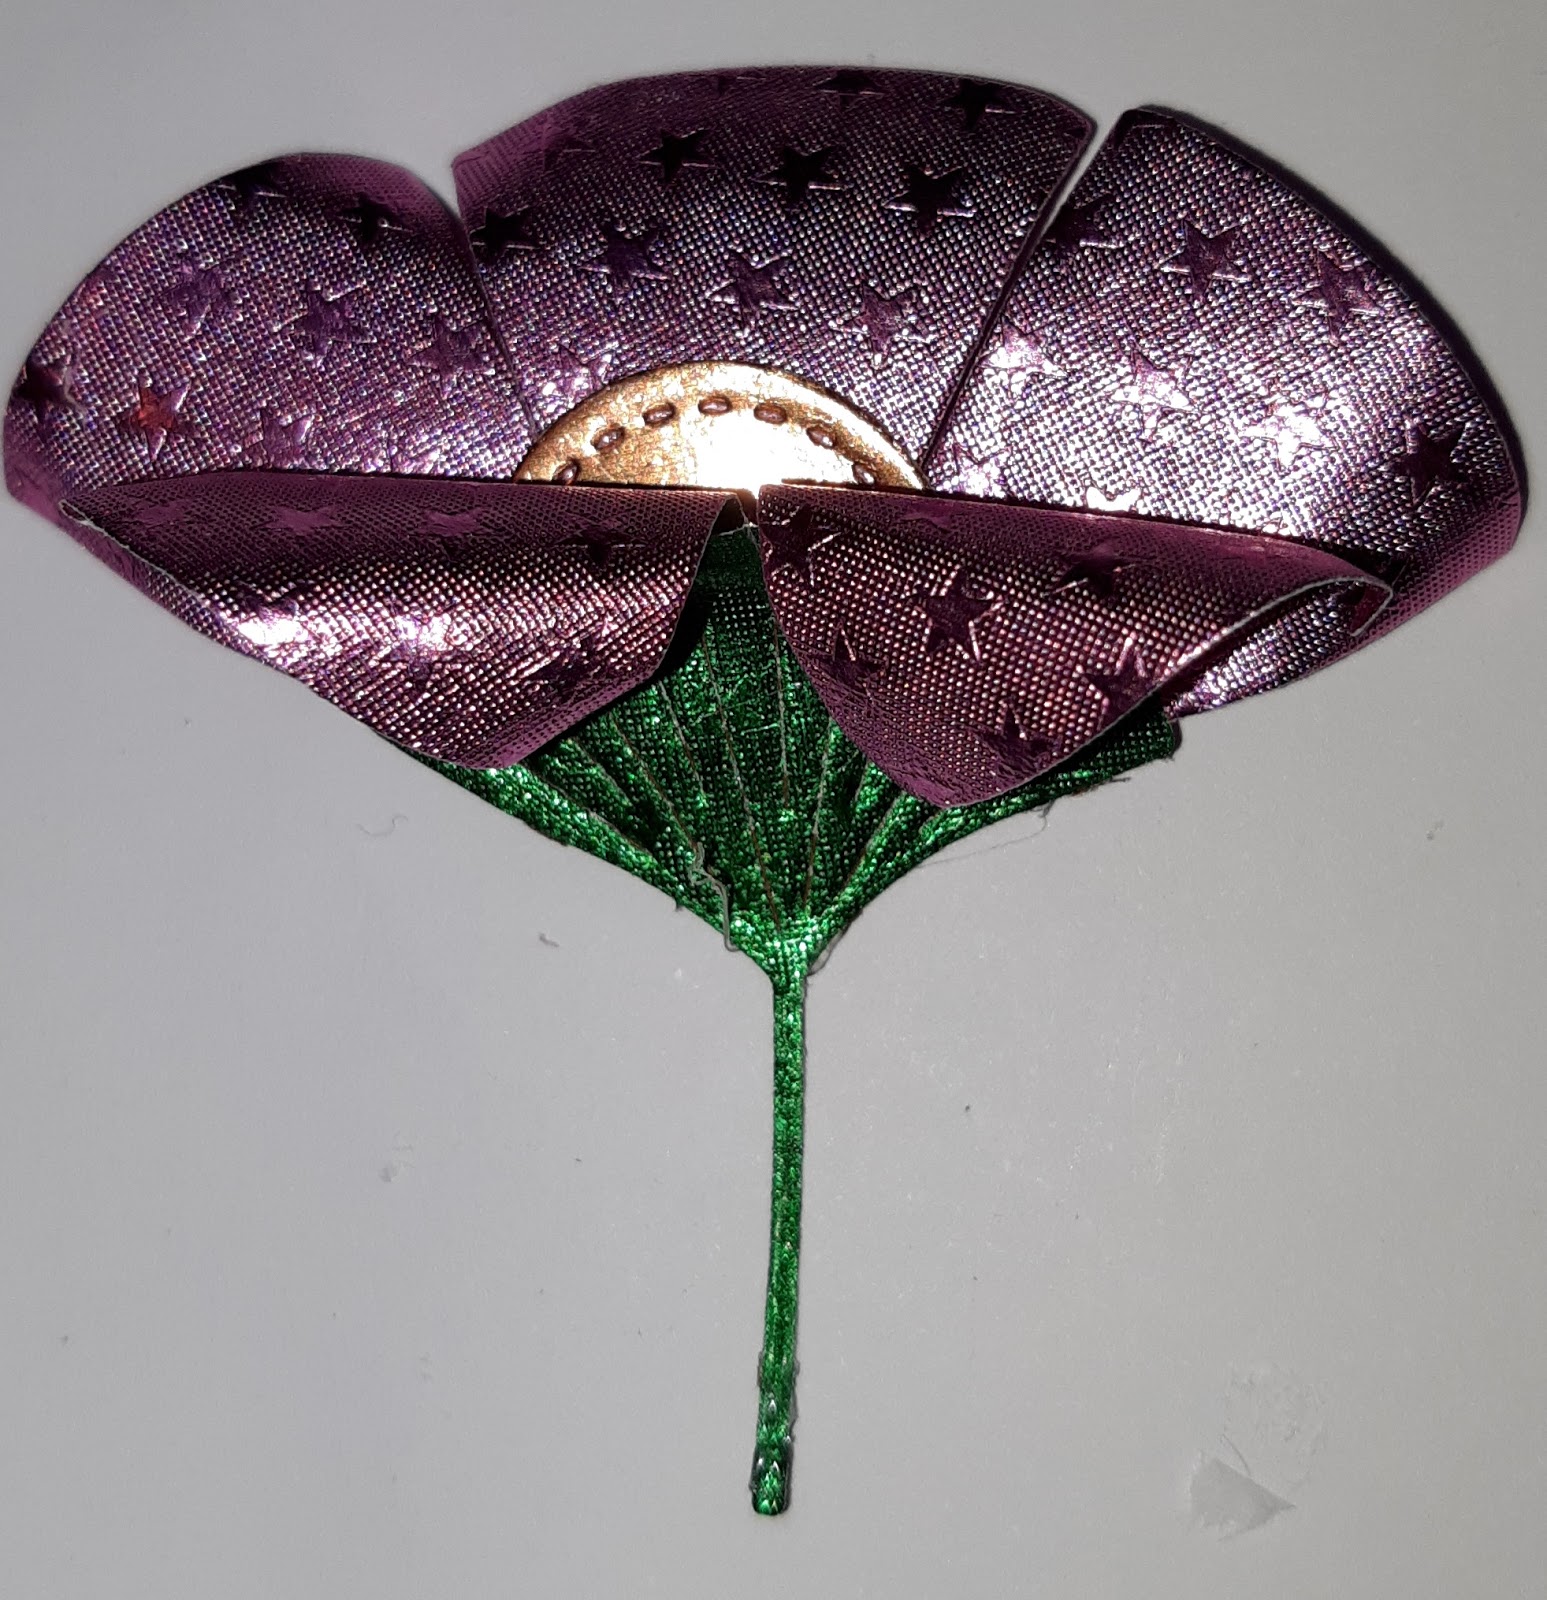
From the two-part section; I flip it over and curled the edges to form petals. I then gentle curved them downward. I set them aside for a moment.

 Next, I adhere the circle to the three-part section toward the bottom. Then, I adhered the petals I just created on top of the three petals. I again, curl the edges and curve each of the little segments to form petals. Next, I adhere the leaf to the bottom of the petals.
I flip over the flower and add low profile foam adhesive and a bit of liquid adhesive to the stem.


Once I have all the components die cut; I stamp my sentiment onto a card front panel measuring
4-1/4"x 5-1/2" (the same as my card base).

Next, I take the Fushia/Fushia Starstruck Rolled Star-base and start to curl the edges and curve the sections creating petals for the first flower.

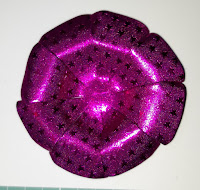
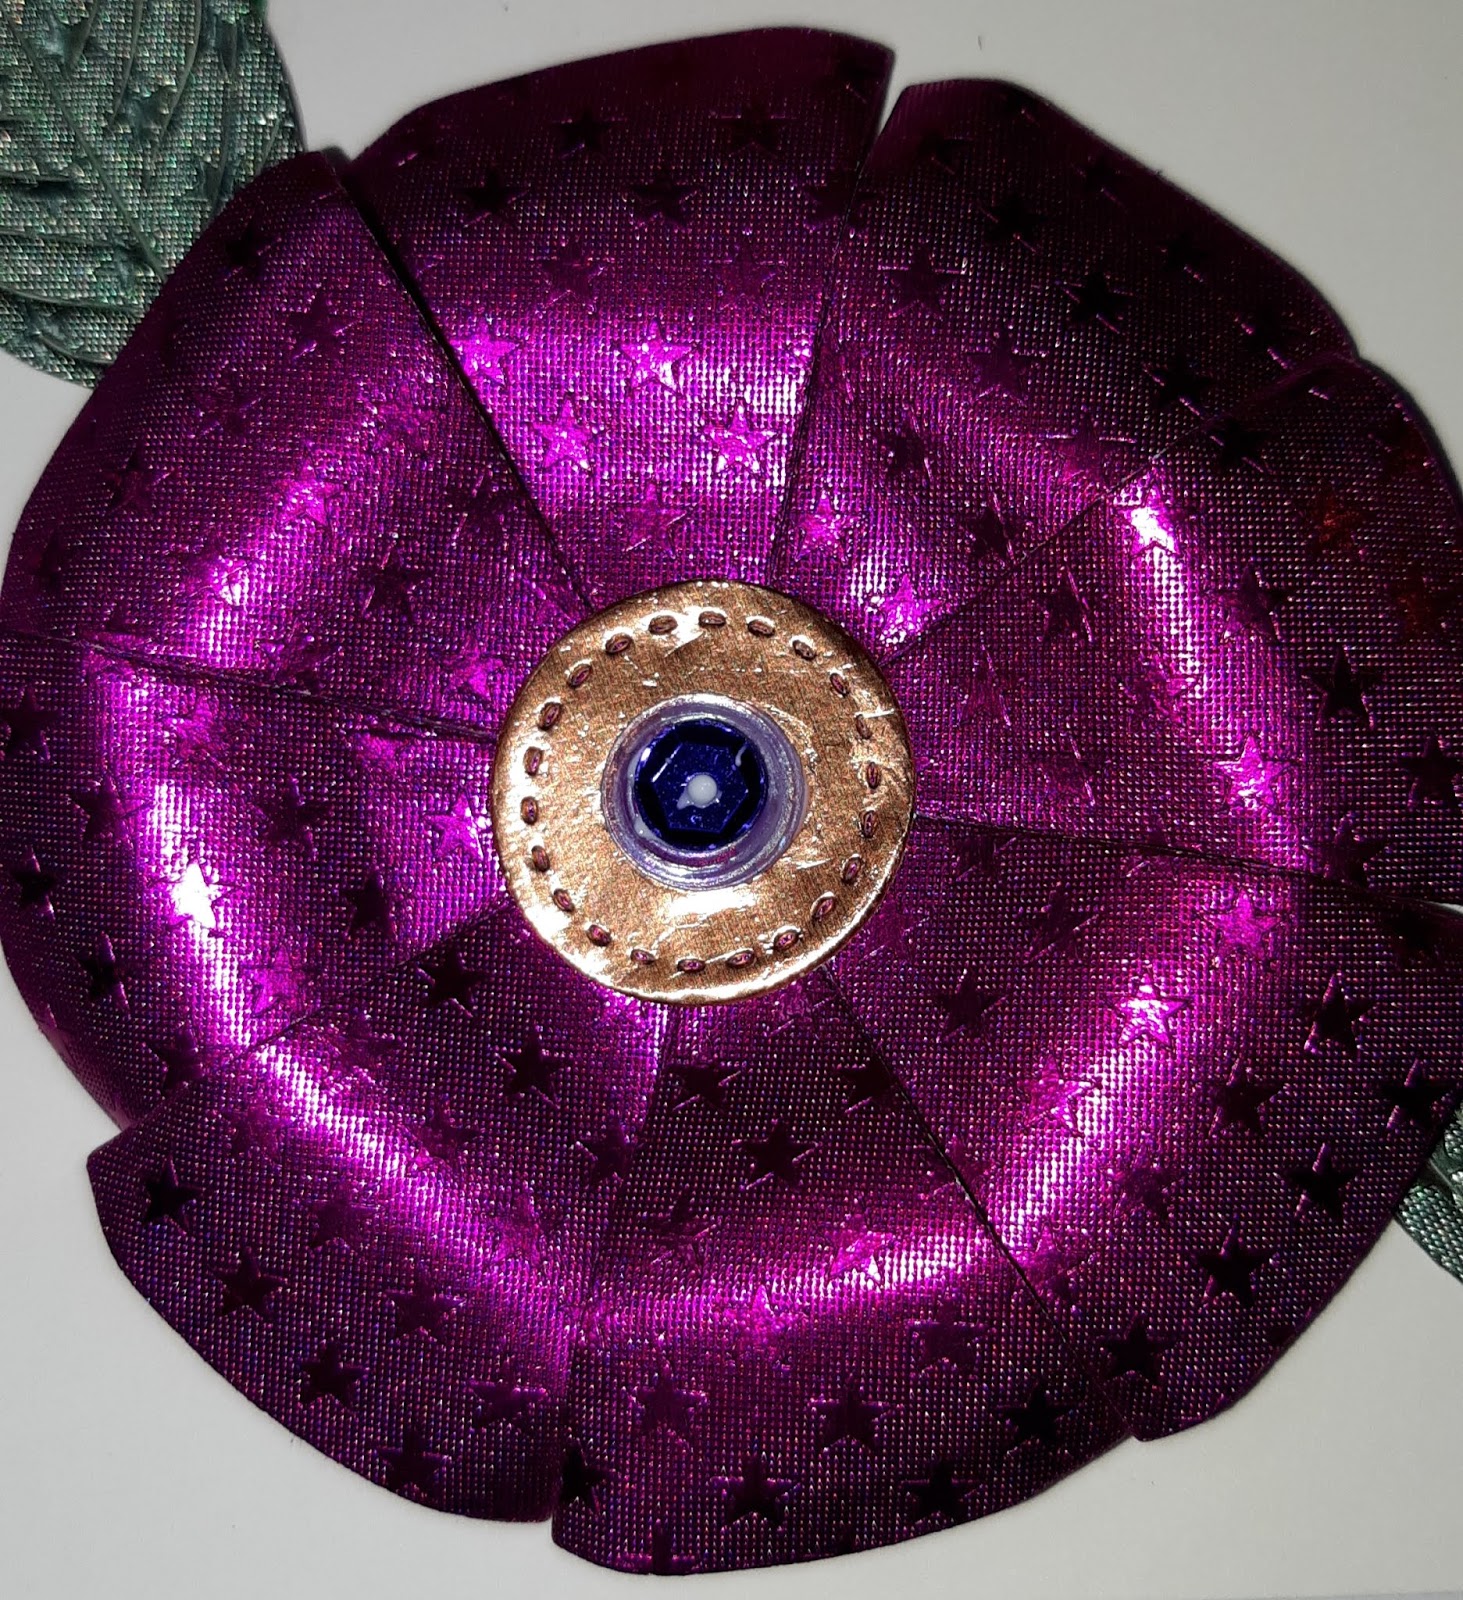
I then add the circle I cut from the Marigold/Gold Glossy to the center of the flower.
then, I took the other Rolled Star-base that was cut from Fushia/Fushia Starstruck and trimmed it apart. I kept a three-part section and a two-part section as shown in the picture below. Along with the other stitch circle and the other leaf.


I flip over the flower and add low profile foam adhesive and a bit of liquid adhesive to the stem.

Place the flower onto the card front panel.
Tucking it just under the larger flower. I add another leaf to the flowers.
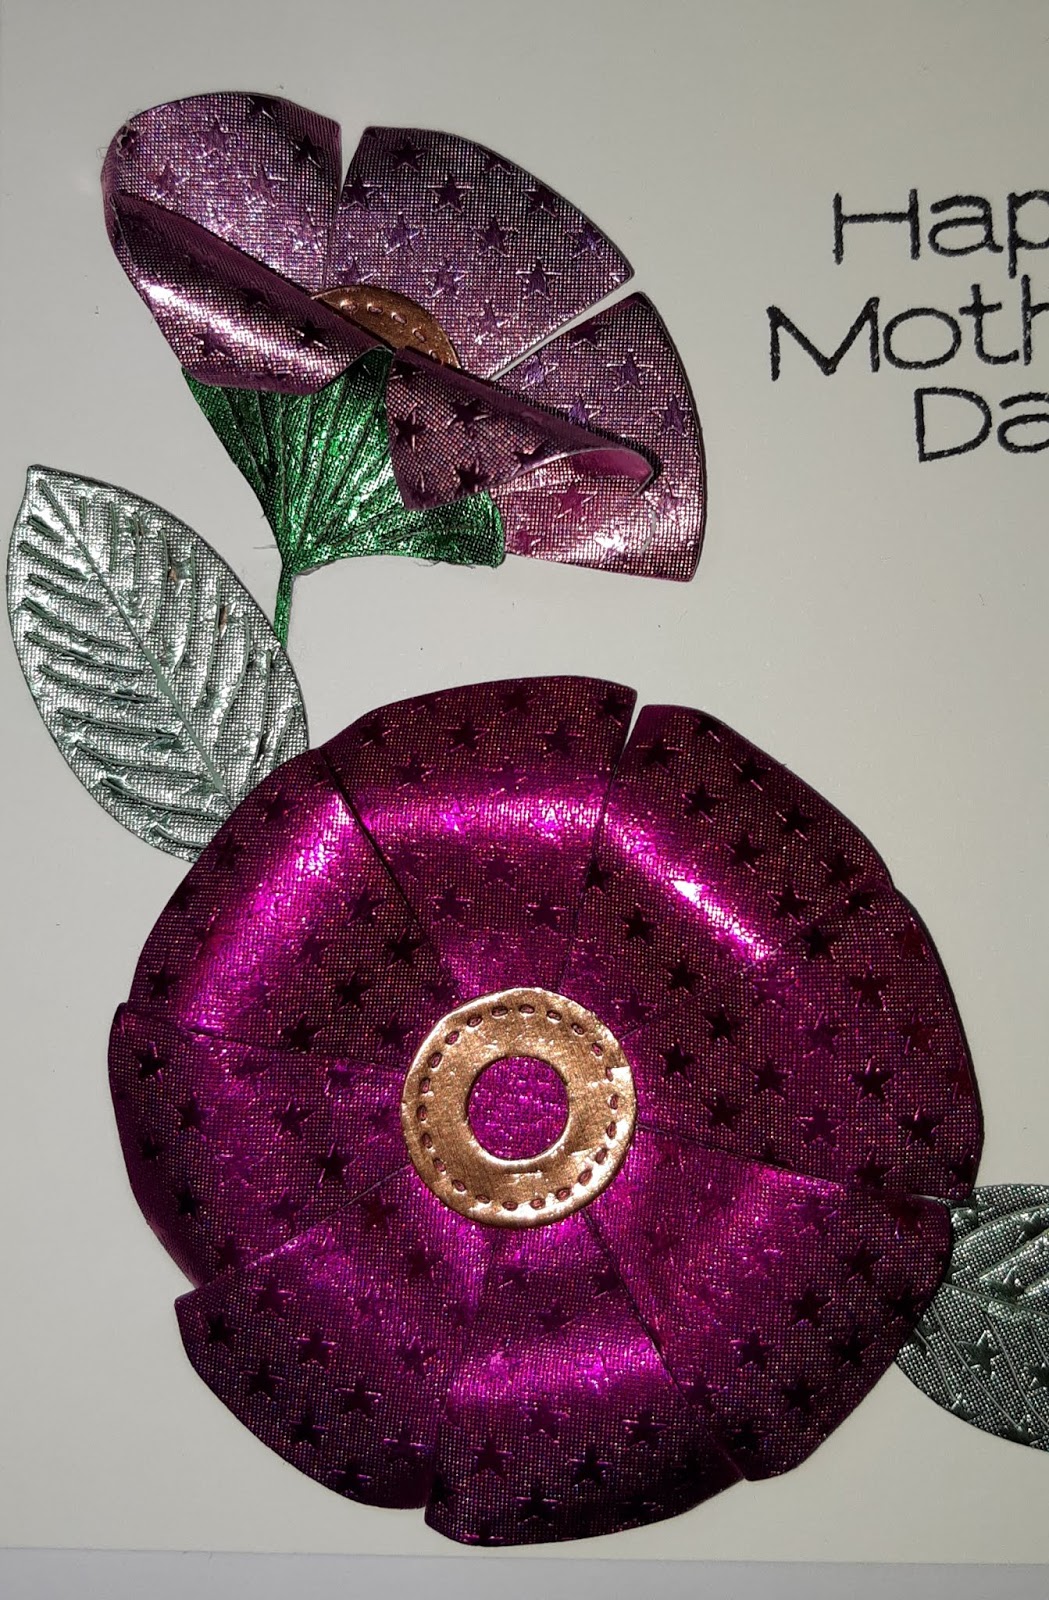
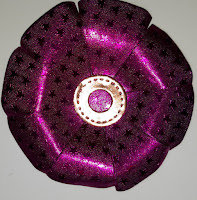
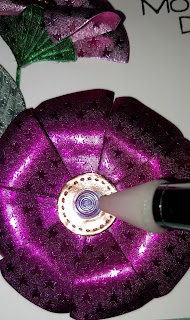
Now for some finishing touches. I adhered some purple sequins to the center of the larger flower. I layer a larger light purple sequin and a smaller dark purple sequin. I also add some next to the flowers.


Now, the card is complete.
This quick and easy card can be created for more than just Mother's Day. You can create it for birthdays, anniversaries or just because - any reason! The 3D Rolled Star Dies along with the Rinea Foil paper make it all so easy!
Thank you for stopping by the blog today- I hope you are inspired!


