Hello Crafty Friends - I am here with a cute gift box for Father's day!
Now, this cute Fishing Boat gift box is perfect for any fishing loving member of your family or circle of friends.


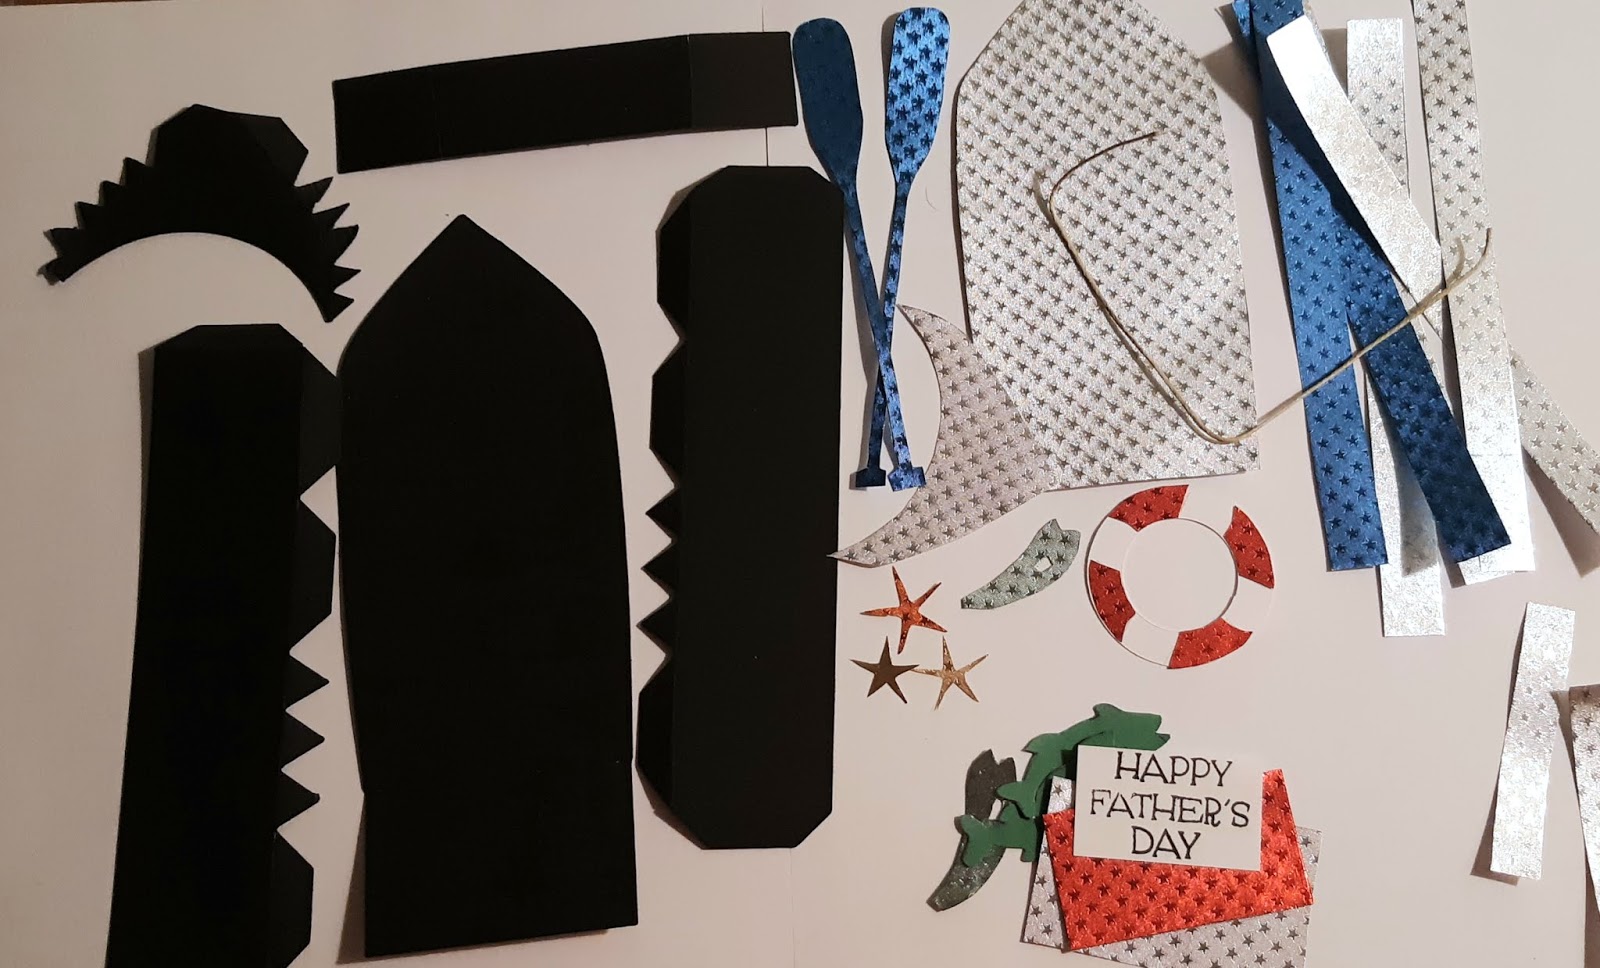
I used the Fishing Boat Box SVG from Simply Crafty SVG. This file comes with a PDF with simple and clear instructions & SVGs. Sandy has provided the live preserver, Oars, Starfishes and the catch of the day!
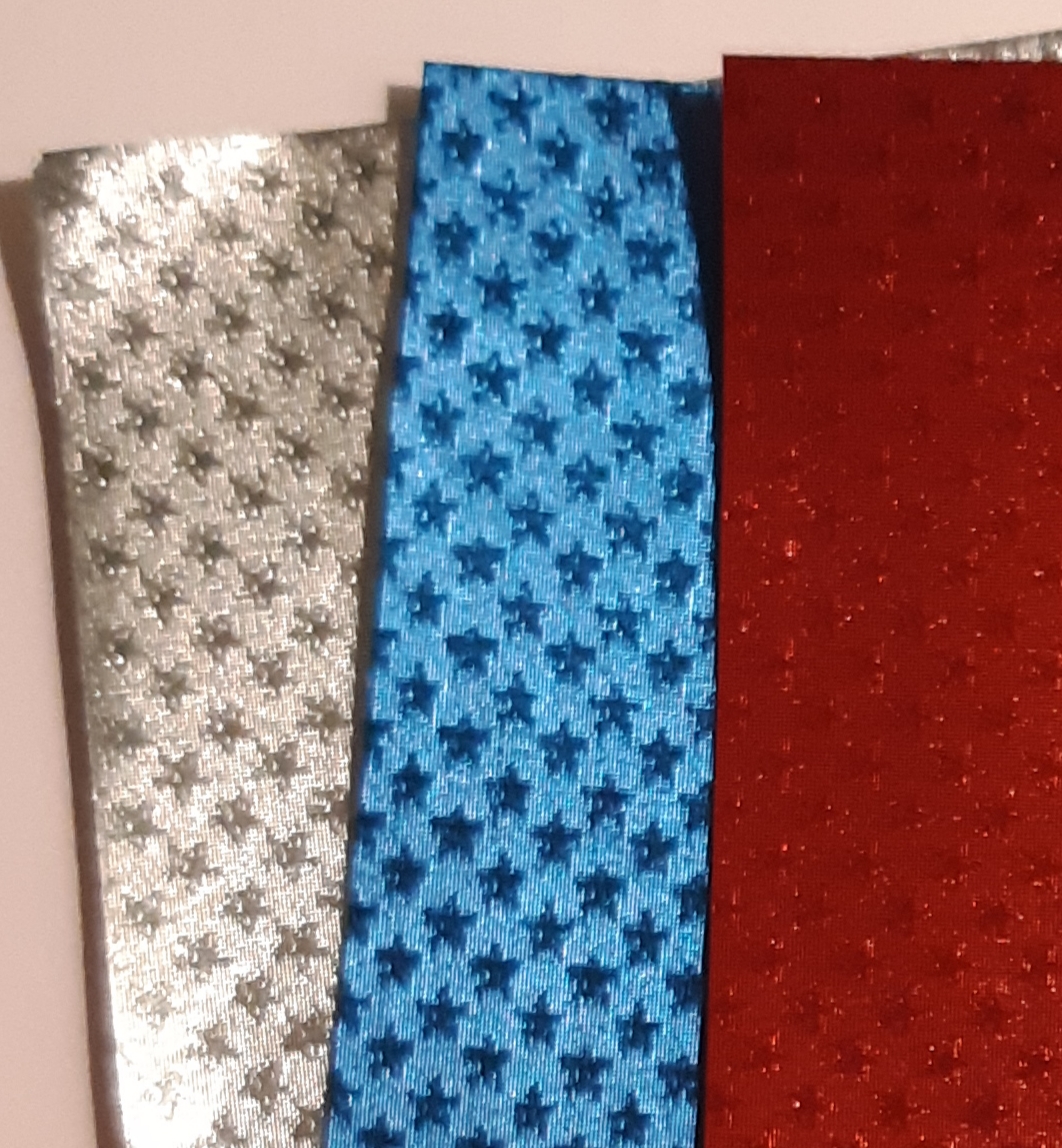
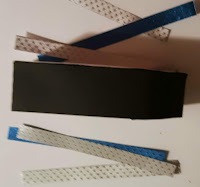
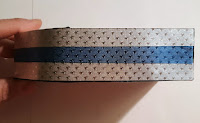
Using the Starstruck Ruby Red, Starstruck Silver & Starstruck Sapphire Foil paper for the outer parts of the boat & oars.
Materials Used
Hero Arts Stamp Celebrate - for the sentiment
Versafine Onyx Black ink
Recollections Brand Cardstock: Black, White & Green
Aleene's Tacky Glue
Let's get started!
I followed the instruction provided by Simply Crafty SVG to create the box.
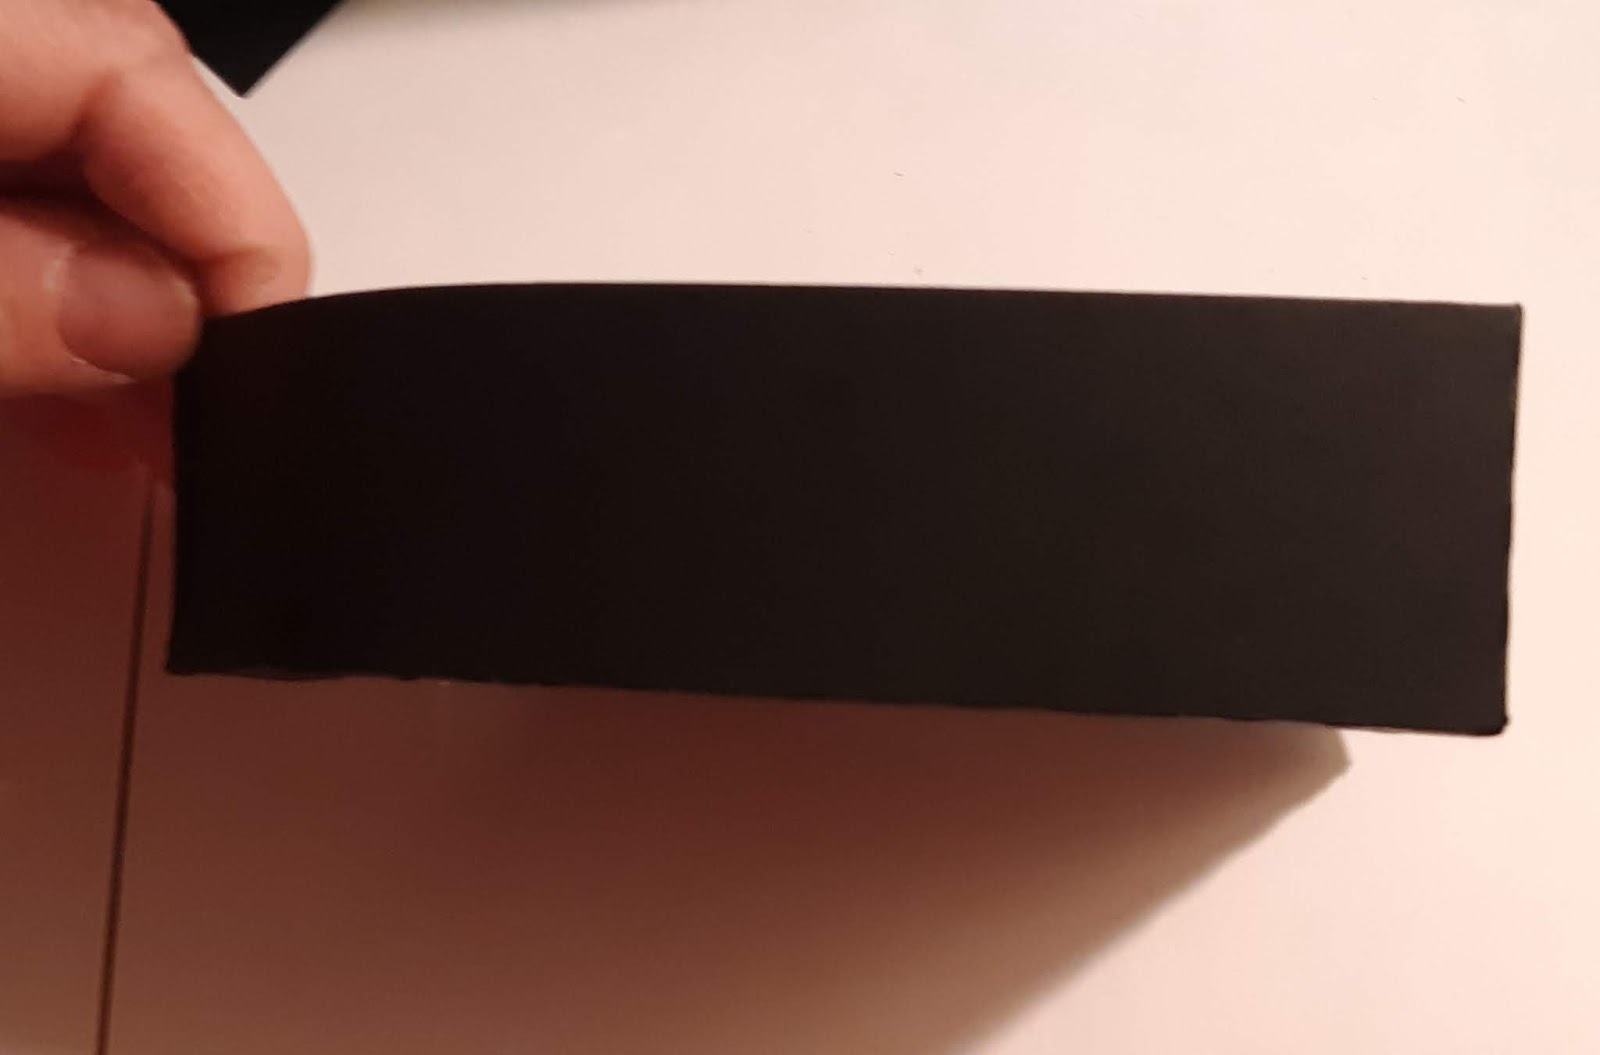
I cut out all the pieces to the box from the black cardstock. The outer panels of the boat, the fish scales, the starfish, the red portion of the life preserver and the outer part of the oars I . cut from the Foil paper.
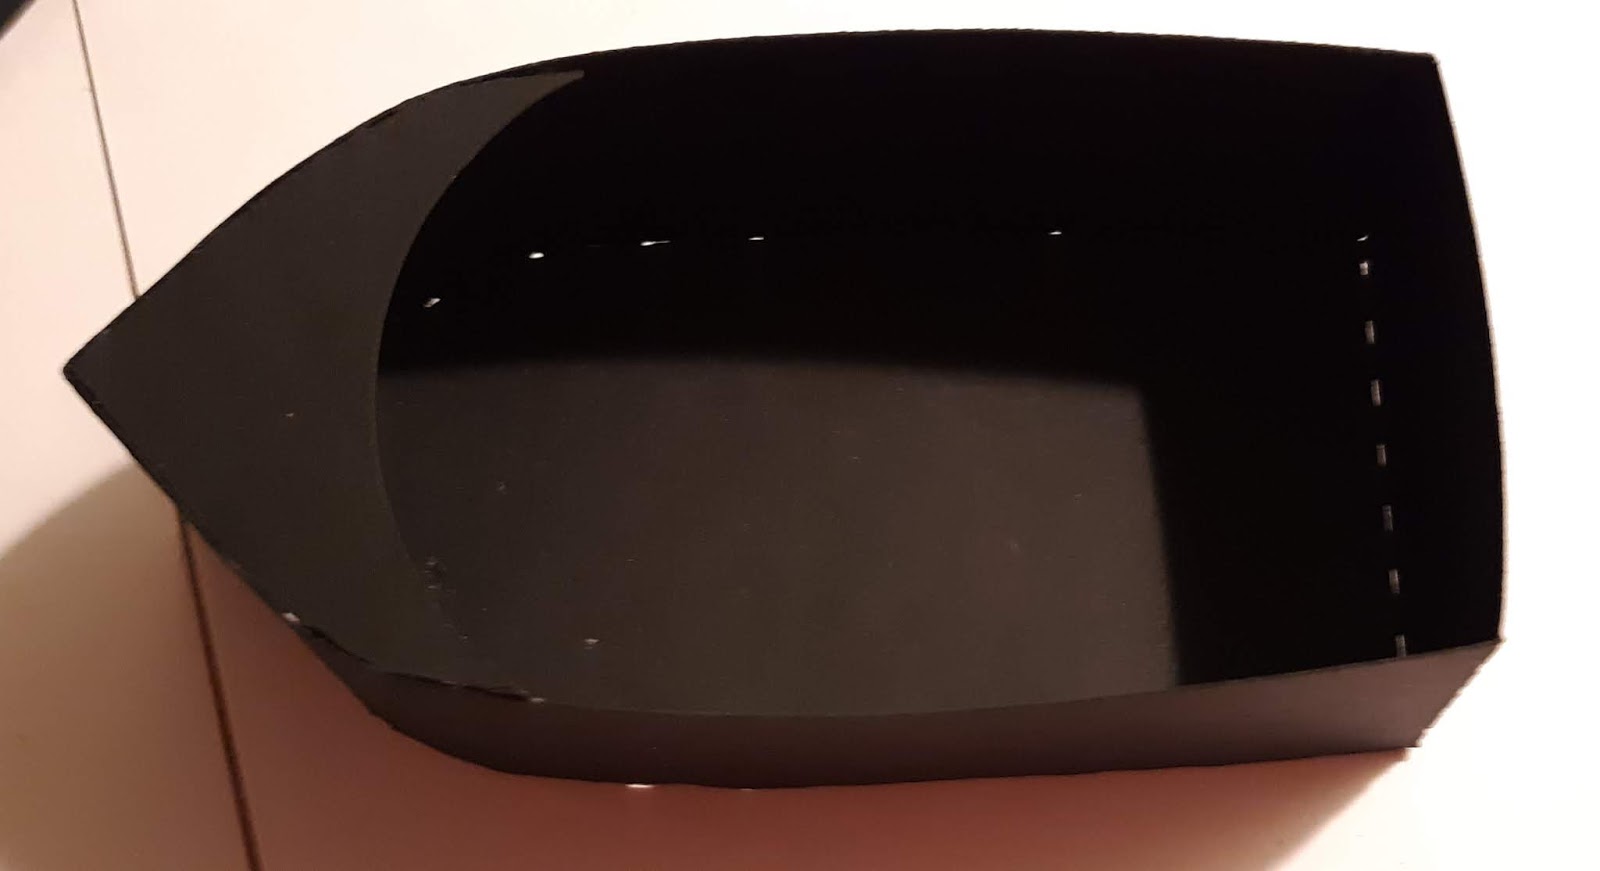
Next, I start by assembling the box. Following the instruction provided by Simply Crafty SVG. You will notice that we will have tabs on the outside of the box. We will cover those in a bit.
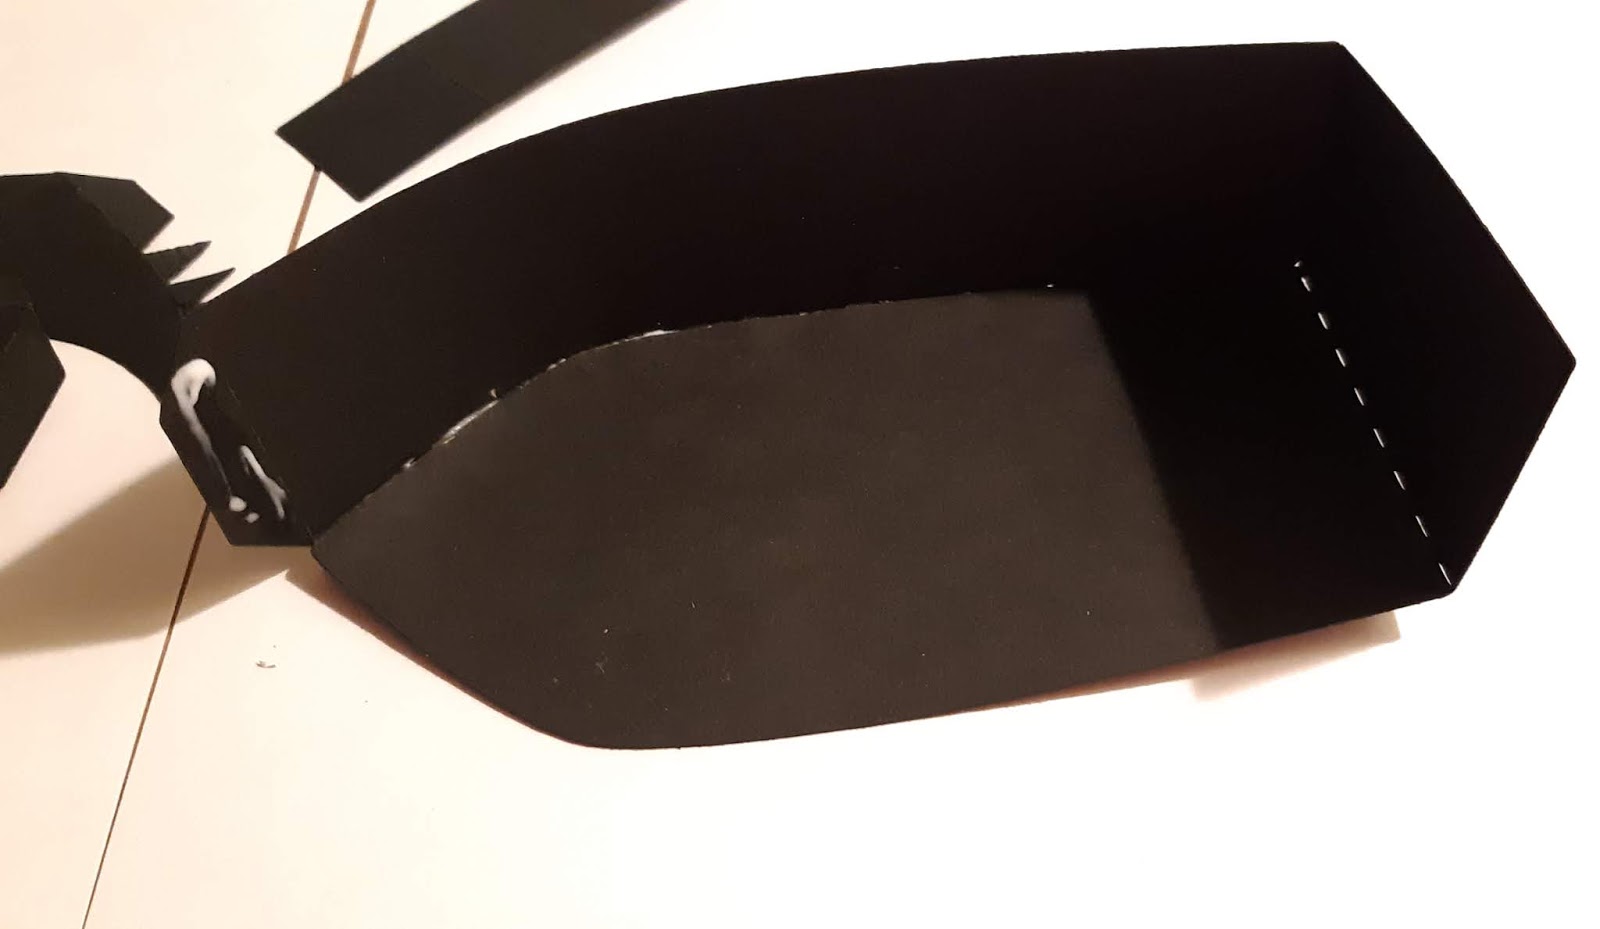
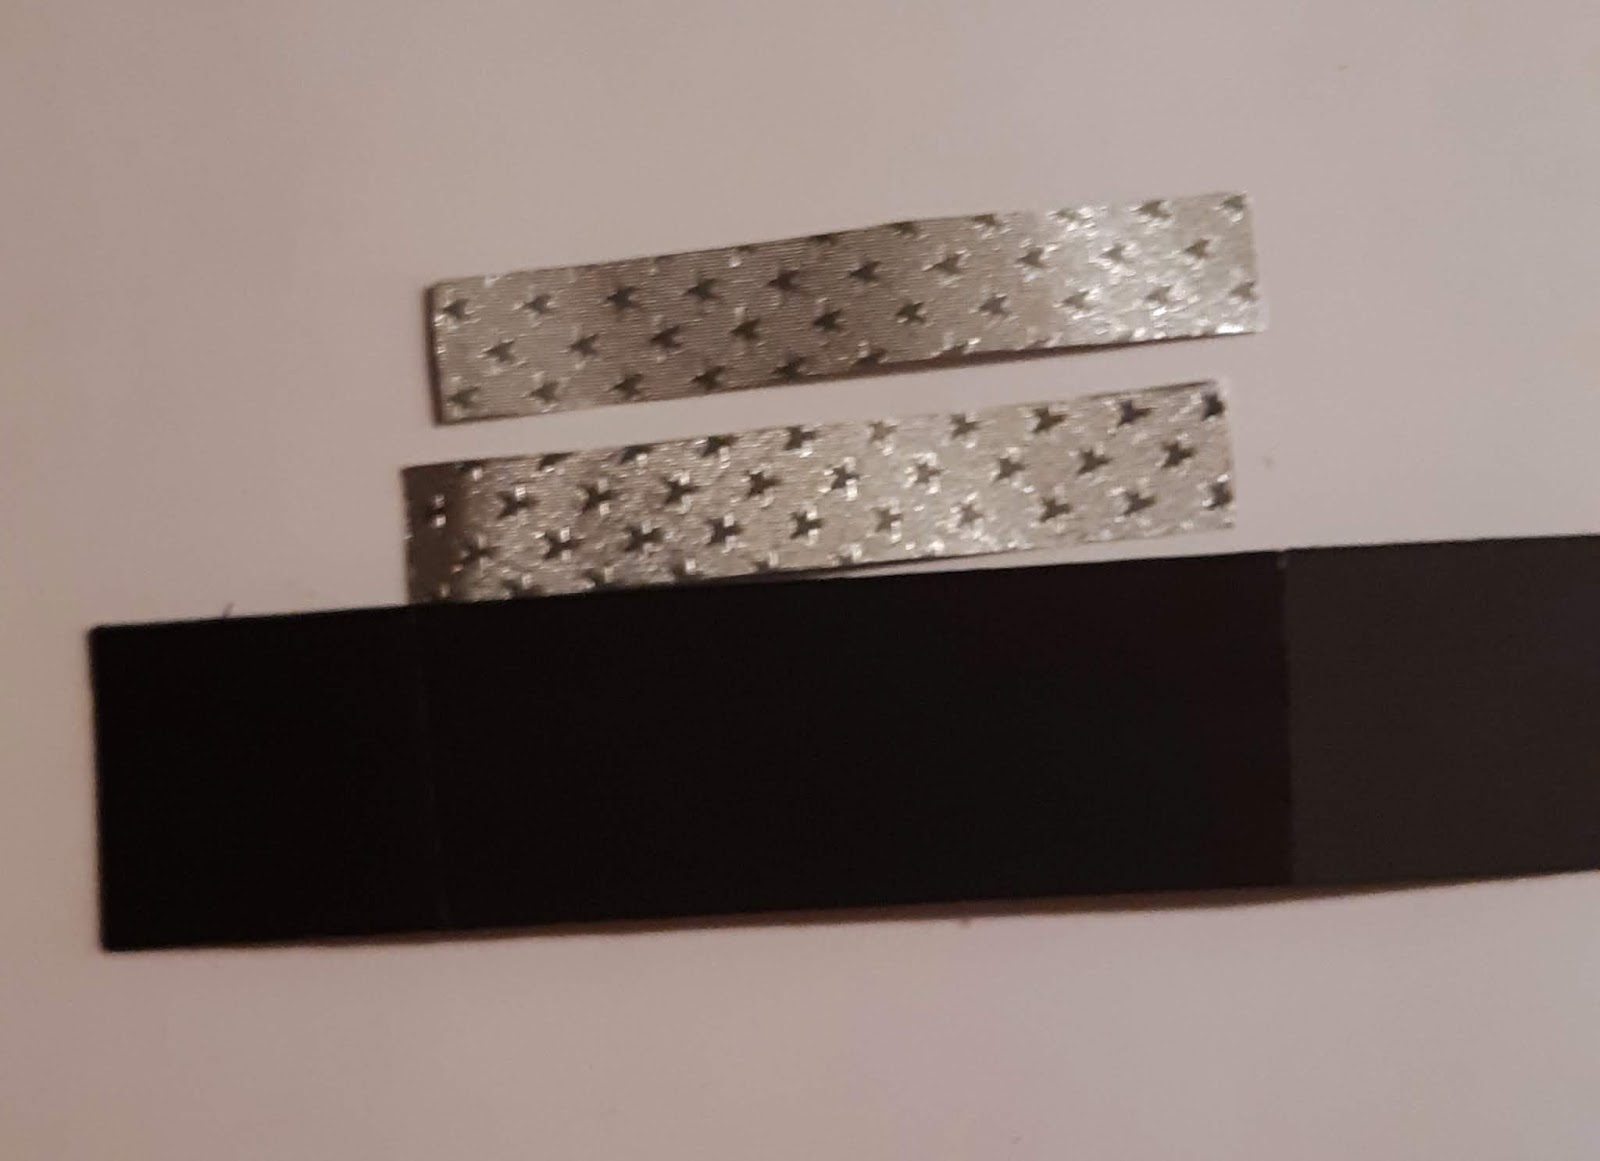
Then, I adhered the Starstruck Silver bench planks to the seat. Next, I glue the seat into place.
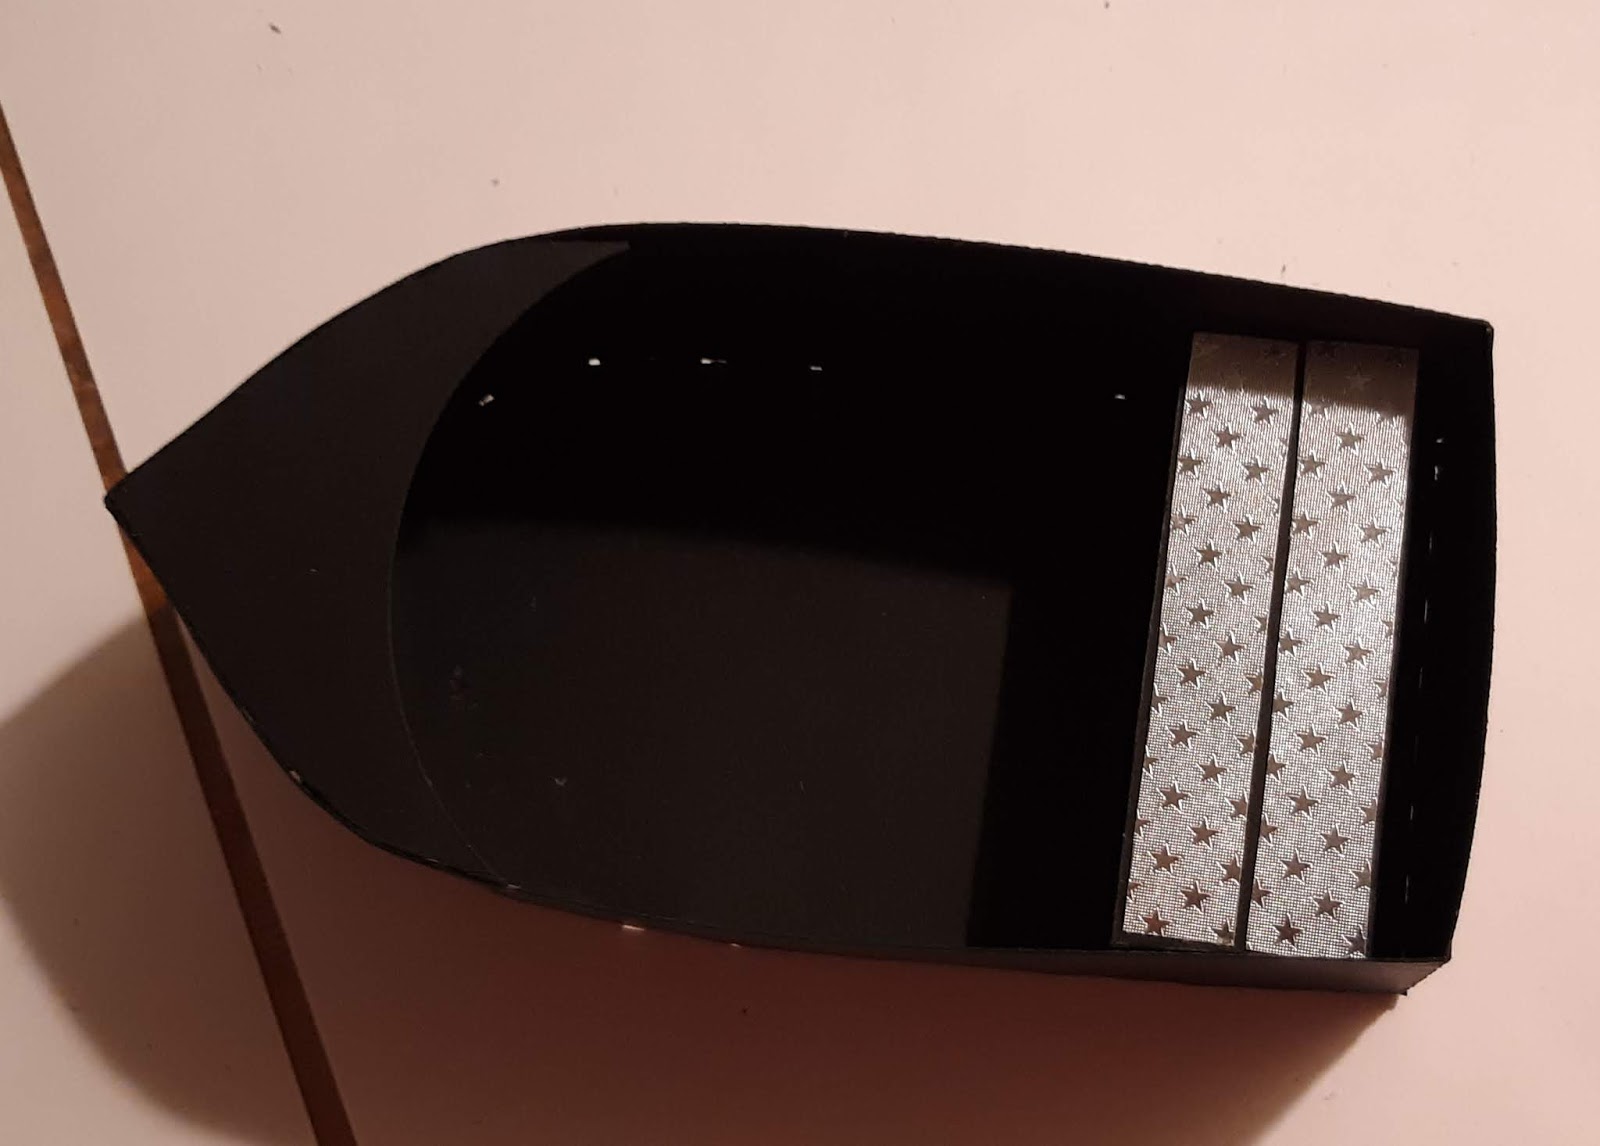
Then, I adhered the front Starstruck Silver panel to the front of the boat. Next, I adhered the Starstruck Silver panel to the bottom of the boat box. This will hide all the tabs we used to create the box.
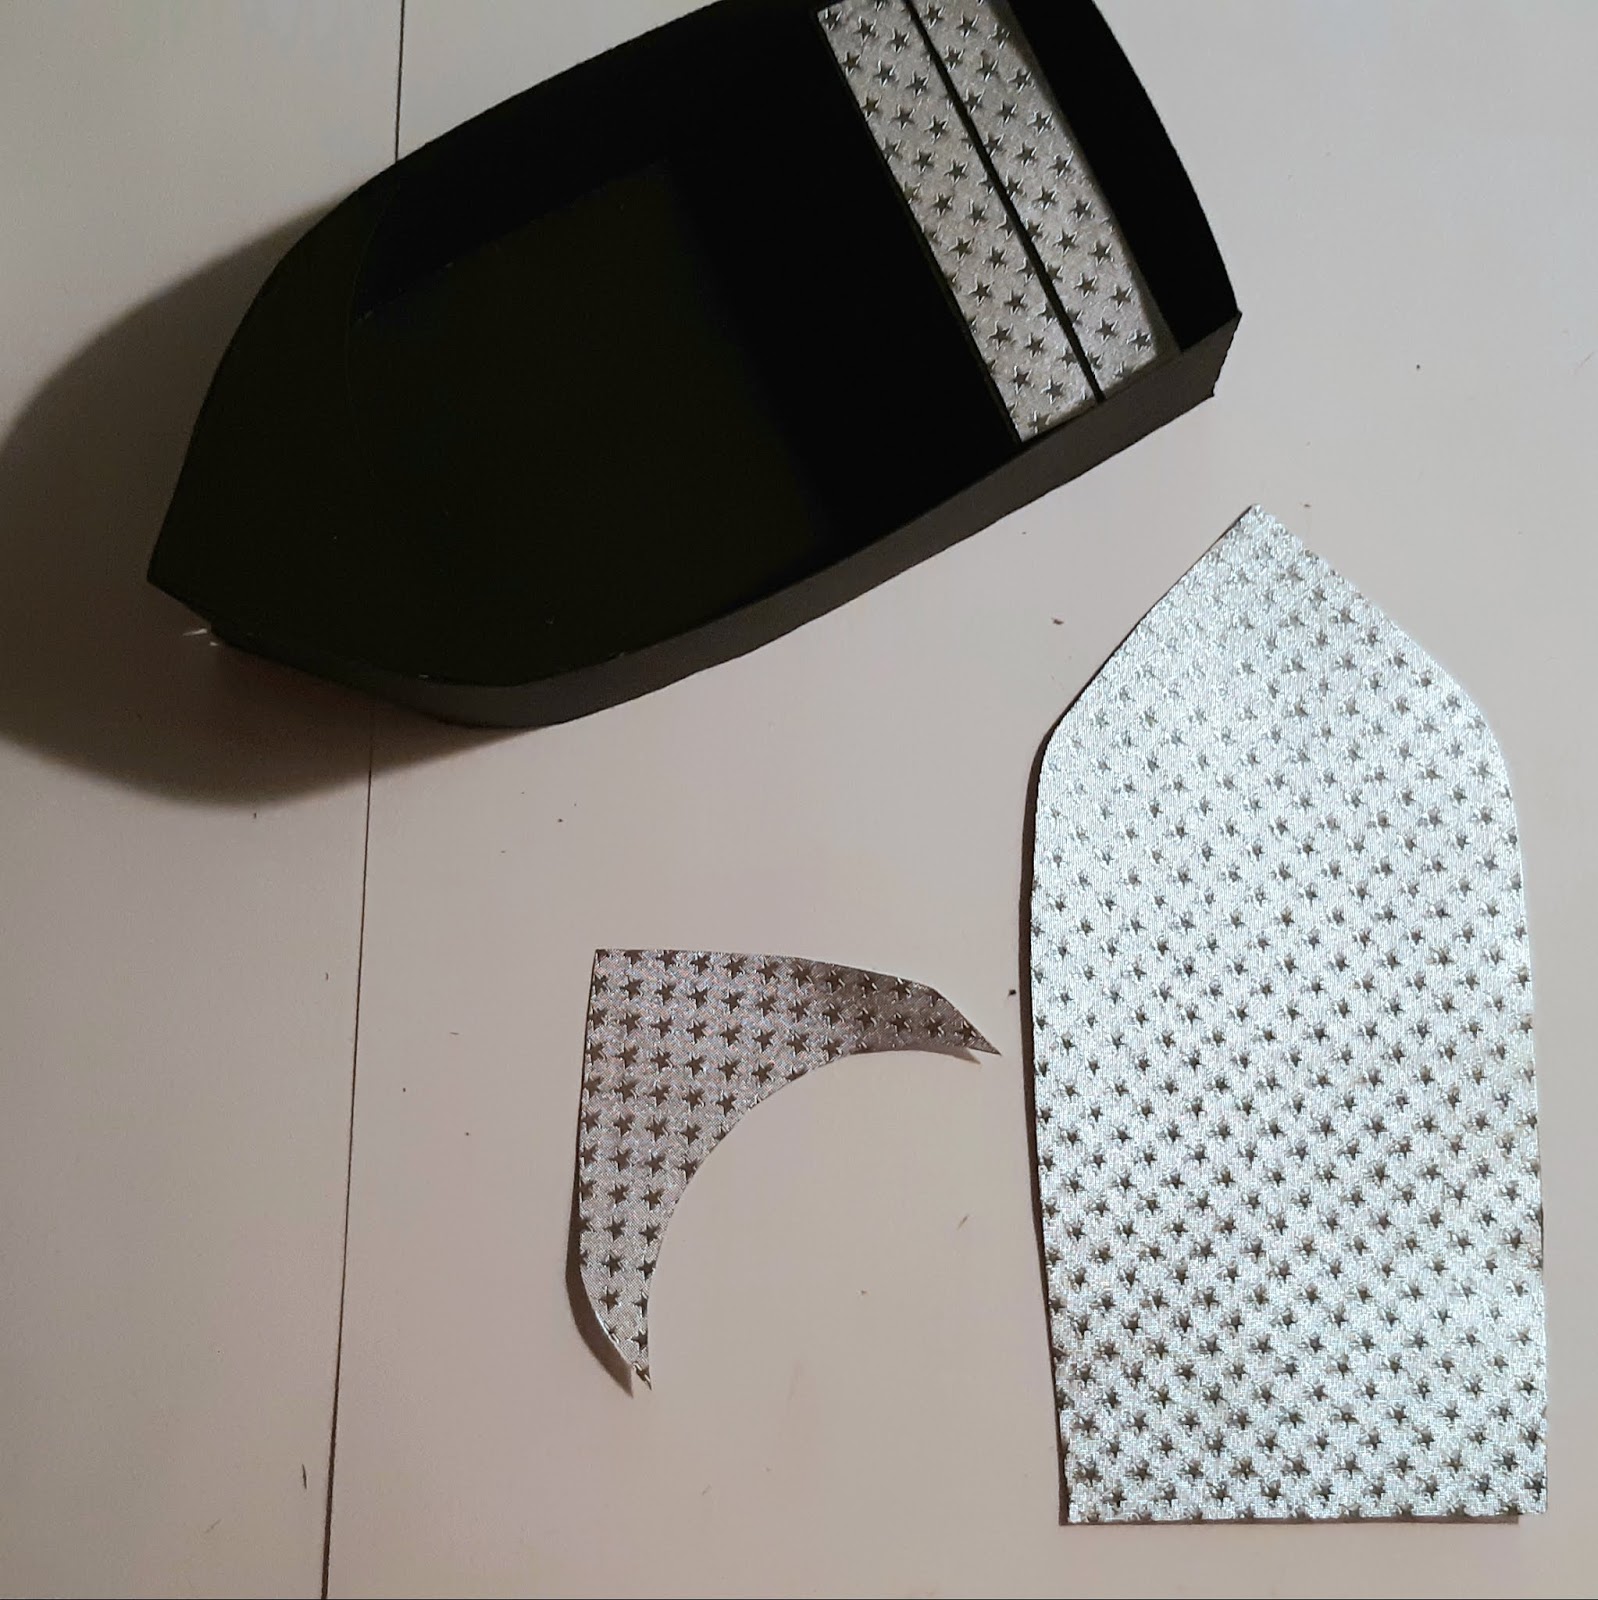
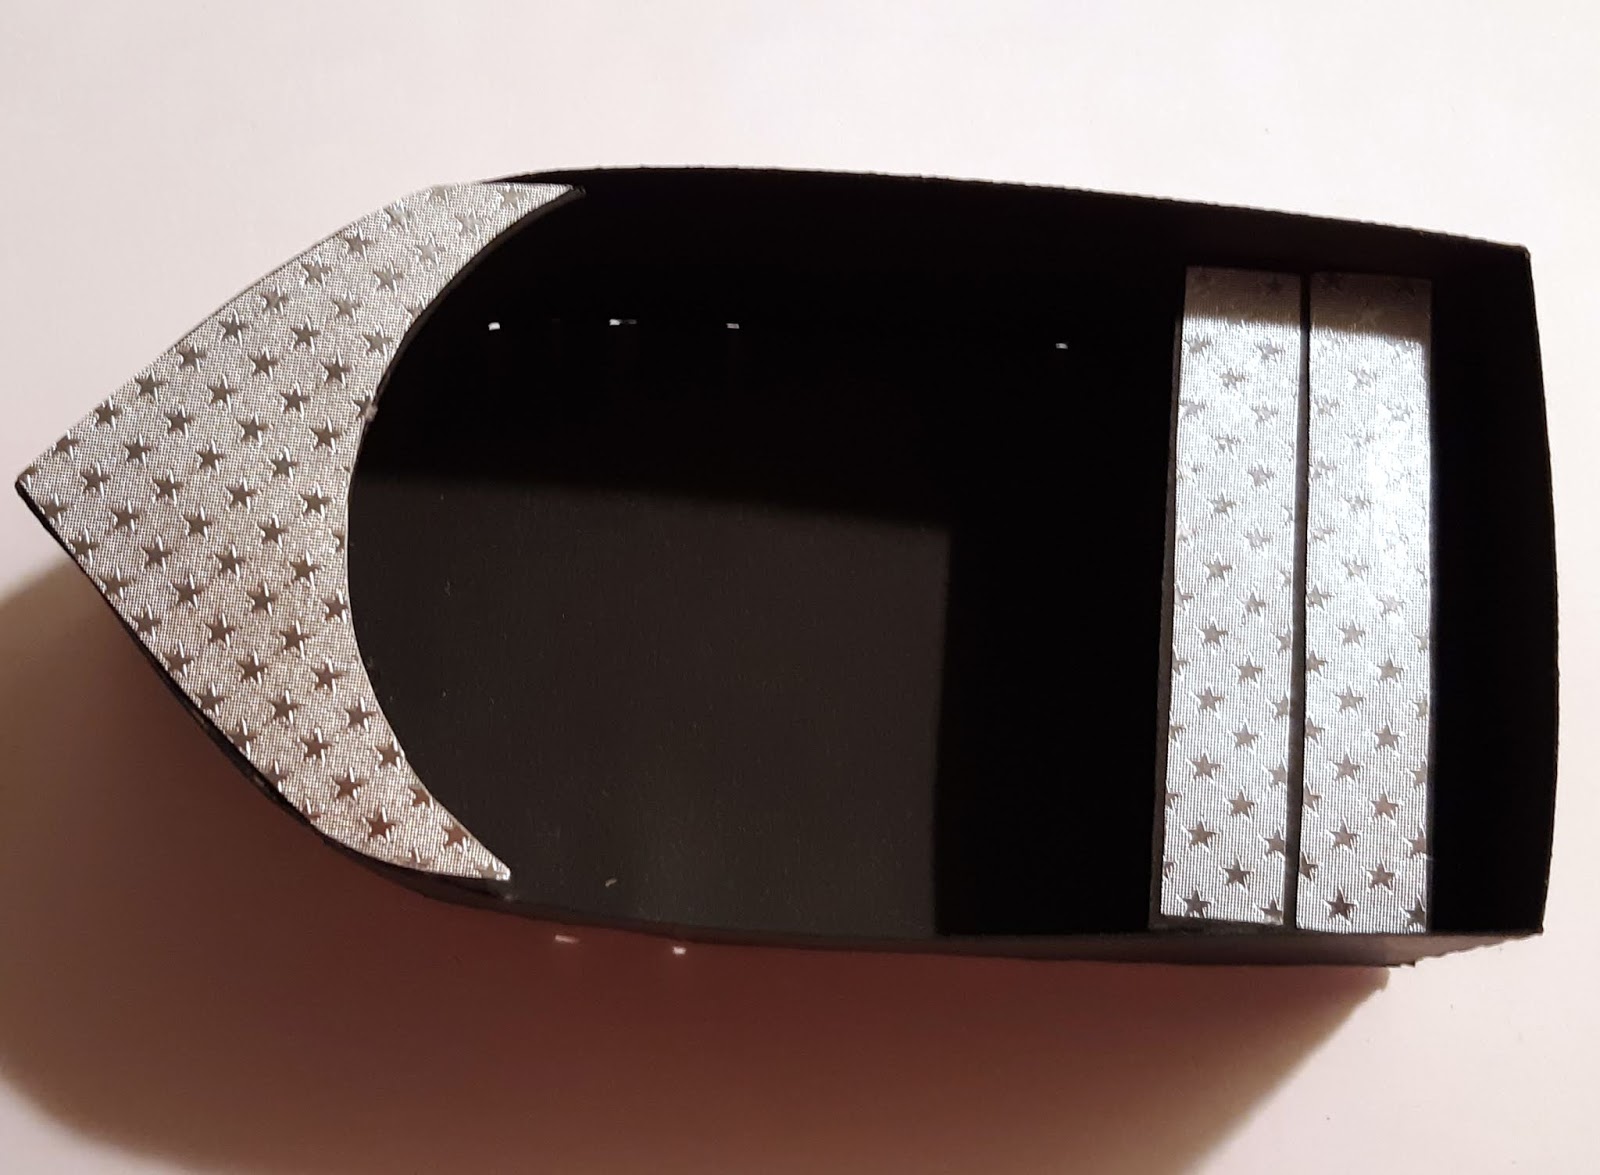
Next, I adhered the side panels to the boat - I cut 4 from Starstruck Silver and 2 from Starstruck Sapphire for a total of 6. I glued them on with the Starstruck Sapphire in the center.
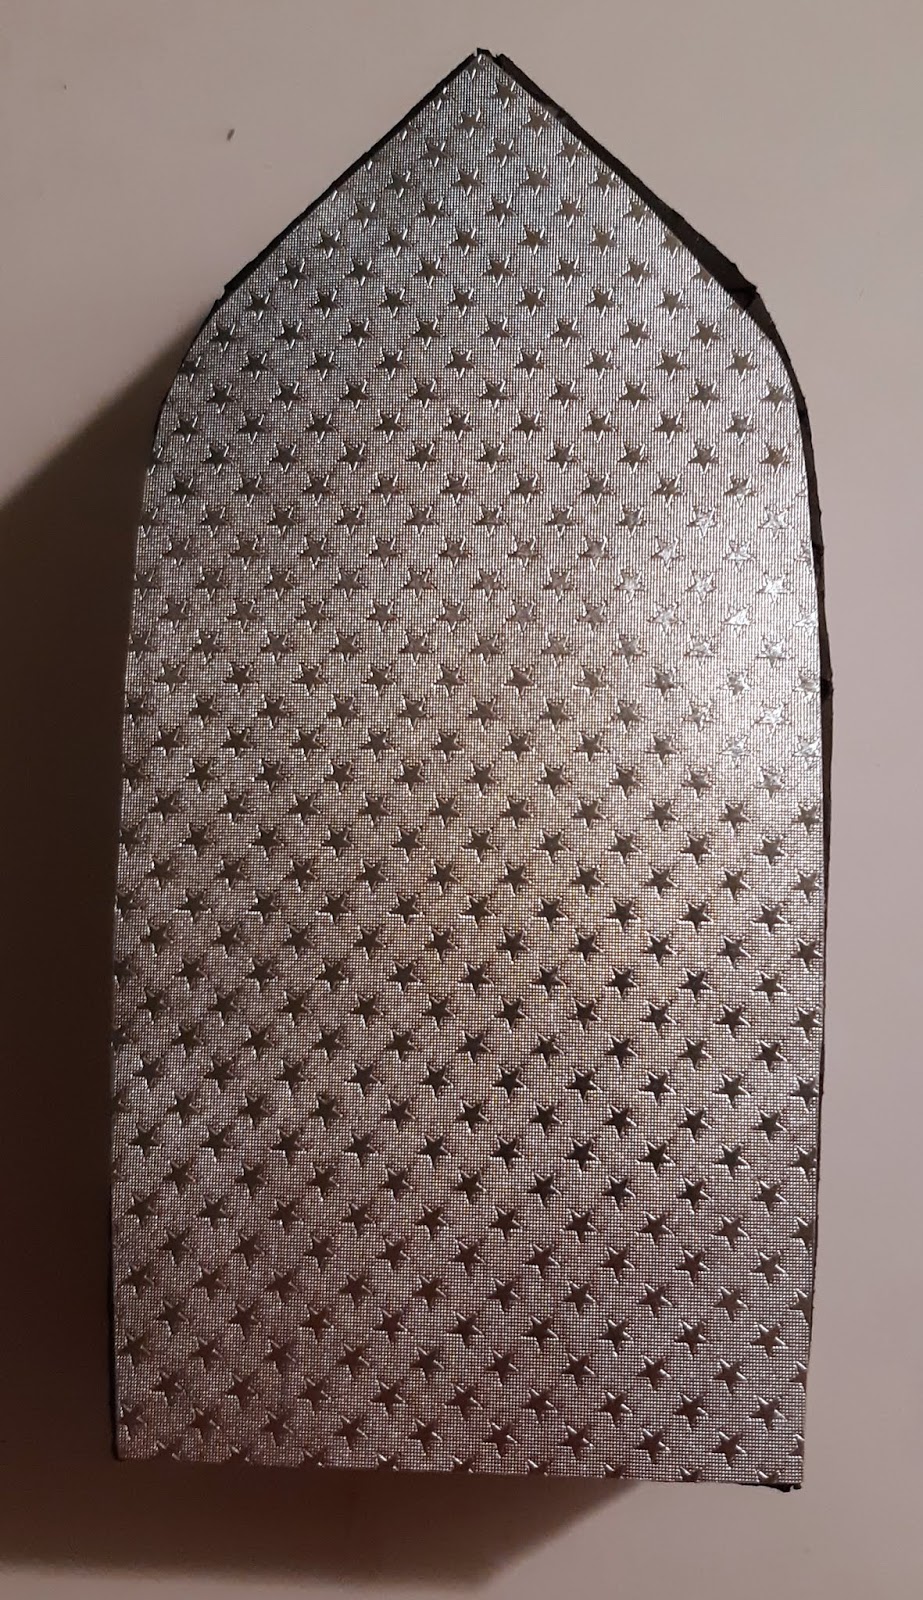
Then, I stamped the sentiment onto white cardstock. Trimmed it and adhered it to Starstruck Ruby Red foil paper. Next, I adhered the sentiment onto the Starstruck Silver foil paper - back of the boat panel.


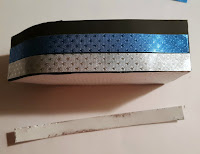
Then, I adhered Starstruck Sapphire oars panel to the black cardstock panels.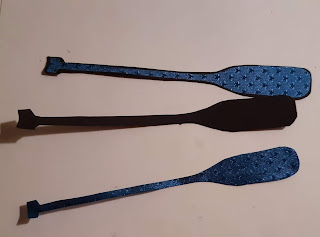


Now, we can start decorating the boat. I used green cardstock for the fish base and Starstruck Jade foil paper for the scales, for the Life Preserver I used white cardstock for the base and Starstruck Ruby Red for the red portions and for the starfishes I used Starstruck Marigold and Starstruck Gold foil paper.


For the fish - first I adhered the layers. Then, I adhered the fish together. Next, I made a small hole for my cord to go through. I tied a knot at the end of the cord and strung the fish onto it. Then, I adhered the fish to the boat. Next, I adhered the cord to the inside of the boat.


Now, the Life Preserver - I adhered the layers. Then, I made a fisherman's Reef knot (this is not necessary you can just tie your life preserver on how you would like) I cut 2 pieces of the cord the same length.

I then bend the cord pieces to create 2 U shapes.


I stack them on top of one another. I hold one of the U shaped cord by the open end. Then, I slip one leg of the other U shaped cord through the center of the loop end of the one I am holding. Repeat with the other leg. (I hope this makes sense) Then, I pull on the cord on both ends until tight.


Next, I add a bit of glue to the life preserver and adhered the knot to the preserver. Then, I pull up the cord through the center of the preserver and glue the cord to the back. I then adhered the preserver to the boat.


Starfish - I adhered the Starstruck Marigold to the side of the boat on the other side. I did the same with the Starstruck Gold starfish - I place them toward the back. This way both sides of the boat are decorated.


Now, the Father's Day boat box is complete. I am filling this box with some lures.


Thank you so very much for stopping by the blog today I hope you found some inspiration!