Saturday, October 6, 2018

Rainbow Challenge with Joy Clair - World Card Making Day

Image may contain: text


For this hop - Rainbow Challenge I have created a card featuring the Doodle Flowers Stamp Set. I wanted to make a Rainbow bunch of flowers because nothing is more happy than a bunch of pretty colored flowers!!


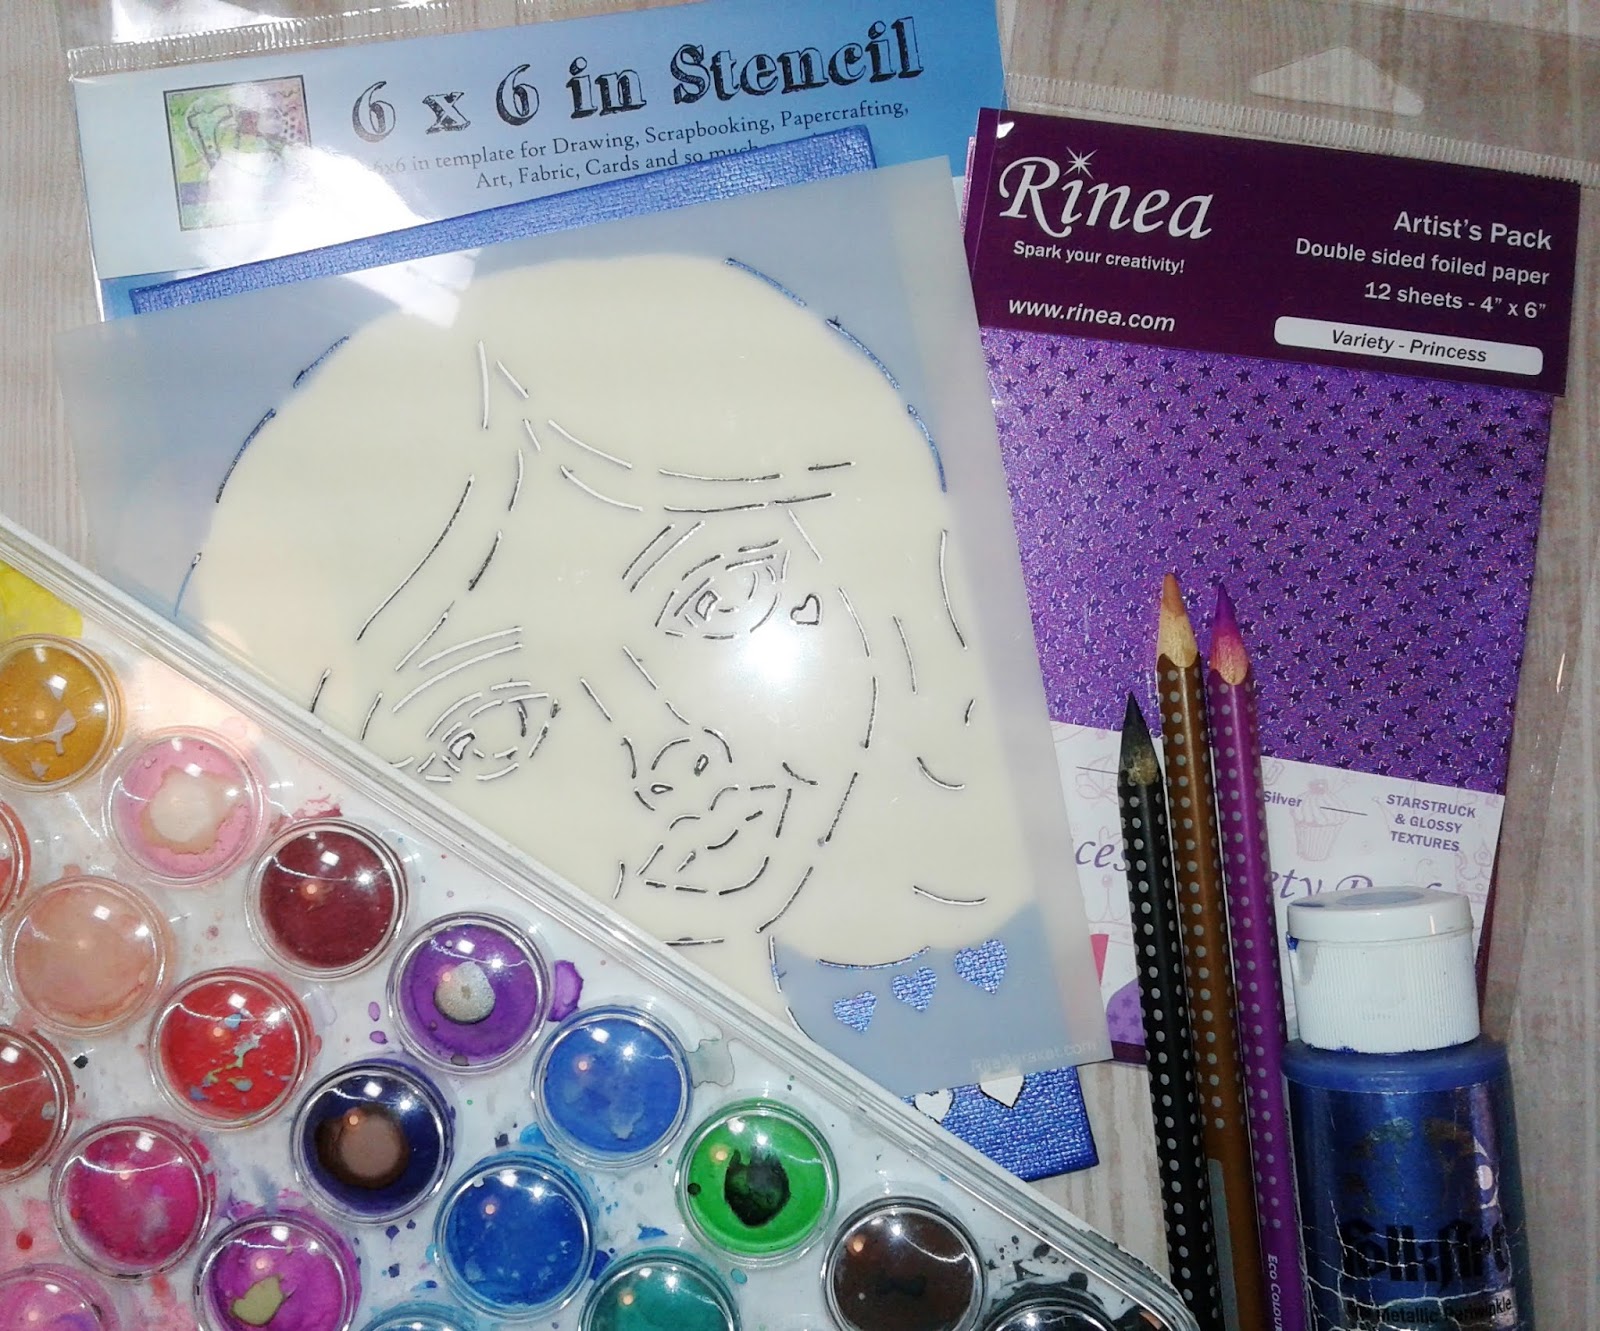
So let's gather the supplies and get started:
Joy Clair Doodle Flowers Stamp Set
Tsukineko VersaMark Watermark Ink Pad
Tsukinneko Memento Tuxedo Black Ink Pad
Tim Holtz Distress Oxide Ink - Broken China and Forest Moss
Ranger Gold Embossing Powder
EK Success Powder Tool
Spectrum Noir Markers - GY4, CT3, CT4, DR1, DR7,PL2, PL3, PL4, PL5, CR5, CR6, CR8, TB3, TB4, OR2, OR3, AG2 & AG3 
Heavy Weight 110lbs - White, Black & Glitter Gold Cardstock Recollections Brand
Heavy Weight Vellum - Recollections Brand
Washi Tape - Gold and Hearts - Recollections Brand
Word Dies - Memory Box

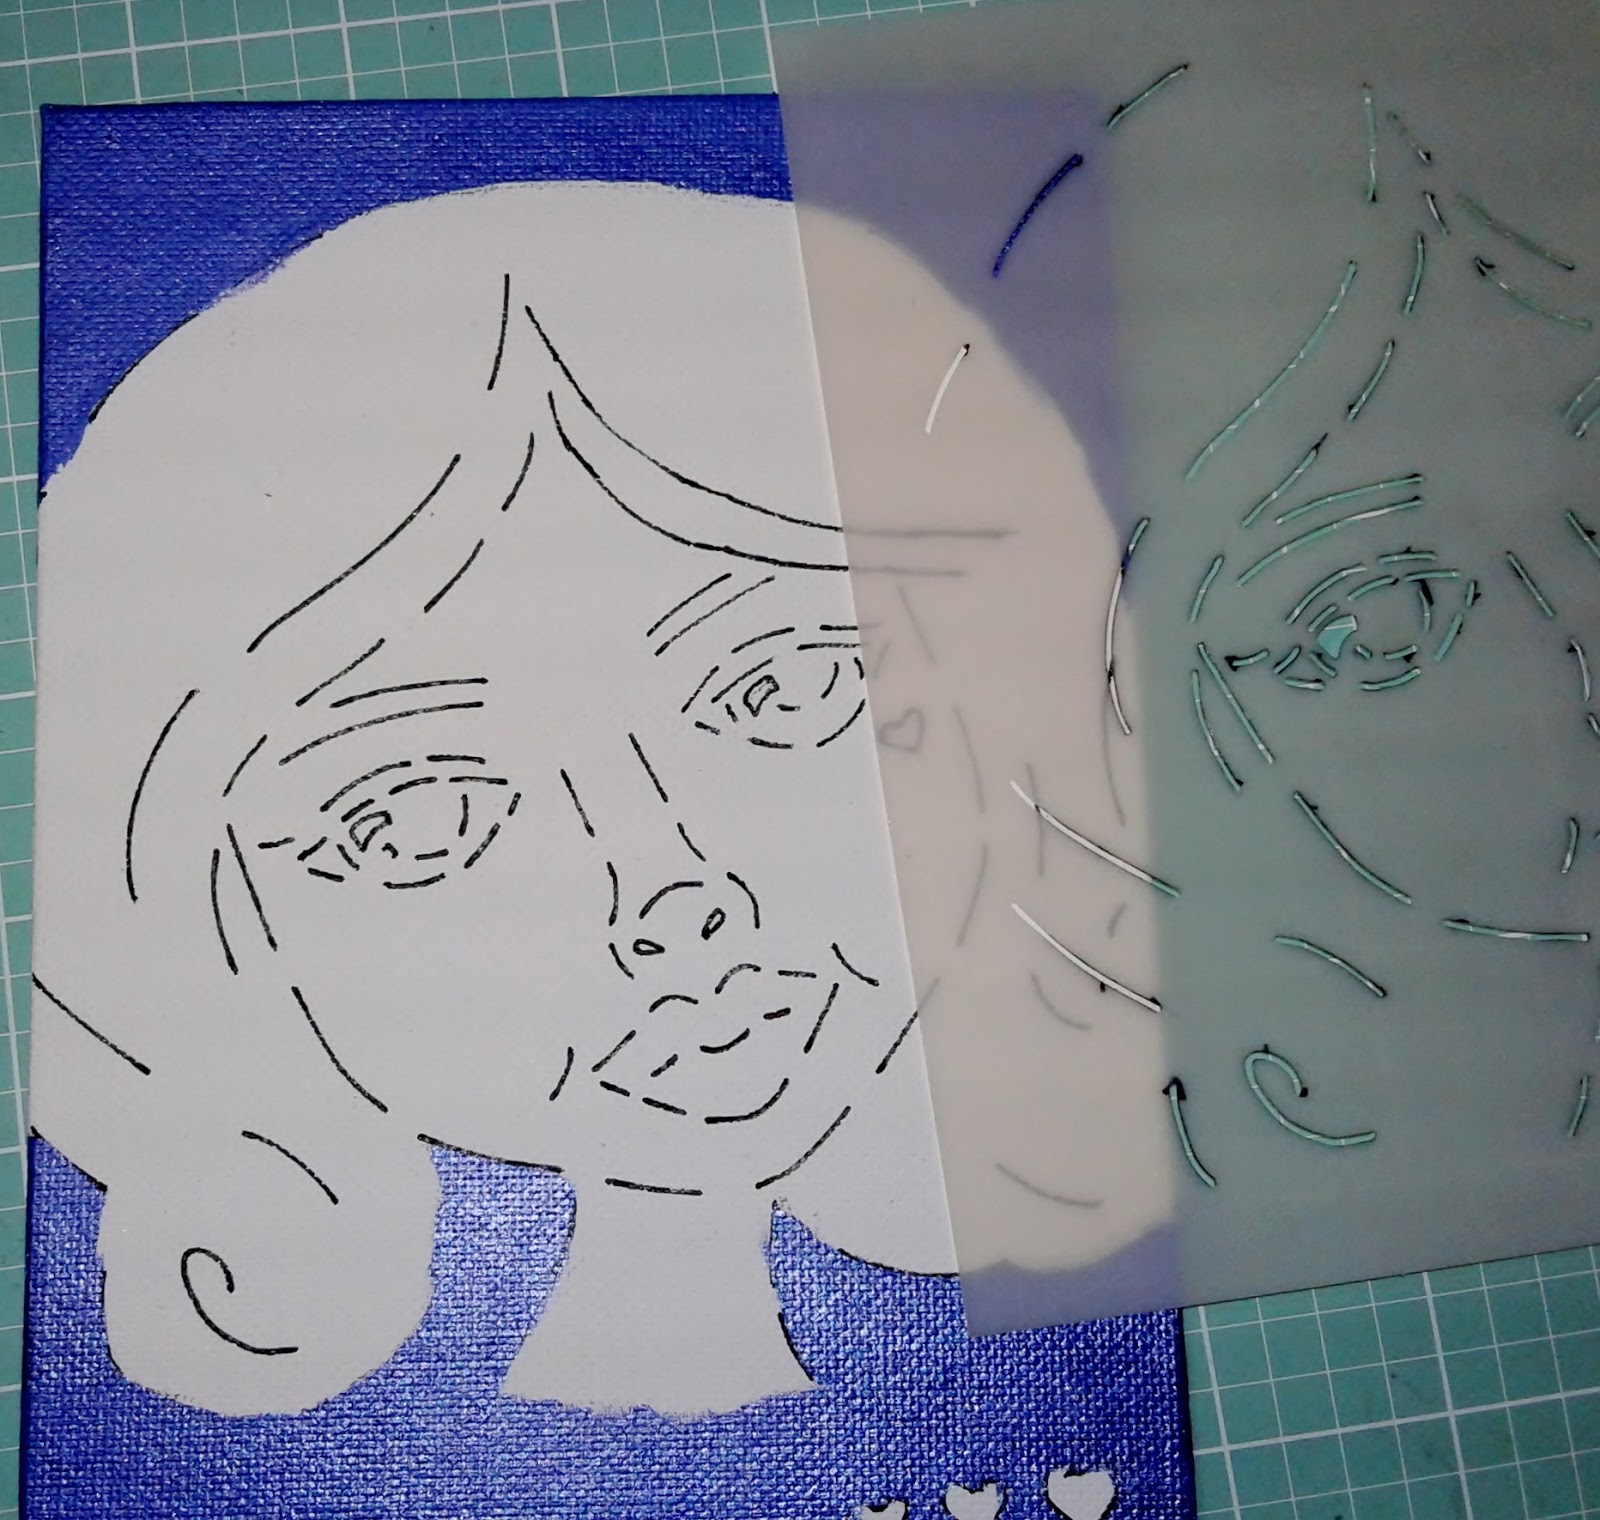
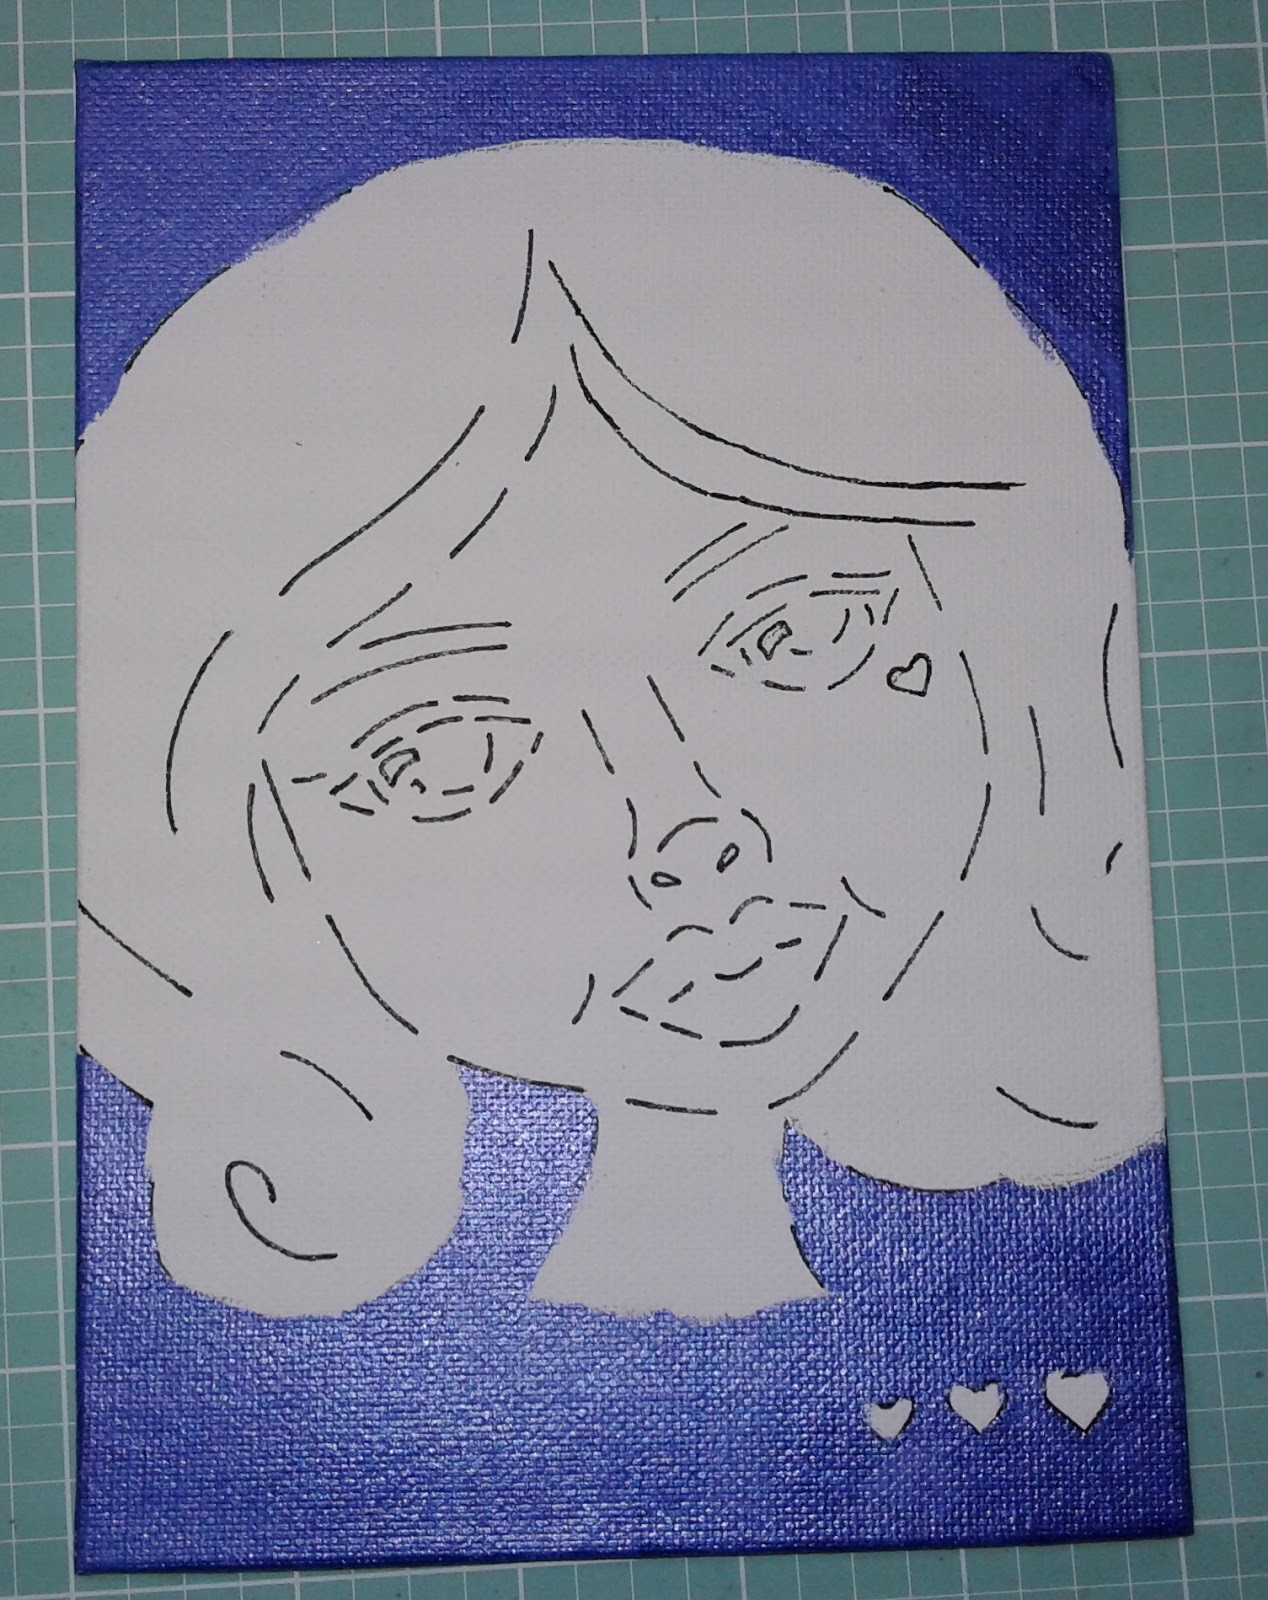
I stamped the Doodle Flowers  bouquet, several flower tops, Stems and leaves onto alcohol friendly paper using Memento Ink.  I also stamped extra stems and leaves with Tim holtz Distress Oxide ink - Forest Moss. Then, colored them with my Spectrum Noir alcohol markers. I then fussy cut out the flowers and stems.

Next, I rubbed the vellum with some powder from my EK Success Powder tool and stamped the Jar with Versamark Ink and heat embossed it with Ranger Gold embossing powder on to Vellum. I then fussy cut it out and set it aside with my flowers. Then, I die cut the words Happy Anniversary 3x from heavy weight cardstock and once from glitter cardstock.

Now, I am ready to assemble my card. I start by sponging a bit of Tim Holtz Distress Oxide Ink Broken China onto a scrap piece of paper large enough to fit the back of the jar. Then, I cut a small slit in the top of the vellum jar. Now, on the back of the vellum jar I use some foam adhesive around the edge - (creating a shaker card) I then, placed a few gold sequins onto the inked paper and placed vellum jar on top of the inked paper. creating a shaker. trimmed away excess paper if needed.

Next, I insert the bouquet flowers & leaves into the jar arranging them & gluing them into place. Set aside. Now, I cut two pieces of washi tape one in a solid gold and another with hearts, I layer them towards the bottom of my card cutting the end in an angle. Then, I adhere the Vellum Shaker Jar with Flowers on top of the washi tape trying my best to center it.

Now, I arrange the remaining flower tops and stems at the base of the jar. Making sure to tuck in a few leaves. I set my card as side to dry while I work on my sentiment. I start stacking and gluing the layers of the die cut words making sure the line them up. I place a few acrylic block on top of them while the dry. Once the die cut words are dry I adhere them to my card. Again, placing some acrylic block on top to set them in place. For some finishing touches I add a few Nuvo Drops in Pale Gold to the centers of the Flowers.


Doodle Paper Playground Blog Hop


Hello friends - Welcome to the Doodles Paper Playground Meet the New Design Team and New Release Hop! I am so happy you are here.

I am honored and excited to be a part of the Doodles Paper Playground Design Team! I look forward to sharing cards using the wonderful Sparkle Blends that Amber puts together. They are fabulous!!
To see the entire release be sure to stop by the Doodles Paper Playground Blog.


 I created a shaker card using the New Release Sparkle Blend called Vixen 

Vixen --If nontraditional colors are your preference for your holiday crafting, this beautiful blend of pink, purple, blue, teal, green & clear iridescent & glitter sequins in a variety of sizes, with a scattering of crystals in fuchsia, lavender, mint & blue. Flying silver reindeer confetti complete the holiday tone of this contemporary blend.

This is the shaker card I created - I decided to play on the Purples in the Vixen Sparkle Blend. The little silver Reindeer in the blend are a perfect fit for this stamp set.


Supplies used: Doodles Paper Playground Sparkle Blend Vixen, Mama Elephant Reindeer Stamp Set and Dies, Spectrum Noir Markers, Memento Tuxedo Black Ink, Zig Wink of Stella - Clear Glitter Pen, Recollections Brand Cardstock: Periwinkle, Shimmer Fushia & White, Webster's Pages Pattern paper. 


Hop along - Be sure to leave some love on my fellow teammates blog. 

Doodles Paper Playground

Annie - You are here - YAY!

Carolyn
Thank you so much for stopping by today!

Saturday, September 29, 2018

National Coffee Day Hop


Today, is National Coffee Day!! I love coffee and I am excited to a part of this hop. A2Z Scrapbooking Supplies Store is giving away One the prize of $25.00 Gift Card to the A2Z Scrapbooking Supplies store to be entered leave a comment on the A2Z Scrapbooking Supplies Blog, on this post and the blog post of the A2Z Scrapbook Design Team by October 7, 2018 11:59 pm Pacific Time. Winner will be announced on October 8, 2018 on the A2Z Scrapbooking Supplies Blog.

I created this card using the Caffeine Fix digi from the A2Z Scrapbooking Supplies Store

image 0
I resized the coffee cup and sentiment in Word. Printed them out and colored the image. 


I colored the image of the coffee togo cup with my Spectrum Nior markers. I used a few hexagon dies to die cut some cardstock and pattern paper to create a background for the image and sentiment to rest on.  For finishing touches I used some Kuretake Zig Wink of Stella Clear Glitter Pen on the coffee and some Sequins for Darice.

I hope you hop on over to see what the other talented design team members created. Remember to leave a comment on each post to be entered for the Prize!!

Annie - You are here


Thursday, September 27, 2018

I Love You a Bushel & a Peck - with A2Z Scrapbooking

Hello Friends Annie here with another quick card. So, Tell me did you ever hear the song I love you a bushel and a Peck... and a hug around the neck. It's my husband's favorite childhood song - his mom always sang it to him.
When, I saw the Farmhouse digital Set by Sugartree Stamps I knew I had to use it to create a sweet card.
image 0
I used the bushel of apples and the sentiment I Love You A Bushel & A Peck. I kept it CAS in keeping with this month's challenge.
Bushel & a Peck
I printed out the image and sentiment. I colored the Baskets and apples with my alcohol markers; I then fussy cut them out. Next, I trim heavy weight cream colored cardstock and a 2" piece of plaid pattern paper from American Crafts. I die cut my Sentiment with a stitched rectangle die. I then layered the cream cardstock onto my Kraft card base (4.25" X 5.5"). Next the plaid pattern paper. I popped up the image and sentiment. For Finshing touches I used a Sakura Gelly Roll Pen in Gold for details on the basket, Sakura Gelly Roll Pen in White to add highlights on the apples and finally a few dots of Tonic Studios Nuvo Crystal Drops in Pale Gold.
I hope to have been playing along with us this month Clean and Simple cards are a great way to get a few cards done in a day. Be sure to link up you project so we can all see your wonderful work.
You can find the Farmhouse digital Set by Sugartree Stamps in the Store.  Have a fantastic crafting day!
Annie

Supply List:
  • Farmhouse digital Set by Sugartree Stamps
  • Recollections Heavy Weight Cardstock - White, Cream & Kraft
  • American Crafts - Pattern paper - Plaid
  • Spectrum Noir Markers Baskets: RB1,RB2 &RB3, Apples Red: DR1, DR5 & DR7, Apples Green: CG3 & CG4
  • Sakura GellyRoll Metallic Gold Pen
  • Tonic Studio Nuvo Crystal Drops in Pale Gold
  • Scotch 3M Foam Tape
  • Scotch Advanced Tape Glider & Adhesive

Wednesday, September 26, 2018

Sweet Sister Floral Mixed Media Canvas with Rina and Rita Barakat

This month we here at Rinea are having a collaboration with Rita Barakat. We're creating projects using her amazing stamps and stencils. I decided to create a mixed media canvas using Rita Barakat's Sweet Sisters Heart 6x6 Stencil and the Princess Variety Artist Pack.

Now, if you are not familiar with mixed media - it's when you combine several types of media (paint, watercolor,pencil/pen, paper, fibers and stamps-etc) to create art work.

I created this sweet mini canvas board - love this size because is perfect for any wall space. 


Let's gather the materials:
Canvas Board - 6" x 6" - Greenbrier Intl, Inc. Dollar Tree
Plaid/ Folkart Paint Metallic Periwinkle 669 
Artist Loft Watercolor Paints Regular and Metallic (pictured are Faber Castel watercolor pencils not used)
Sharpie Marker - Fine Point - Black
Dies: Various Brands - Florals and word die Love
Martha Stewart Multi-heart Punch
Adhesive: Aleene's Tacky Glue in Clear & Foam adhesive
Optional: Puffy heart sticker - EK Success Sticko Brand
Tools: Paint brush, Cuddlebug die cutting Machine


Let's get started on the canvas:
I started by tracing the stencil onto the canvas with my sharpie marker. Then, I painted the background with the acrylic paint avoiding the traced area. Set aside to dry. Once dry I used the Sharpie to connect the lines and add a few more to the hair.


Now, I start adding my first layer of watercolor to the face and hair. Using the regular watercolor paints


Next, I added another layer of color and  more details with the metallic watercolor paints. I also colored the eyes and lips with the metallic paints. Set aside to dry.

While the canvas dries I die cut several leaves from the Starstruck Silver and Starstruck Jade paper and flowers from Starstruck Blush Pink, Starstruck Lavender Light Purple and Glossy Lavender Light Purple to use as a floral crown. Then, I drew a light line across the sweet girl's head to help me with placement of the leaves. 
      

Next, add all the die cut flowers to finish forming the crown. Also I added some at her neckline along with the die cut word Love from Glossy Lavender Light Purple paper. For a finishing touch I added some punched hearts from the Starstruck Blush Pink paper and a small puffy heart sticker to her cheek.

I hope you enjoyed this project and give it a try for yourself. Be sure to share your project with us on social media. Thank you for stopping by today.

Have a crafty day!

Friday, September 21, 2018

Beth Duff Designs Fall Release

Hello Friends - We are so happy you joined us for Beth Duff Designs Fall release blog hop! These sets are so awesome and we can't wait to see what is on your must have list. There is definitely something for everyone. Please join us and visit each page in the hop. Thank you so much for joining us, and make sure you join us on Facebook to share your own projects and see what else our team comes up with! Tag us on Instagram @bethduffdesigns and use the hashtag #bethduffdesigns, #BDD or post in our Facebook group at https://www.facebook.com/bethduffdesigns!


Here are the cards I created using the I Don't Believe in Humans stamp set. 


We love seeing your creations! Thank you again for hopping along with us.


Annie You are here.

Large Cup of Coffee Please! with Simply Crafty SVG

Hello Friends - I am so excited to share that I am now on the Simply Crafty SVG Design Team. I am so honored that Sandy and Debs chose me to be a part of the team.

For my first project I chose to make a coffee mug. Of course I did - if you know me - then you know that I LOVE COFFEE!!! Now, this coffee mug won't hold coffee but it can hold some coffee flavored candies, chocolates or some cookies. It's perfect for that office gift or teacher gift.

You can find the Coffee Mug SVG file and the  fantastic directions at the Simply Crafty SVG Site. This is such an easy project to put together.


I hope you give it a try if you do be sure to share your creations with us by tagging us on IG @simplycraftysvg or by using hashtags #simplycraftysvg  or #3dsvgfiles we would love to see your work!
Thanks for stopping by I hope you have a crafty day!!