Monday, November 19, 2018

May Your Holiday Be Lit with Beth Duff Designs

Hello Crafty Friends - I am here with a cute holiday card featuring the New Release Set called

Let's Get Lit


I started by stamping and coloring the images. Then, fussy cutting them. I also cut by card front panel and card base. I also double stamped the sentiment onto white card stock and used stitched square die to cut it.


Now, that I have all the components ready for the card - I started putting some adhesive behind my pattern paper and images.

Now, I placed the plaid pattern paper towards the bottom of the red card stock card front. Then, I placed the sparkle pattern paper and now, I layered the green pattern paper on top of the pattern papers so to hide the seam.

  
Now, It's time to build the Christmas Tree. Then, I placed it onto the front panel. Next, I placed the deer by the tree. I used a string of light to attach the tree to the deer. 


Next, I layered the sentiment onto light green shimmer card stock. I add another string of lights. Adhered the card front onto the card base.
Now, Our card is complete.
 

Hope Your Holiday Isn't A Nightmare Snow Globe Card with Kindred Stamps

Hello Crafty Friends - Annie here with a fun holiday card featuring our favorite Nightmare Pals 
from the stamp set called Holidays are a Nightmare
Holidays are a Nightmare

This adorable duo just want to experience Christmas! 

I created an embossed snow globe and snowflakes panel which is pop up over and colored winter scene for our pals to enjoy. The Santa wanna be and his Reindeer wanna be dog are popped up on low profile foam tape. For finishing touches I added a bit of silver glitter gel pen and some Nuvo drops in White Blizzard.


Thank you for stopping by today!

Be sure to visit our shop for some amazing stamp sets. Don't for get to tag us on Social Media or stop by our Fan Club page on Facebook to share your work featuring our stamp sets.

Winter Wonder Blog Hop with White Rose Crafts and Doodles Paper Playground

No automatic alt text available.


It’s time for another White Rose Crafts Blog Hop!
This month we are celebrating Winter Wonder!
We will be creating inspiration projects featuring snowflakes,
snowmen, ice, winter critters, skating, sledding
and everything else that goes along with this cold and beautiful season.

we are also very excited to be collaborating with several members of the Doodles Paper Playground team.We invite you to hop along with us,
and be sure to leave a comment on every leg of the hop!
We will be giving away prizes
and offering a Blog Candy Discount Code,so be sure to visit every stop on the hop for more chances to win!Now, go get inspired!


In addition to the incredibly talented White Rose Crafts design team,
we are also very excited to be collaborating with several members
of the Doodles Paper Playground team.
We invite you to hop along with us,
and be sure to leave a comment on every leg of the hop!
We will be giving away prizes
and offering a Blog Candy Discount Code,
so be sure to visit every stop on the hop for more chances to win!
Now, go get inspired!

This is the card I created for this hop.
as well as Doodles Paper Playground's


Prizes: One winner will receive a $15.00 store credit coupon code to
White Rose Crafts, and 3 lucky winners will receive a full size package of
Blog Candy: Save 15% on every item in the Christmas Shop section
of the store through 11:59pm EST, Friday, November 23, 2018
with Coupon Code: JINGLE


Giveaway Rules:
· You must be at least 18 to enter. Open Internationally.
Winner is responsible for all shipping costs.
· Entries must be received no later than 11:59PM EST Friday, November 23, 2018.
Prize will be issued in the form of the form of a one-time use coupon code valued at $15.00.
Coupon code is valid at www.WhiteRoseCraftsLLC.com and expires on December 1st, 2018.
Coupon code is not valid on shipping & cannot be combined with other coupons or offers.
· Winner will be drawn on Saturday, November 24th & posted on the
White Rose Crafts blog & Facebook page and will be notified by email, if possible.
· Winner will have 3 days to contact us to claim prize.
If prize is not claimed within this time frame, a new winner will be drawn. No Exceptions.
· This giveaway is not sponsored, affiliated or associated with Facebook any associated entity. All prizes furnished by White Rose Crafts LLC and Doodles Paper Playground.

Friday, November 16, 2018

Christmas Tree Delivery Truck Box Card With Simply Crafty SVG

Hello Crafty Friends - Today, I have a fun box card. It's a Christmas Tree Delivery Truck!

They are all the rang this season in decorations how perfect is this for a card to mail out to family and friends or just to decorate your home/office.

Simply Crafty SVG has done all the work for you - all the measuring and scoring. You just download the SVG file into your electronic die cutting machine and cut it out. Sandy of Simply Crafty SVG has a wonderful PDF print out tutorial for you to follow along with to create the Truck and the tree. The Merry Christmas Sentiment I add from my stash.


I took this picture to show that I added a bit of Ink to the embossed panels and tree.

Thank you for stopping by today! Be sure to stop by the Simply Crafty SVG Shop to find this and other amazing SVG Files for you to try!! 

Wednesday, November 14, 2018

With Gratitude with Doodles Paper Playground

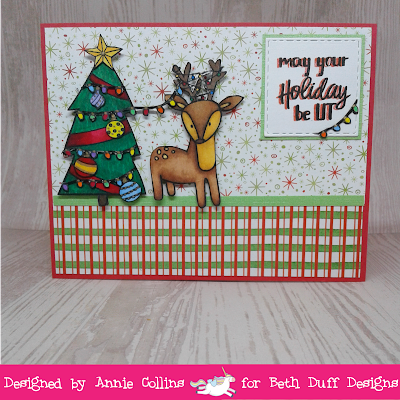
Hello Crafty Friends - Annie here with a shaker card using a mix of Gingerbread Man Sparkle Blend and Very Cranberry Sparkle blend. These two blend are perfect for your Fall cards. 

I have been clearing out my craft room and I found a few card kits that I hadn't used. I decided to give one ago for this card. I used a Paper Pumpkin kit from 2016. 

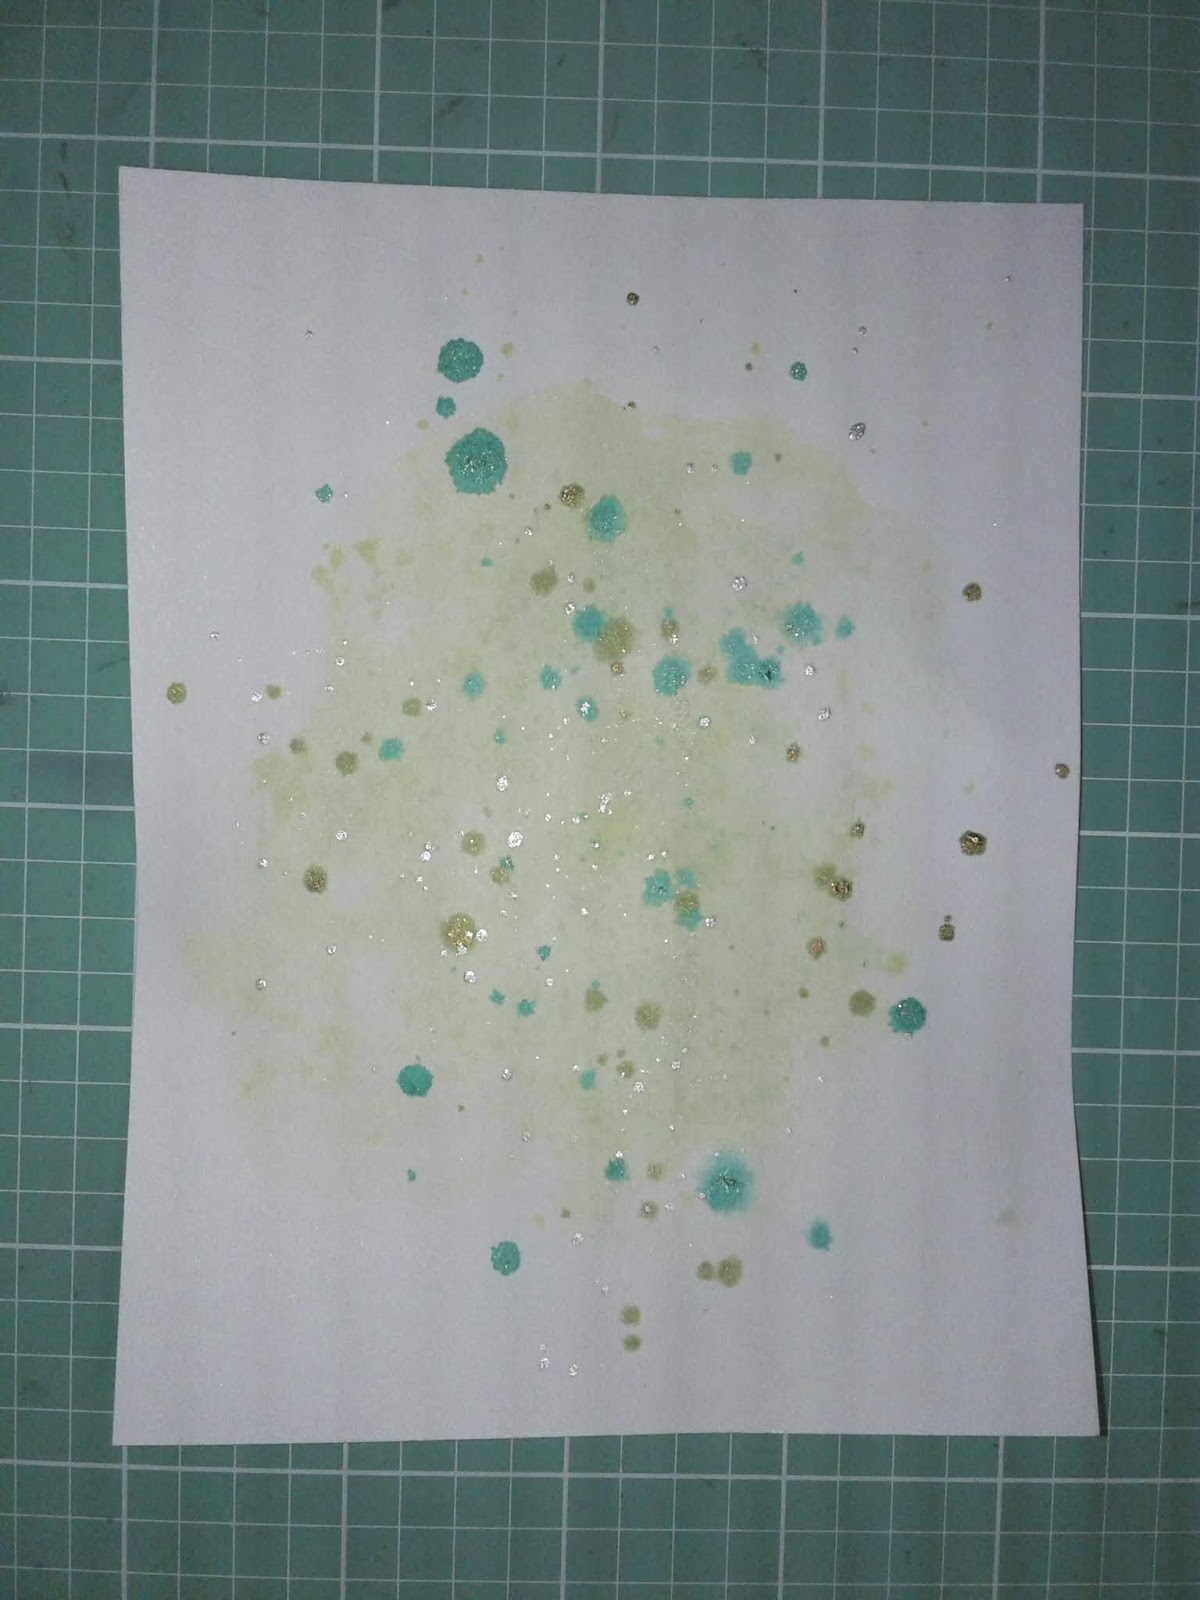
This kit was perfect because it was designed to be a shaker kit. I only used the following: Card base, Leaves cut outs, Die cut bits, Acetate window & twine. I used the Doodles Paper Playground Sparkle Blends for the shaker bits.

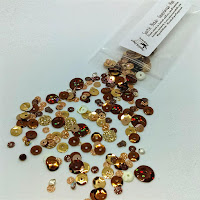
This blend combines rich reds, browns
 and a touch of beautiful gold and green
. it's has crystals, micro beads and muti-hued no hole beads.
 So lovely with it's glitter, shiny metallic and matte elements
.


This Sparkle Blend has holographic brown sequins,
 gold glitter sequins, little crystals,
 and the tiniest gingerbread men ever. 


Supplies:
Paper Pumpkin Thank You kit
Gold Glitter paper - Jot Brand


Let's get started on how I put this shaker card together.

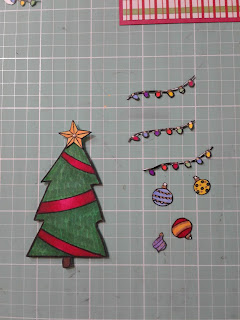
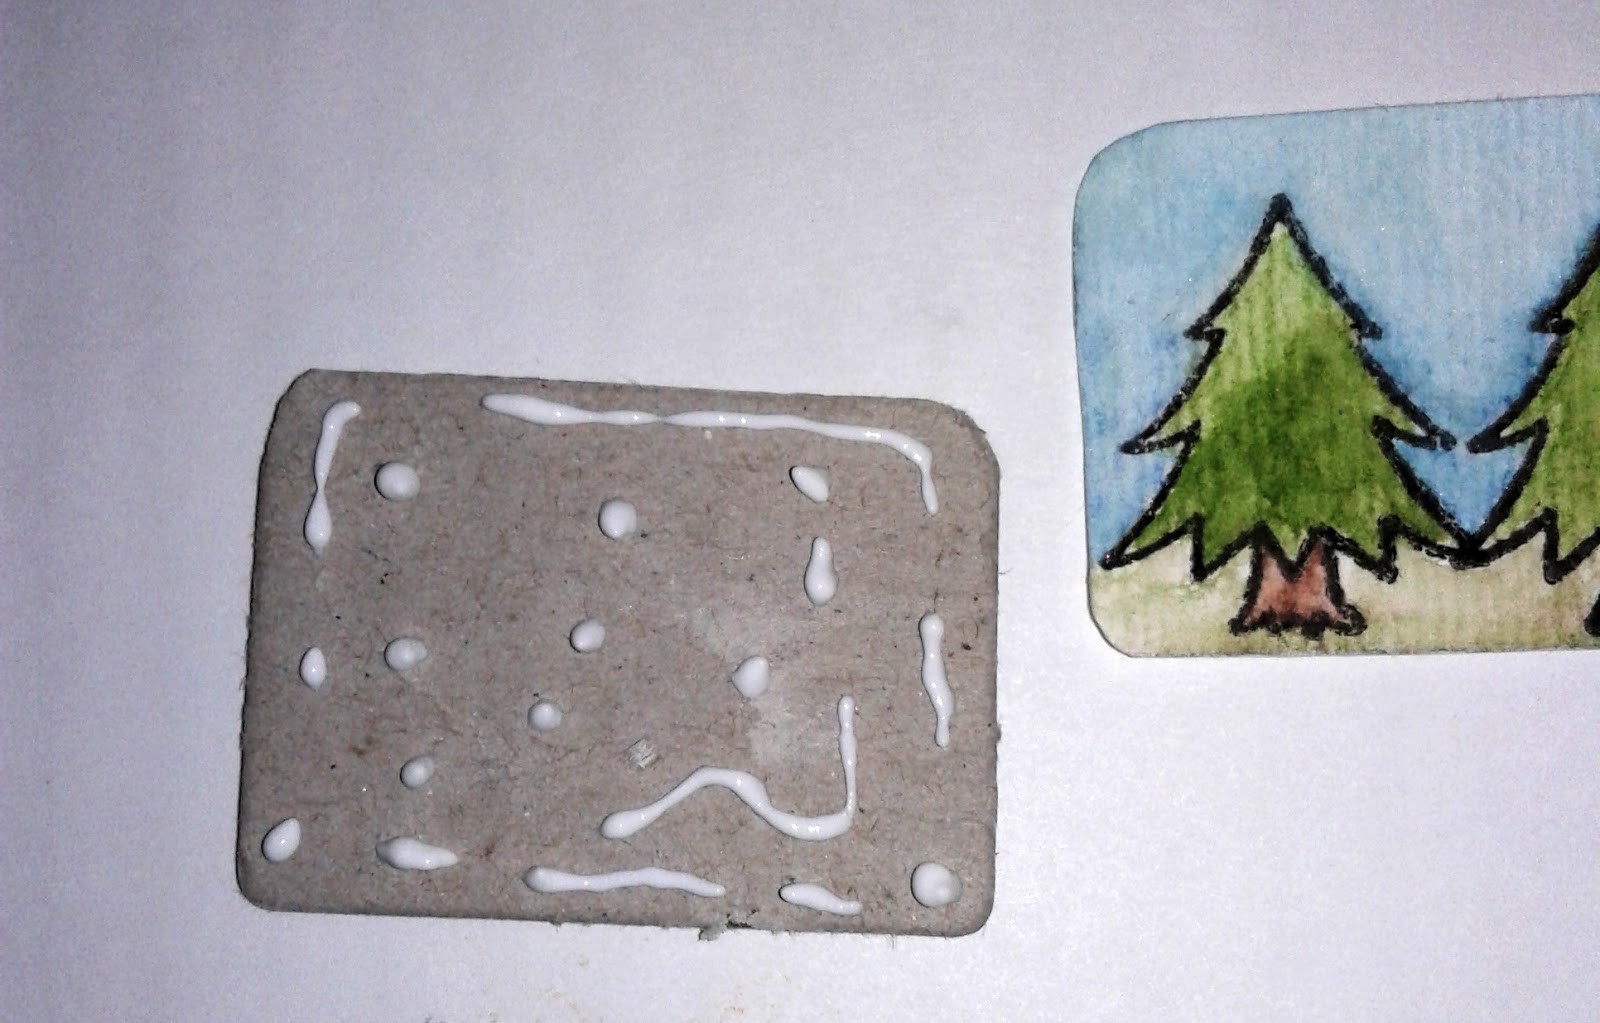
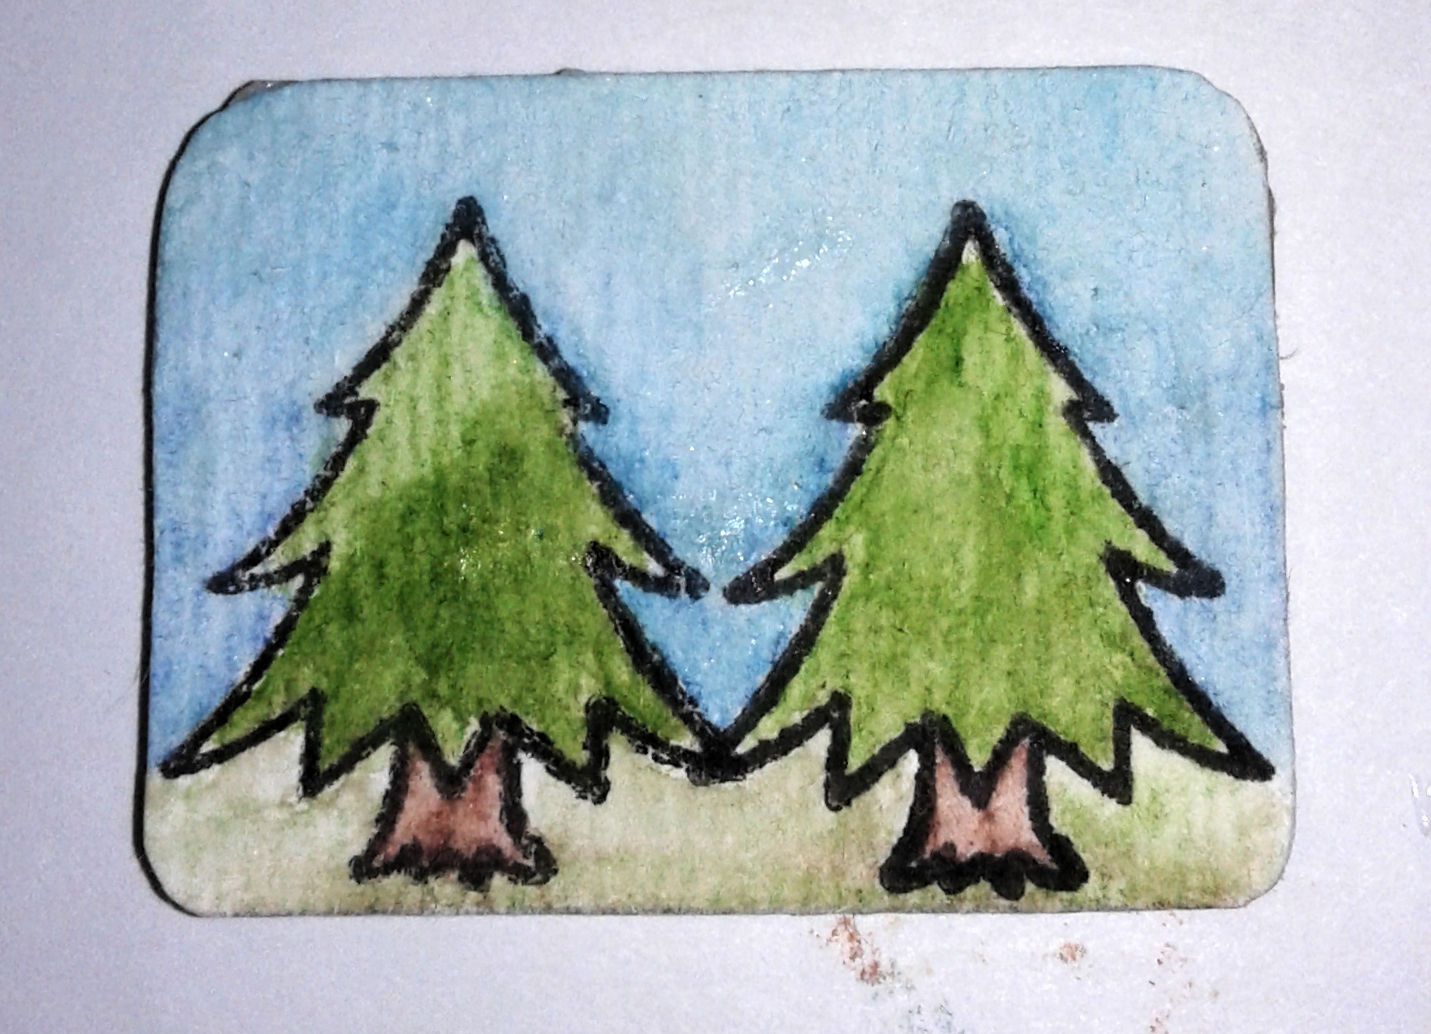
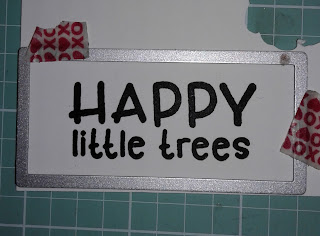
First, I stamped all the squares and the sentiment.with the stamp set provided in the kit.  

Next, I adhered the strip of gold paper towards the bottom of the card base. Then, I adhered the 3 stamped squares above the gold glitter paper. Next, I added the gold paper to the top of the card base. I set it aside while I work on the card front panel.


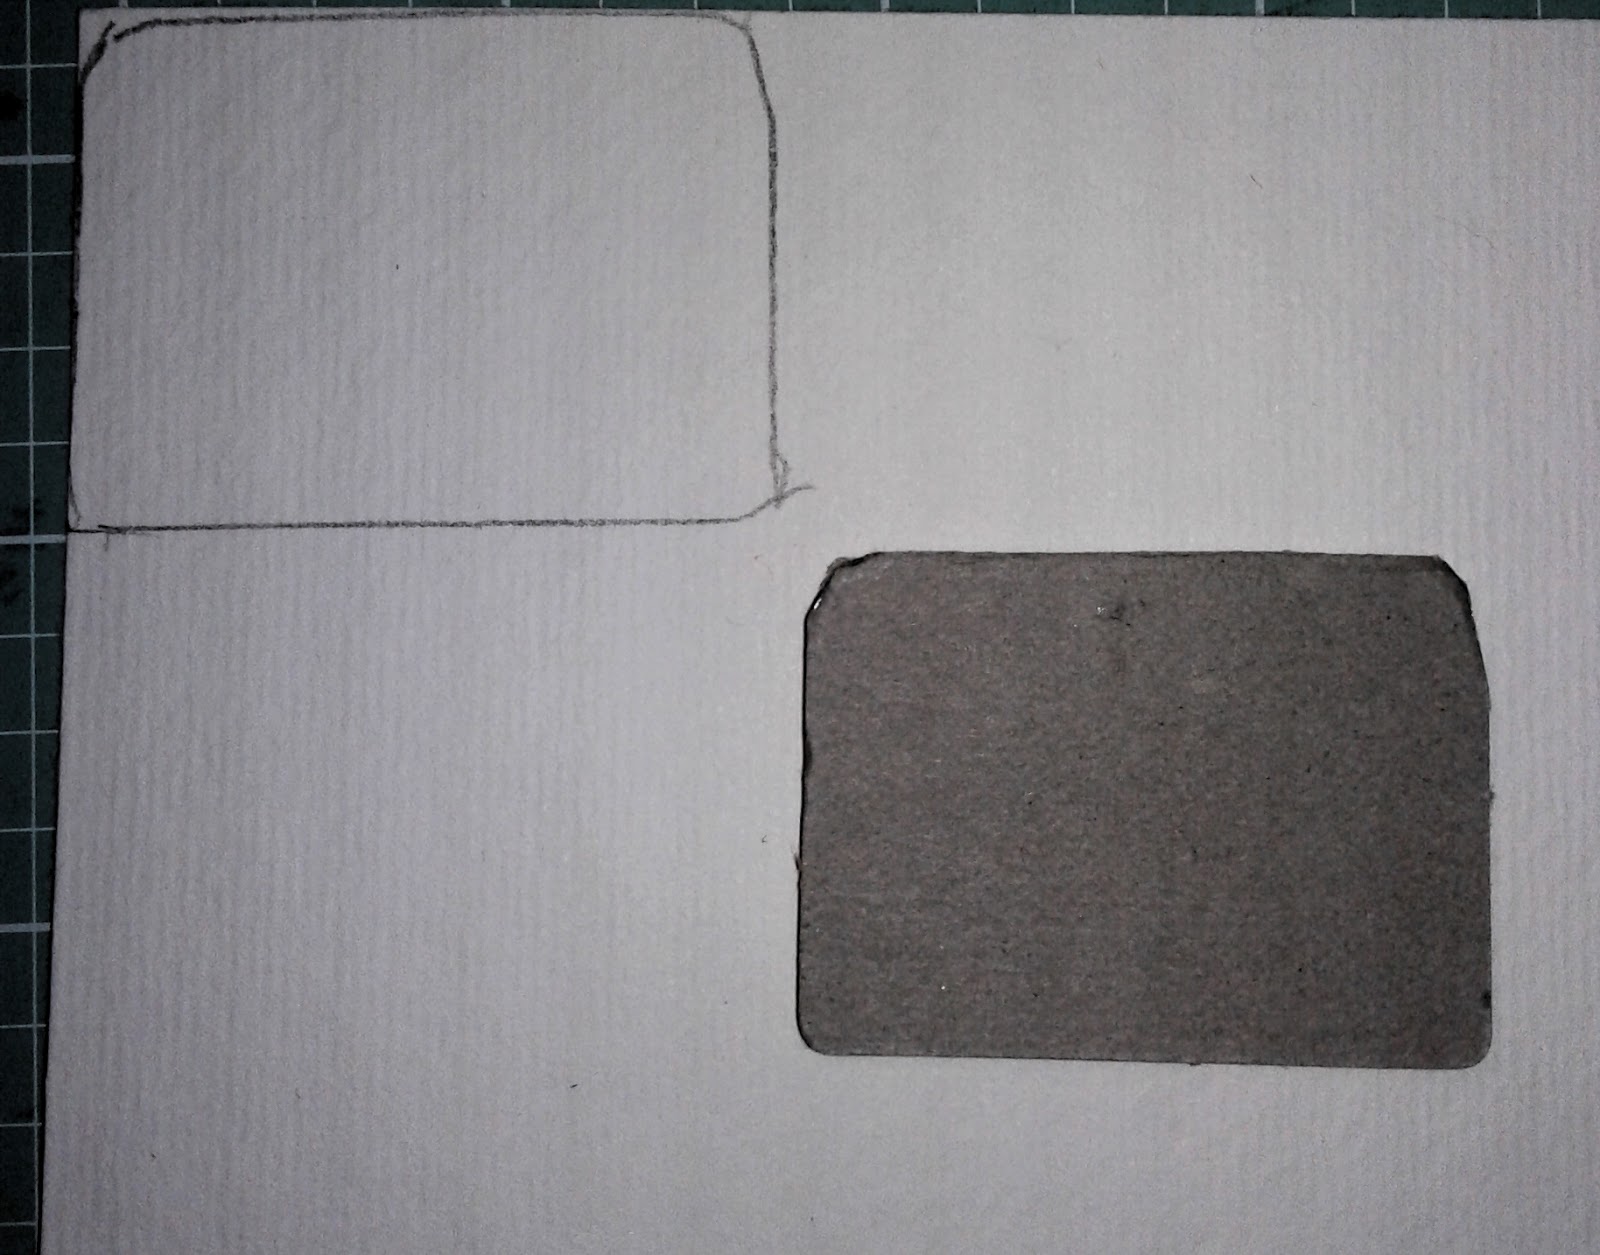
I adhere the acetate film to the back of the leaf die cut panel. Then, I place foam strips and some foam squares.  to the back of the panel. 


 Then, I place the mix of Sparkle Blends onto the card base on the stamped squares. Next, I placed the front panel onto the base. Making sure that the Sparkle Blends stay inside the sqaures


Now, I placed the fishtailed banner piece to the left hand corner. Then, the stamped sentiment piece on top of the banner. I added a bit of the gold glitter paper under sentiment. Finally I added a bow.


Thank you for stopping by today. Be sure to tag us on social media if you create a project with our Sparkle Blends. All of our Sparkle Blends can be purchased on the White Rose Crafts LLC Website.

Monday, November 12, 2018

Happy Little Trees with Kindred Stamps

Hello Crafty Friends - I am here with another fun card.

Today, we're panting HAPPY trees!

I used Happy Accidents - this stamp features
 everyone's favorite artist and his happy little tree
 along with a puffy cloud and 2 sentiments.


Happy Accidents


Let's get started on this quick tutorial. I started by tracing the chipboard square piece onto water color paper. Then, I stamped the little tree onto the water-color paper making sure to wipe off the face before stamping it. I used Versafine Onxy Black ink. 


I then, used my Faber-Castell water-color pencils to color the images. I used a small paint brush & water to move the color. I set it aside to dry.


Once the images where dry I trimmed it down - following the pencil lines. I then adhered the little painting onto the chipboard piece. I then stamped and colored with my Spectrum Noir Marker the little tree as well as the artist. I then trimmed it and adhered it to the little painting. Placing an acrylic block on top of it.


Now, To create the easel. I used 3 toothpicks for the easel. I cut one into 3 pieces. I only used 2 of those pieces. I started by gluing the 2 full toothpicks along with the larger of the 2 cut pieces - forming a capital A. Then I added the little piece to the top. Set aside to dry.


Once the little painting and easel were dry I adhered them together. set aside to dry. 


Now, I created the background to the front panel of the card. On heavy weight white card stock I did a bit of water-color wash with Distress ink in Twisted Citron and Crushed Olive. Then I did a bit of sprinkle with Heidi Swapp Color Shine in Tinsel, Citron and Teal. Set aside to dry.


Then, I stamped the sentiment onto heavy weight white card stock. I then die cut it using a rectangle stitched die.


Now, that all of the components are all ready - it's time to put our card together.  I adhered the front panel on to Dark Navy card base. I adhered the sentiment onto shiny Navy card stock. Add a bit of thin foam to the back of the easel so that it laid even on the card. I also add a bit of thick foam tape to the artist. I placed the painting to the bottom right of the card front and the artist to the left of the card. Next, I placed the sentiment a bit to right. 


There you have it a fun Artist painting HAPPY little trees! 


Thank you for stopping by today!