Showing posts with label Xyron Creative Station Lite. Show all posts

Thursday, November 21, 2019

Thanksgiving Table Decorations with Xyron

Hello Crafty Friends - I am here with some fun Thanksgiving table decorations.

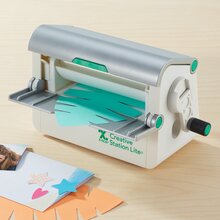
I used my Xyron Creative Station Lite and Xyron Mega Runner along with cut files from
  Simply Crafty SVGs for these wonderful decorations.


Let's begin!

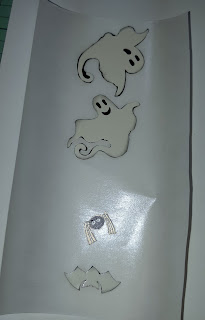
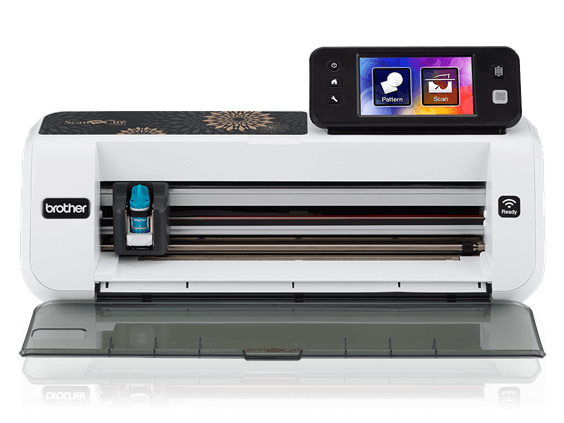
I start by cutting  The Autumn Takeout Box  SVG files on my Brother Scan N Cut CM350. I then inked all the edges of the papers and shapes. I also die cut a few extra leaves to decorate the sides of the box.

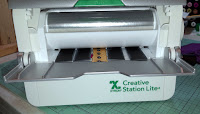
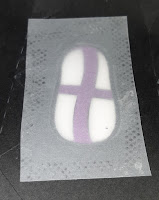
I ran all the decorative panels and leaves through the Xyron Creative Station Lite for easy no-mess application.

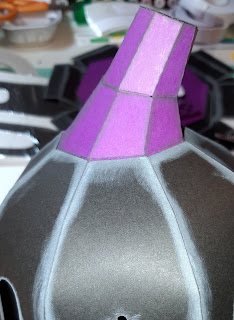
Next, I layered the decorative panels. I then placed them onto the box fronts. 
  

I then used some Xyron Mega Runner on the inside of the side panels of the box. I pressed them into place. Making sure that the holes line up. 
  

Now, that the box is formed, I add a Pipe Cleaner into the holes and curl the ends to hold. You can put some Xyron Mega Runner for extra hold. I didn't because I want the handles to move. I then decorated the sides with some leaves. One of the leaf from the front cut out panel and a Gold die cut leaf.
 

Fill your box with goodies (I will be doing this Thanksgiving Morning). Close the box by simply sliding the tab through the slot.
 

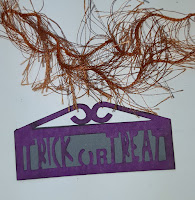
I die cut a fishtail sentiment banner and stamped Happy Thanksgiving along with a few acorns in Memento Dew Drop: Brown Sugar. I then punched a small hole in the corner and tied some DMC floss in a medium Orange. I attached the tag onto the box handle.
 

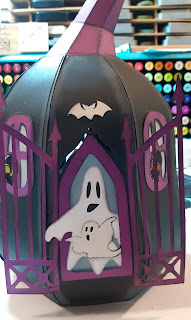
Now the box is complete!
Materials Used:
Brother Scan N Cut CM350
Crafter's Edge Crossover II Die Cutting Machine
Memento Dew Drop: Brown Sugar
DMC Floss: Medium Orange
Distress Ink: Ground Expresso
Darice Brand: Pipe Cleaner- Brown
Scenic Route Paper Co: Sentimental Silly Strip/Dot Pattern Paper
SEI Brand: Kraft Basic Foil Cardstock - Gold
Recollections Brand Cardstock: Kraft
Impression Obsession Dies: Leaf
Lawn Fawn Stamp: Forest Feast


Let's begin!

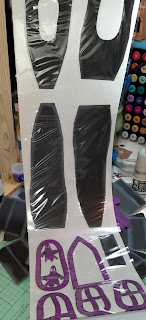
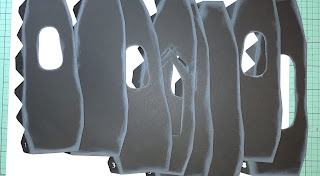
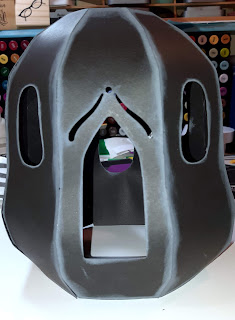
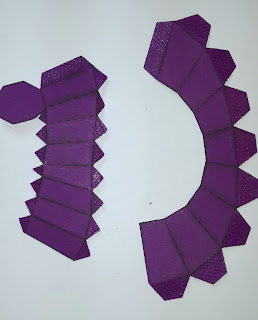
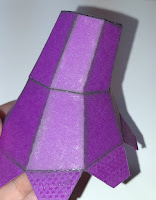
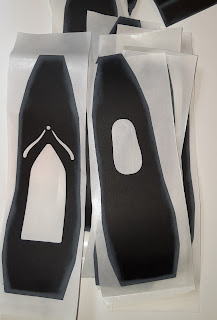
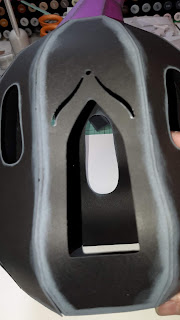
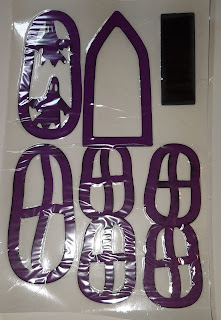
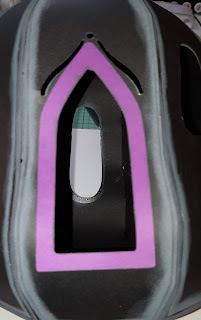
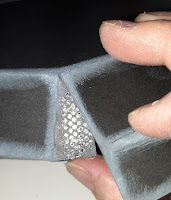
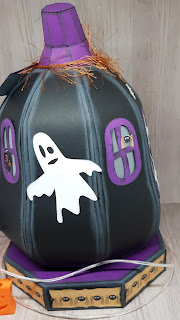
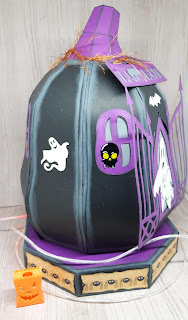
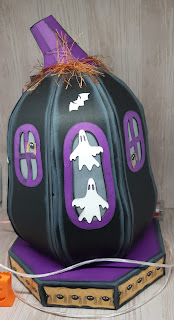
I start by cutting The Pilgrim Hat Box SVG files on my Brother Scan N Cut CM350. I then inked all the edges of the papers and shapes. I also die cut a few extra leaves to decorate the sides of the box. I also ran my hat top panels through the Crafter's Edge Crossover II Die Cutting Machine along with a Fiskars Embossing template - Carpet.

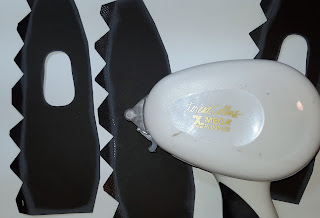
Next, I ran all the leaves through the Xyron 3" Disposable Sticker Maker

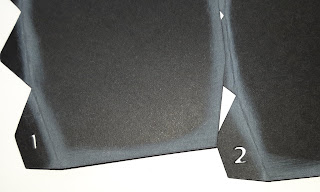
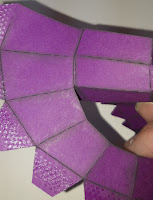
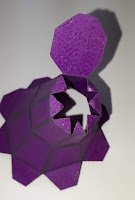
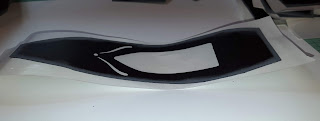
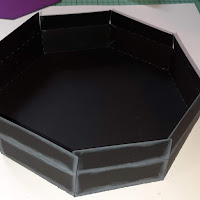
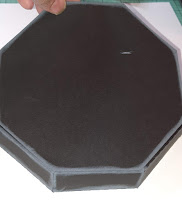
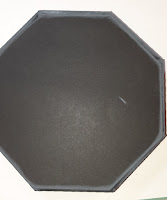
To create the bottom of the hatbox I added some Mega Runner adhesive to the side tab and pressed the other panel into place. I then added some Mega Runner adhesive to the other tab and pressed the side into place. I added some more Mega Runner adhesive to the inside of the top tabs and pressed the small hexagon to the inside of the bottom section of the box I just formed. The tabs will be hidden by the circle. I then adhered the hexagon box onto the circle base - making sure to center it.


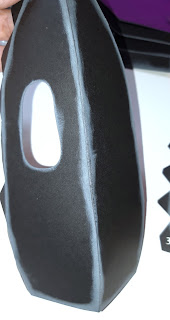
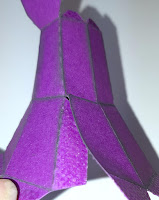
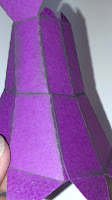
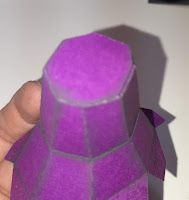
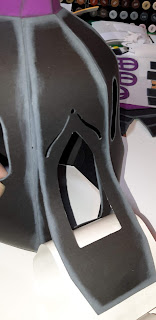
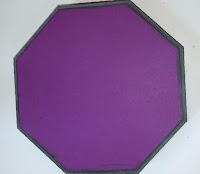
To create the top of the hat. Simply run some Mega Runner adhesive onto the tab of the section of the hat that has the hexagon top attached to it. Press the other section onto the tab. Next, apply some Mega Runner adhesive onto the tabs and press the Hexagon top down onto the hat form.


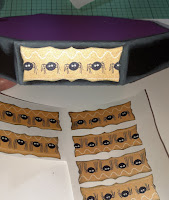
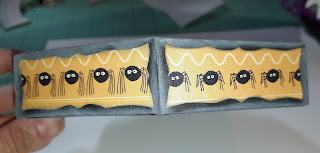
To create the band simply apply some Mega Runner adhesive to one of the tabs. Press the other tab onto it. 
 

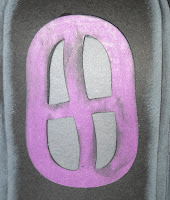
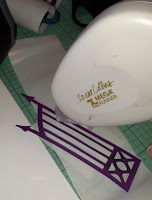
Slide the buckle onto the band. You can add a bit of Mega Runner Adhesive to the middle bar of the buckle to hold it in place.
 

Add the decorative leaves to the side of the hat.

Now, the Pilgrim Hat box is complete!
Materials Used:
Brother Scan N Cut CM350
Crafter's Edge Crossover II Die Cutting Machine
Distress Ink: Ground Expresso
Darice Brand: Pipe Cleaner- Brown
Scenic Route Paper Co: Sentimental Silly Strip/Dot Pattern Paper
SEI Brand: Kraft Basic Foil Cardstock - Gold
Impression Obsession Dies: Leaves
Recollections Brand Cardstock: Black
Fiskars Embossing template - Carpet

Thank you for stopping by the blog today. I hope you found some inspiration!

Monday, October 21, 2019

Halloween ghostly Pumpkin With Xyron

Hello Crafty Friends - I am here with a fun 3D Project using Xyron's Creative Station Lite and Xyron Teresa Collins Mega Runner with 1/4" adhesive.

I used the Ghostly Pumpkin cut file from Simply Crafty SVGs for my project today.

Here's my Project. 


I added some Glow in the Dark Ghosts and Bats.

Let's get started!

I am going to break it down into sections. It will be easier to follow this way.
I start by downloading the Ghostly Pumpkin cut file and then uploading it into my Brother Canvas Workspace Software. **(if you have another electronic die cutting machine you can use that. If you don't you can use the PDF as a reference)

I then cut all the pieces I need to create the Ghostly Pumpkin. Then, I get some Distress Oxide Inks to ink the edges of the papers.

I ink the Black pieces with Hickory Smoke Distress Oxide ink and the Purple pieces with Black Soot Distress Oxide ink.

Next, I run the outer panels of the pumpkin, the windows, door ghosts, bats, spiders, and small decorative panels through Xyron's Creative Station Lite. This will make decorating the pumpkin quick and easy.

Pumpkin Base Assembly
The base pieces are numbered 1-8. I put some Mega Runner adhesive on the tabs and start adhering the panels together. Take your time with this it's your foundation. You want to move slow to make sure your pumpkin forms nicely.


When all the panels are adhered your pumpkin base is done.

The Stem Assembly
Now, the stem is small and can be a bit tricky. but if you take your time you can do it. I added Mega Runner adhesive to all the tabs. 

Next, I adhered the two pieces together. 
The stem will have a tilt to it. Then, I adhered the ends together. 
  

Next, I pushed down on all the small tabs of the top of the stem. I slowly line up the top flap and press in place. Then, I insert the stem into the pumpkin and press the tabs onto the inside of the pumpkin. **(you can decide which way you want your stem to be. Tilt to the left, right or back)


Outer Panels
I cut the panels apart. The Xyron Creative Station Lite strip is long and I want to work with each panel individually. I gently shape each panel to match the form of the pumpkin base. **(You can emboss your panels using an embossing folder. I chose not too. I chose to ink my edges). 
 

Next, I peel one end of the panel and place it onto the pumpkin base. I then slowly remove the backing of the Xyron Creative Station Lite strip and press the panel into place. The Xyron Creative Station Lite makes this part so easy. No messy glue to worry about just peel and go.
  

Door and Windows
I remove the plastic cover from the door and windows. I gently start placing them onto the pumpkin. Again, the Xyron Creative Station Lite makes this part so easy. No messy glue to worry about just peel and go. I start with the door frame then move onto the windows.
 

I decided I wanted to add a bit of vellum to my windows. You don't have to do this if you prefer not to. I just cut small rectangles of vellum and using the Xyron Teresa Collins Mega Runner with 1/4" adhesive I just ran a bit of the adhesive on the edges of the vellum and press into place. I just did this on the inside of the pumpkin.
  

Decorating the Ghostly Pumpkin
I started with the ornate gate for the door.  I simply used the Xyron Teresa Collins Mega Runner with 1/4" adhesive on the small side of the gate and then pressed the gate into place next to the door. One gate door on either side of the door opening. 
 

Next, I placed the ghosts in the door and window, along with some spiders, bats, and skulls
I cut some glow in the dark ghosts and bats from pattern paper. I thought it would give a fun effect. **(if you can't find this glow in the dark pattern paper. You can always heat emboss your ghost with some glow in the dark embossing powder or use some glow in the dark paint).


Platform Assembly
I added some Xyron Teresa Collins Mega Runner with 1/4" adhesive. to all the tabs(small triangles) of the platform.  Then, I press the side up onto the tabs. Making sure the tabs are inside. 


Next, I put some Xyron Teresa Collins Mega Runner with 1/4" adhesive on the edge of the black octagon panel and press it onto the platform to close the base.
  

I flipped the platform over and adhered the purple octagon onto the platform base. Then, I added the pattern paper panels to the platform base edge. Again, quick and easy because of the Xyron Creative Station Lite 


Sign Assembly
This is a simple one. I added adhesive using Xyron Teresa Collins Mega Runner with 1/4" adhesive on the edge of the backside of the word part of the sign. I press it onto the gray cardstock piece and the sign is ready for some string to hang it.
  

I used a bit of Eyelash yarn for some whimsy. I simply strung the yarn through the top part of the sign and wrapped it around the stem and tied a knot on the back. I added a bit of adhesive on the back of the sign to secure it in place. I also added a bit of Nuvo Glitter Drops in white blizzard for a bit of sparkle.
 

Now, the Ghostly Pumpkin is complete!

With the lights off - showing the glow in the dark ghost and bat


Materials Used:
Xyron Creative Station Lite
Teresa Collins Mega Runner
Xyron .25" Mega Runner Adhesive Refill

CM350_frontopen


img
img
img
img

Rose Gold Yarn Bee Gilt Eyelash Yarn

Thank you for stopping by the blog today. I hope you found some inspiration!