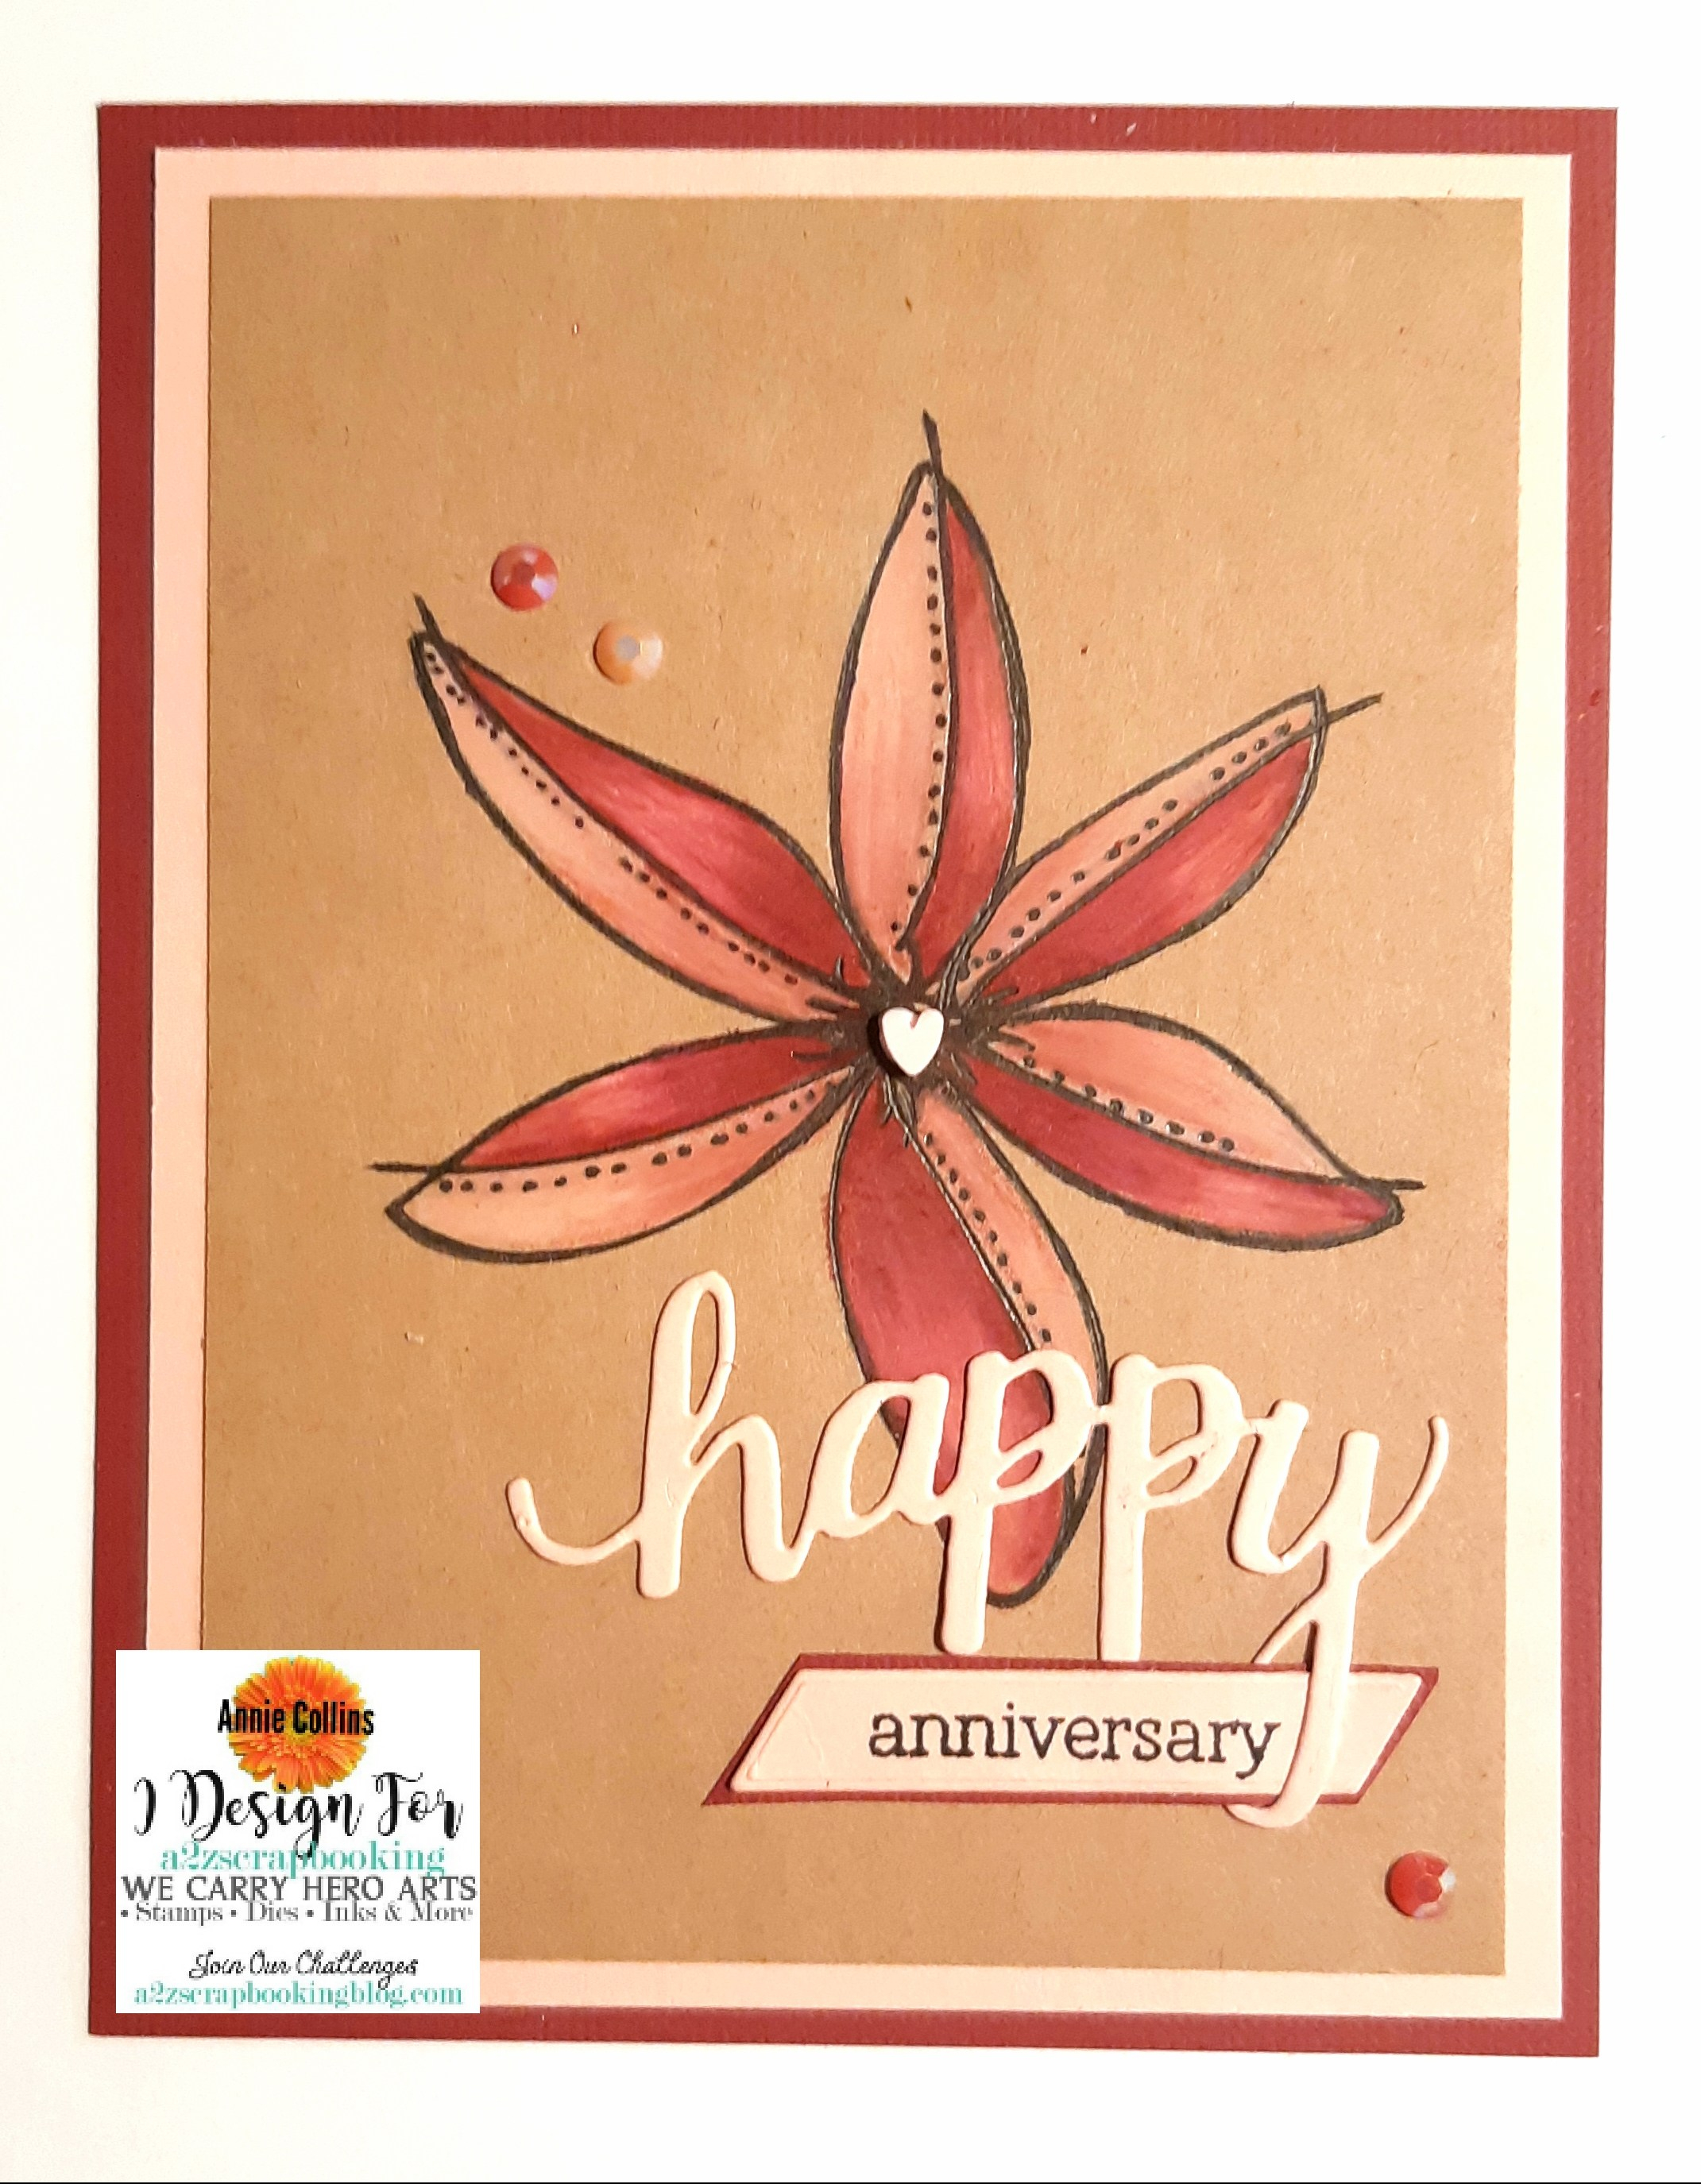
I mostly used dies and one stamp to create this card.
I feel that you can remake several of these for all the Father's you would like to celebrate.
Let's get started!
First I gathered the supplies and die cut the trees, deer and the HAPPY sentiment. Next, I trimmed my cardstock for my card front panel - the brown is standard A2 (4-1/4"X5-1/2") and the cream one is a 1/4" smaller than the brown. Then, I stamped my sentiment.
I wanted my trees a bit thinner than the die cut so I simply cut them with my scissors and then I ink the edges slightly- to define the edges better.
Now, I am ready to create the card. I adhered the cream cardstock to the brown cardstock. Then, the trees to the card front panel. Starting from the left to right biggest to smallest.
Next, I adhered the happy die cut sentiment to the card front panel.
Then, I inked the edges of the deer with a bit of the same Distress Oxide ink I used on the trees. This time I went a bit more on the ink.
Next, I adhered the deer just above the word happy. Then, I trimmed the stamped sentiment into a fishtail banner and inked the edge of the banner. I adhered it to the card front panel.
Then, I added a bit of white detail to the deer with a Gelly Roll pen.
Now, the card is complete!
Thank you for stopping by the blog today I hope you found some inspiration!
Supplies Used:
Hero Arts - Stamp & Cut Happy Set DC150
Recollection Brand Cardstock:
Cream, Brown, Tan, Kraft, & Medium Green
Versafine Ink: Onyx Black
Sakura Gelly Roll White Pen
Low Profile Foam Adhesive


