Thursday, January 24, 2019

Doodle Paper Playground First Birthday Bash Blog Hop

Image may contain: 1 person


Hello Doodle Fans!

I am excited to be participating in a very special Birthday Bash Blog Hop starting today, Thursday, January 24, 2019 and ending at 11:59pm Sunday, January 27, 2019! 

The Designing Divas and I, along with several members of the talented White Rose Crafts Design Team, will be creating extra special Birthday Themed Shaker Cards for the hop today!

For a limited time, you have the opportunity to receive an exclusive, 
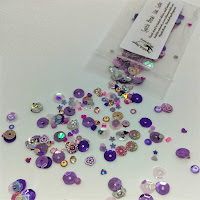
1st Birthday Freebie Sparkle Blend -- Only available while supplies last, with a purchase at 
White Rose Crafts!

Don't worry, though -- Amber has reserved 6 of these freebie blends to giveaway on Monday after the hop ends.  5 of those First Birthday Blends will go to 5 lucky winners, as door prizes, who leave comments on each of the Blog stops.  The more comments you leave, the more entries you get!

For our Grand Prize this month, One lucky winner will receive the full February Release (before it's revealed), plus a Full-size Birthday Freebie Blend! That's 7 Full-size Sparkle Blends! To be eligible you must leave comments on all legs of the blog hop.

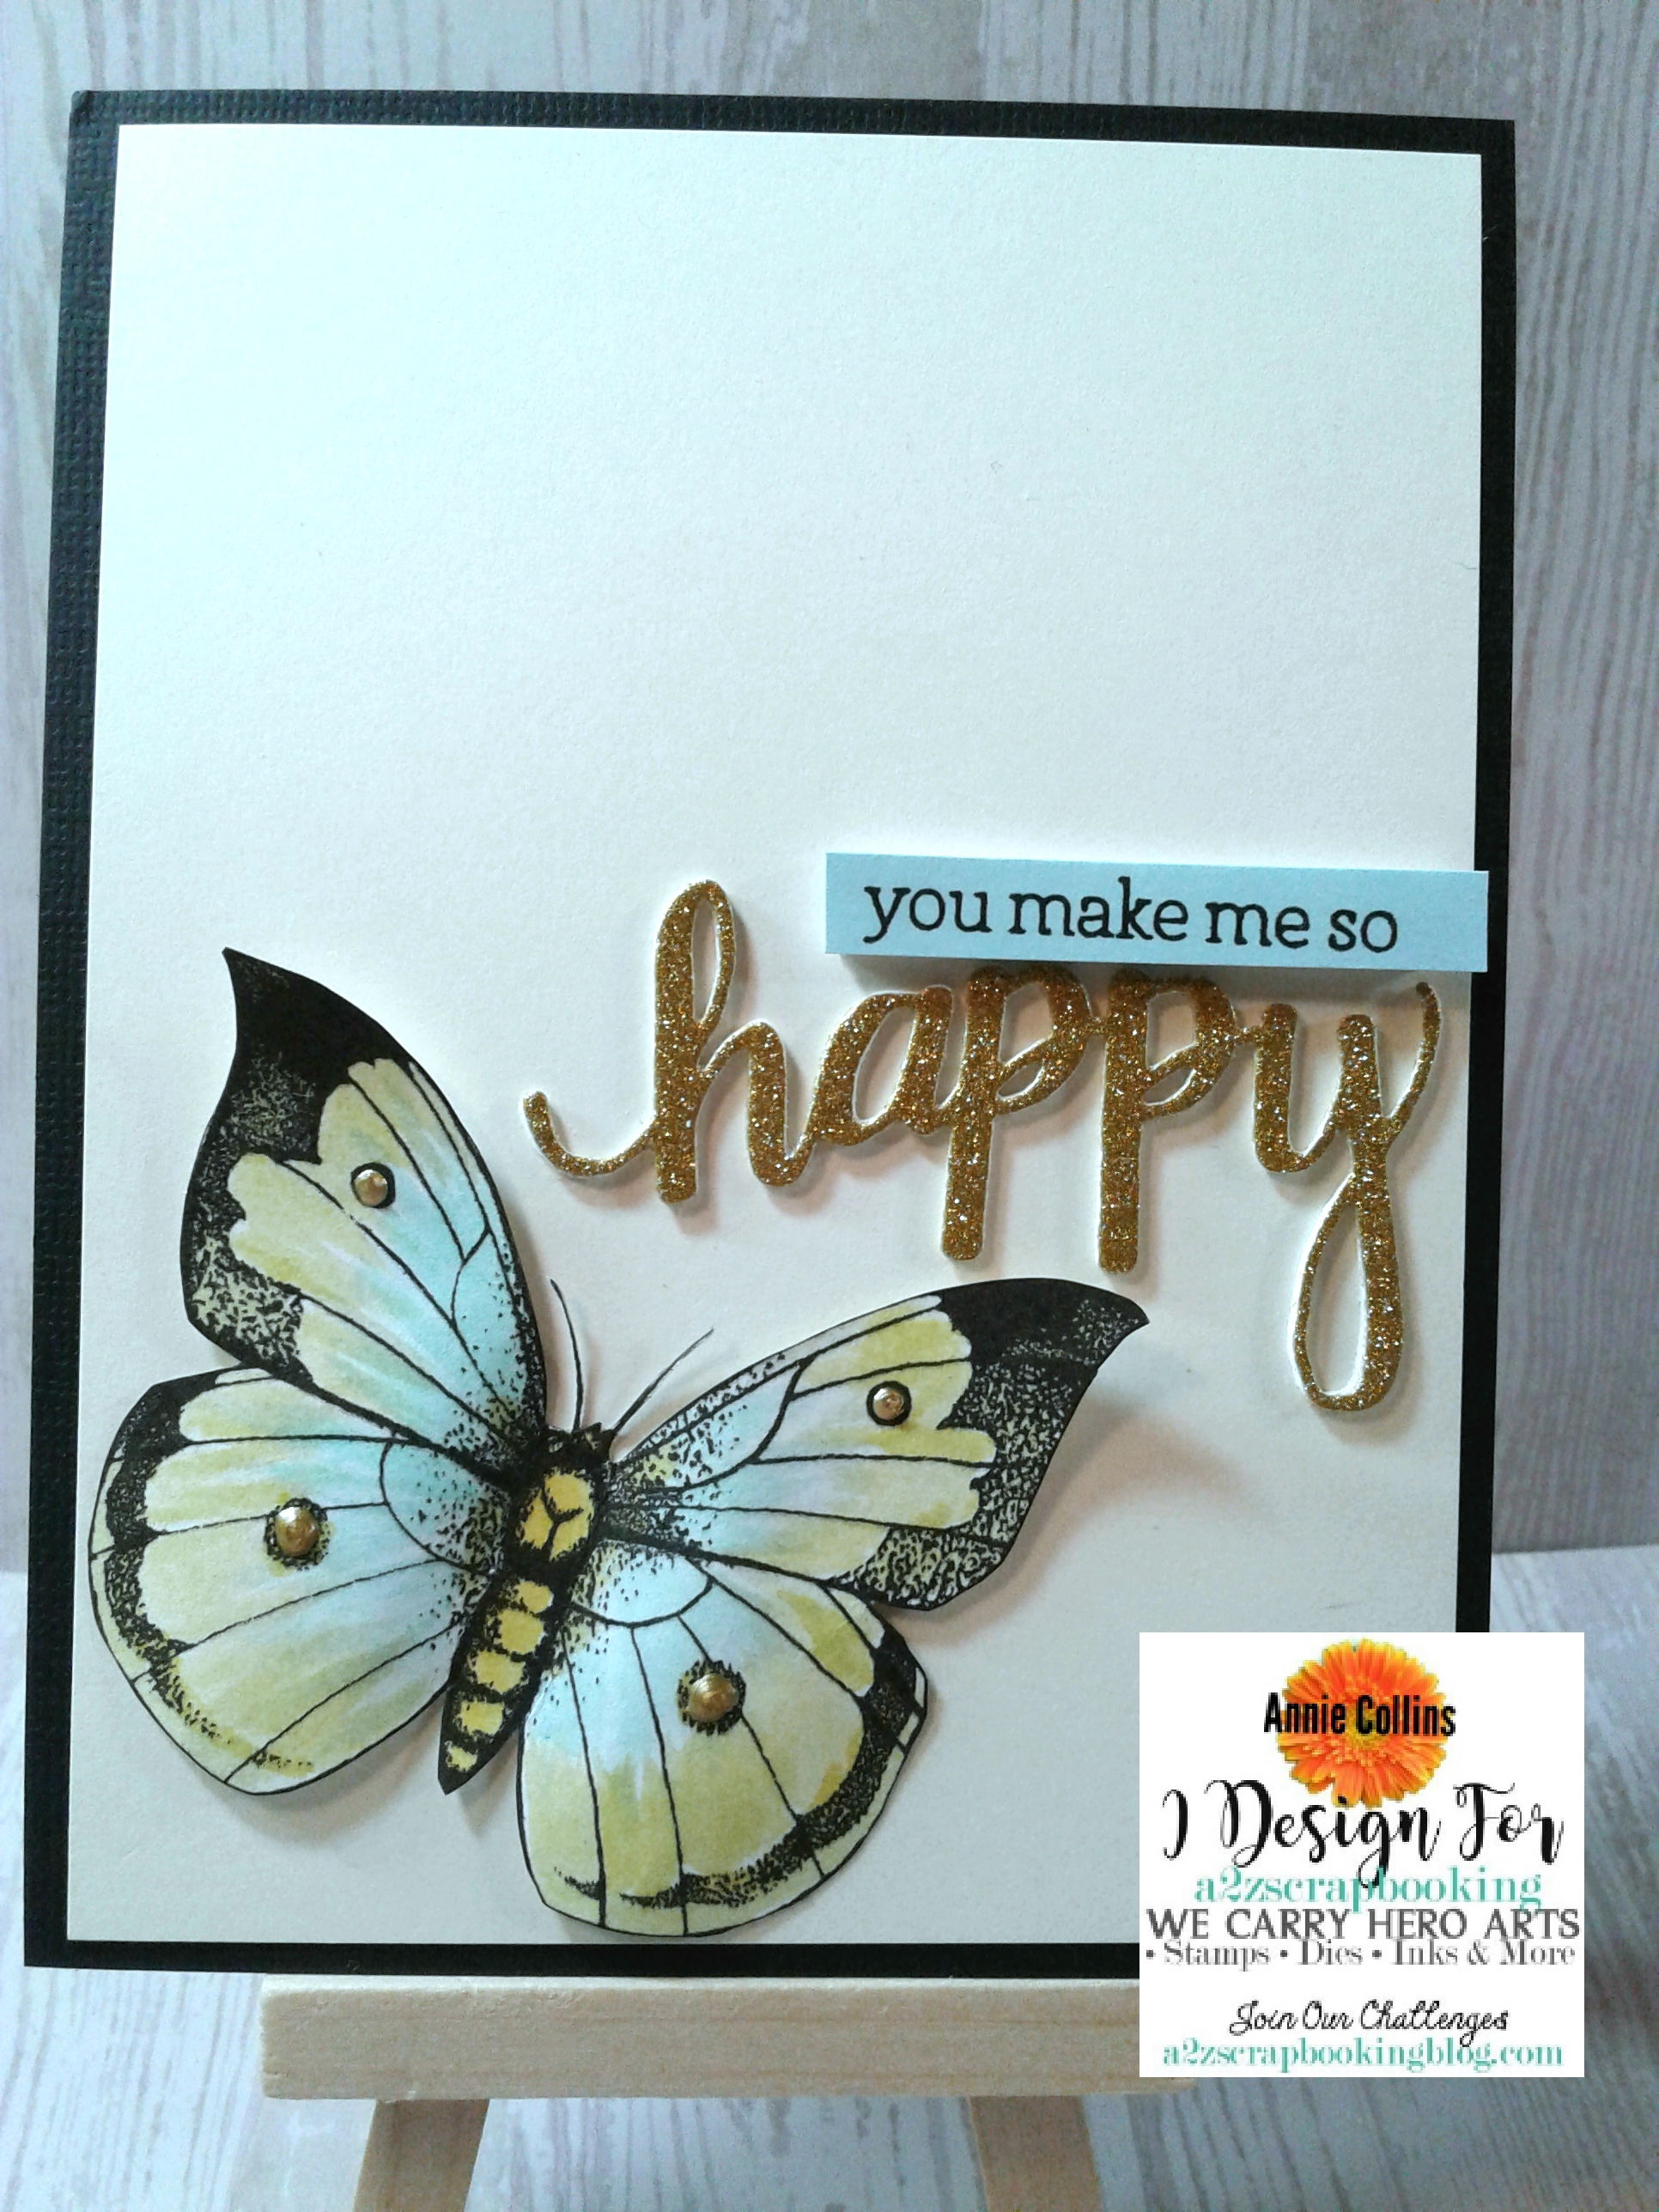
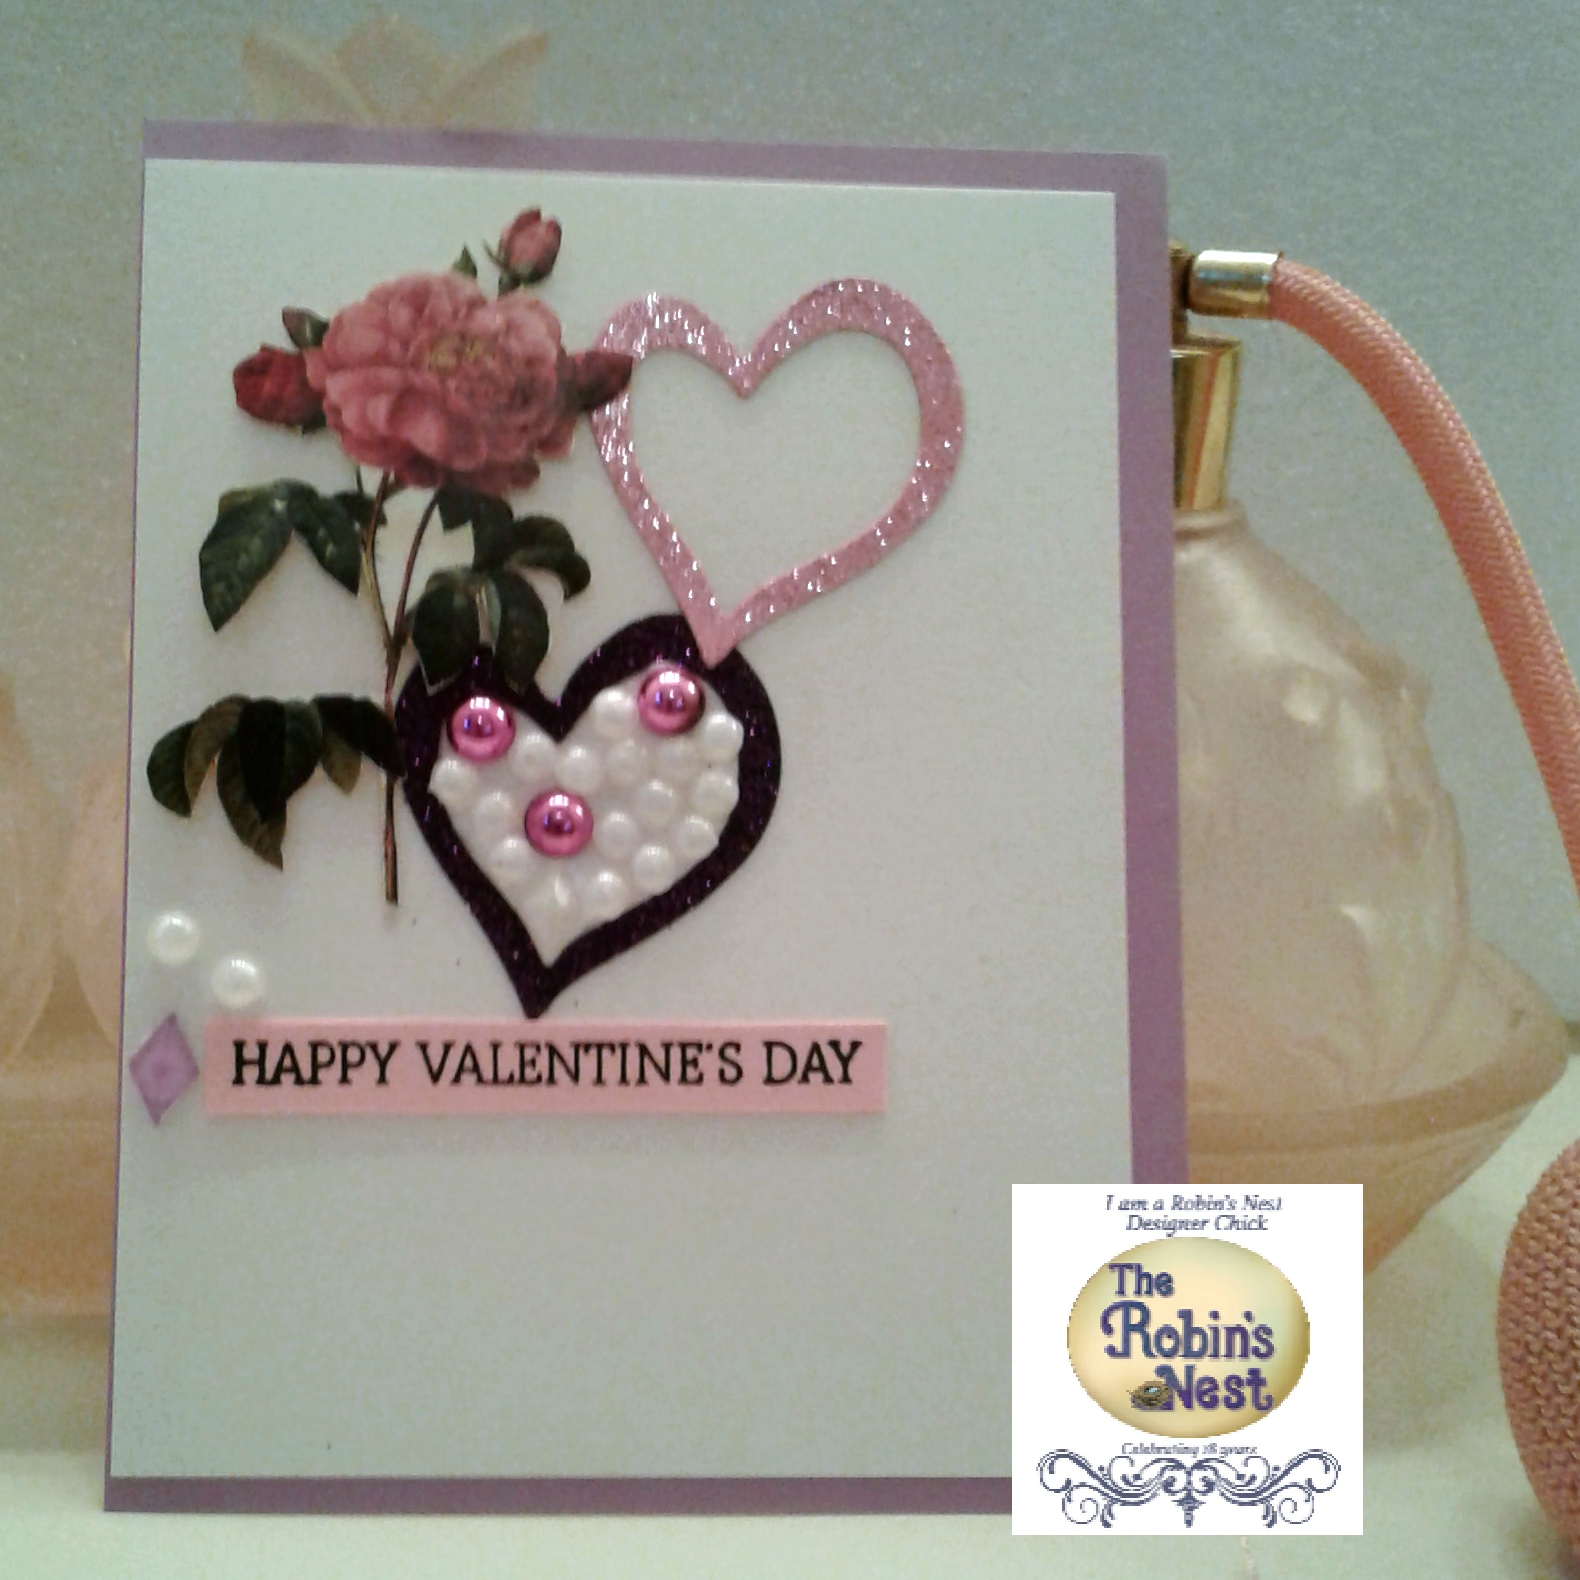
This is my Special Birthday Theme Shaker Card!


Rules: Must be at least 18 to enter. 
All entries must be received no later than 11:59pm Eastern Time on Sunday, January 27, 2019. 
To enter, you must leave comments on each leg of the blog hop. There will be one Grand Prize winner and 5 Door Prize winners drawn from all eligible commentors on Monday, January 28, 2019. Winner will be announced on the blog, and on the Doodles Paper Playground Facebook page. 
Winner will have 48 hours to email their addresses to doodlespaperplayground@gmail.com to claim their prize. Prizes not claimed within 48 hours will be redrawn. 
This giveaway is not sponsored, endorsed or affiliated with Facebook or any of its entities. 
All prizes furnished by Doodles Paper Playground or White Rose Crafts.

As an added bonus, White Rose Crafts will be offering Free Shipping all weekend to correspond with the Blog Hop, so if you've had your eye on any of the limited edition Sparkle Blends from our previous releases, now is the time to buy before they sell out and are gone for good!  

Monday, January 21, 2019

Valentine's Day card featuring Conversation Hearts Sparkle Blend with Doodle Paper Playground

Hello Crafty Friends - I am here with a clean and simple masculine Valentine's day card.

I know that my son doesn't always love getting all the pink and red valentine's day cards every year. So, this year I decided to create a more masculine card. I used non-traditional colors yet I kept the color palette light. I went with a Teal and Purple color scheme.

I also used the Conversation Hearts Sparkle Blend to add a bit of finishing touch and highlight the image on the card with one of the fun tiny clay hearts in the mix.

This unexpected Valentine’s Day mix has tons of interest,
from its contemporary bright palette to the assorted size 
and style heart confetti and sequins in bold yellow, orange, green, 
purple and blue tones. You’ll find sparkly, shiny, transparent, iridescent, 
and holographic elements in this updated take on Cupid’s favorite holiday.


Thank you for stopping by the blog today! 

Be sure to tag us Doodles Paper Playground on social media if you create a project with our Sparkle Blends. All of our Sparkle Blends can be purchased on the White Rose Crafts LLC Website.

Sunday, January 20, 2019

Valentine's Day Shaker card with Dies R Us

Hello Friends - I am here with a fun shaker Valentine's Day card.

I kept it simple because of the shaker. I want you to look at the stamps for more than what they are intended for - I used a birthday stamp to create Valentine's day card.  


Let's get started - First, I stamped the bear form Lawn Fawn Party Animals twice and the heart 3 time. Next, colored them with Arteza brush markers. Set them aside to dry. Then, I die cut the frame from medium pink cardstock.

 I then adhered acetate/packaging to the back of the frame using a bit of thin score tape. Next, I added foam adhesive to the back of the frame. I set it aside to work on my front panel.


I cut a white card panel 4-1.4" x 5-1/2" - Next, using some Distress Oxide inks and a stencil brush I brushed on some ink on the cardstock in a square using the frame a reference. I only wanted to color the inside of the frame. Now you can measure and mask it off if you feel more comfortable.


Next, I placed a pile of sequins in the center of the purple square and removed the adhesive backing from the frame and placed it over the sequins. Making sure that all the sides have adhered completely. 


Then, I fussy cut my little bears and hearts. Used a Memento Black Marker for the edges. I adhered the bear on top of the shaker frame using thin foam tape in the center. Just overlapping them. Next, I adhered the 3 hearts just above the bears - popping up the center heart using thin foam tape.

Then, I stamped the sentiment "Happy Valentine's Day" from Lawn Fawn My Silly Valentine stamp set onto a thin strip of white cardstock. Next, adhere it to the bottom of the frame to the right just hanging off the from. I added a bit of foam tape to the end of the strip for support. Then, adhere the card front to a card base.


Now your Valentine's Day shaker card is complete to give to your special love one!


Supplies Used:


Other:
Arteza Brush Markers
Darice Sequins
Darice Thin Foam Adhesive
Strathmore Bristol Smooth Cardstock
Recollections Brand:
Heavy Weight Cardstock White & Medium Pink

Thank you so much for stopping by today!

Don't forget to come join in the fun at the Dies R Us Challenge Blog. There's a new challenge theme offered on the 1st and 15th of each month and one lucky randomly drawn winner will receive a gift voucher prize to the Dies R Us Store. For your convenience, all the important Dies R Us links are provided below.

Thursday, January 17, 2019

Hello Crafty Friends - I am here with a fluttery shaker card. Today, I am using 2 Sparkle Blends to create this shaker.

 This beautiful blend of plum, turquoise, sage green and silver
 is the perfect complement to all of your cool toned projects. 
This blend has tons of interest, with cupped flowers, ribbed squares,
 pale green pearlized seed beads and glitter, iridescent, metallic and matte sequins. 

A dazzling blend of deep, dark purple, lavender, and
 clear iridescent cup sequins, lavender almond shapes,
 tiny holographic hearts & iridescent stars and 
silver holo hex glitter & cupped flower sequins, and just a few lavender Fimo flowers.


I simply die cut a butterfly shape into my white heavyweight cardstock to create my shaker window.  I added some pattern paper to the background for some added interest - filled the shaker with the two beautiful blends.  

I used some butterfly die cut ephemera from a card kit I received. I trimmed the excesses white cardstock from the butterflies and added a few tiny sequins, and hearts from the blends. Popped them up on the card and stamped my sentiment. 


This card would bring a smile an anyone's face! 

Thank you for stopping by the blog today! 

Be sure to tag us Doodles Paper Playground on social media if you create a project with our Sparkle Blends. All of our Sparkle Blends can be purchased on the White Rose Crafts LLC Website.

You Make Me So Happy Card with A2Z Scrapbooking

Hello Crafty Friends - I am here with a quick CAS card today.


I simply printed the digital download and cut the butterfly I wanted to work with from the rest. Colored it in with some Distress inks for a soft watercolor effect.  Then, Fussy cut it. Next, I die cut the word Happy 3x - twice from plain white cardstock one once from Glitter Gold cardstock. Stack and glued the layers to create a chipboard word. I stamped the sentiment You make me so - on light blue cardstock and cut it into a thin strip. I adhered all the elements on to card front panel which measures 4" X 5-1/4". I then adhered that onto black cardstock for a nice mat. Finished it all off with 4 simple Liquid Pearls on the wings.

20190116_211112


anything goes
Please join us in this month’s “Anything Goes” challenge for your chance at a free digital stamp set AND, if you used Hero Arts or Sugartree Stamps, a $20 gift card to our etsy store. Our current monthly challenge can always be found in the menu bar, and runs from the 1st to last day of the month

The a2z scrapbooking store carries a wide variety of Hero Arts products as well as a nice selection of digital stamps! Get discounted new releases, sales, grab bags & more. Proceeds from our store benefit Celiac & Behcets disease foundations. Use my discount code Annie15 to get 15% off your purchase of $25 or more. If you’re looking for a Hero Arts product you don’t see in store, use the Request Custom Order button from with-in the shop.

Supplies Used: 
Distress Inks: Mustard Seed, Peacock Feathers & Twisted Citron
Ranger Liquid Pearls Gold
Versafine Onyx Black Ink
Recollections Brand Cardstock: White, Cream, Black & Gold Glitter
Adhesive: 3M Scotch tape runner and foam

Tuesday, January 15, 2019

Valentines's Day Card with The Robin's Nest

Hello Crafty Friends - I am here with a quick Valentine's Day Card.


This is a standard A2 card with a lot of glitz and not so much work. Let's get started.


First, let's gather our supplies. Then, die cut 2 hearts I used an oldie but a goodie the Double Heart by Sizzix. I die cut them from the Glitter Chipboard. I only used the outer heart - saved the inner hearts for a later project. Next, I trimmed the ephemera rose from the card.


Then, I figured out my placement on the card front panel. I decided to place the rose and hearts towards the top left. I then trimmed the card front panel to 4" x 5-1/4" I adhered the card front to a medium purple cardstock all the way to the left leave a pop of color on the right.


Next, I add the Dew Drops in the Purple Glitter Chipboard heart. I started with the Pearlescent Diamond at the bottom of the heart, then I added the shiny Fushcia Dew Drops 3 in total, next I filled the remaining space of the heart with Pearlescent Dew Drops. I then adhered the Pink Glitter heart just above the Purple heart. I left it unfilled so it would give a nice light feeling.

Next, I stamped the sentiment onto Light Pink cardstock and adhered it with a bit of low profile foam adhesive. For a finishing touch, I added 2Pearlescent Dew Drops and 1 Translucent Purple Diamond Dew Drop next to the sentiment. I adhered the front panel to the card base and the card is complete.


Supplies Used:

Sun Shower Tear Drops

Black/White/Silver Dew Drops

Precious Boy Diamond Dew Drops

Shimmer Diamond Dew Drops

Pink Glitter Chipboard

Plum Purple Glitter Chipboard

Saffron Cards

Other:
Recollections Brand: Heavy Weight Cardstock in
 Cream, Light Pink and Medium Purple

Sizzix Brand Die: Double Heart

Hero Arts Stamps Love Stamp DC175

Versafine Ink: Onyx Black

Tools: Trimmer, Scissors, Jewel Picker

Thank you for spending some time with me today here at the Robin's Nest Blog.
 Be sure to share with us if you create a  Goals Notebook of your own. 
Have a Great Crafty Day!!
Stop by and visit us at Robin's Nest StoreFacebook  & YouTube

Friday, January 11, 2019

Love Layout With Rinea

Hello Crafty Friends - Annie here with a layout featuring


I created this for my daughter and her fiance.

This is a simple layout.

 I die cut several of the Starstruck foil paper hearts in Fuchsia, Ruby & Blush as well as Glossy Silver foil paper hearts. I used a Fiskars border punch on Starstruck Lavender Light Foil Paper. 

I cut the pattern paper using the different sides of the pattern paper into 3" strip and a 4.5" strip. I cut 2 strips the Starstruck Lavender Foil paper 2.5" wide and 12". I did cut off about 1/8" off all the papers to create a border on the top and sides. 
I then adhered the papers starting at the top with the light grid paper. Then the border strip, followed by the pink stripe paper, finally followed by the other border strip.

I then arranged the heart where I wanted them from large to small. I used a bit of repositionable glue to hold them in place. I then used my sewing machine add then stitched on to the layout; using metallic silver thread - I love that Rinea Foil Paper is strong 
enough to be stitched on.

Next, I matted my photos. the larger one onto Starstruck Fuchsia foil paper and the small one onto Starstruck Silver foil paper. Then, I layer the small one onto Starstruck Fuchsia foil paper. I then added a few stickers, die cuts and puffy hearts. Making sure to layer and stuck them behind the hearts and photos. I also added a journaling card which I fishtailed. I added a thin strip of Starstruck Fuchsia foil paper to the right side along with some tiny Glossy Silver foil paper hearts then I stitched them onto the card.

I hope that you using Rinea Foil paper on your next layout. Stitch on it, die cut it or use some punches. Rinea Foil Paper is perfect for all your project needs.

Thank you for stopping by today!  
Be sure to stop by the shop and stock up on all the beautiful Rinea Foil Paper.