Sunday, February 17, 2019

Spring Inspired Flowering Lattice Card with Dies R Us

Hello Crafty Friends - Annie here with a lovely Lattice card.

This card has an open front panel - However, you can place a colored cardstock 
behind the lattice for a different look.


To create this card you will need an A2 card base and a piece of cardstock measure 4-1/4" X 5-1/2".
On the extra panel die cut the lattice.  


Next, on the card base measure a 1/8"  from the score of the card. 
I did a light pencil line for you to see. 

Now, trim off the card base front panel.

Next, adhere the lattice to card base.


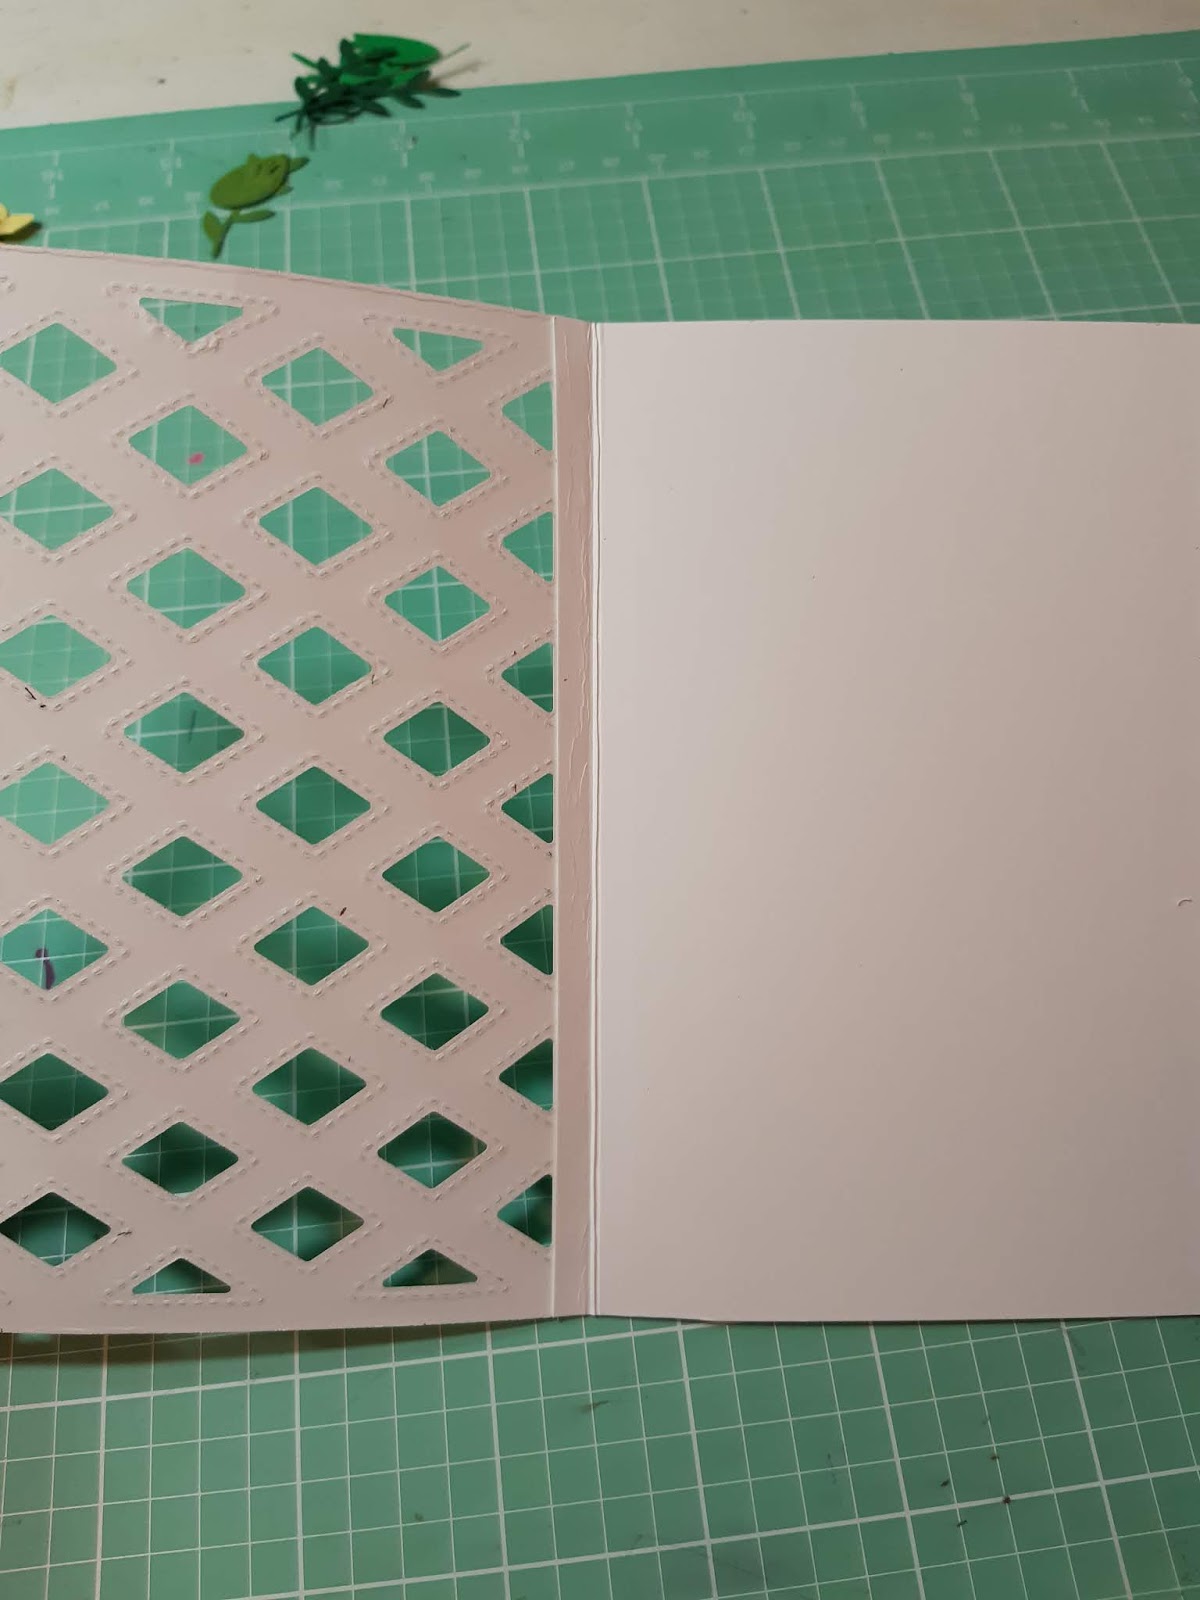
Your card should look like this - with a see through front panel. 

Next, die cut several flowers and leaves.


I like to do what I call a dry run for placement of the flowers and leave so I get a general idea if I like the look of where everything will be.

Once, I like the placement. I adhere the flowers and leaves in place.
Next, I add a bit of Nuvo Drops to the centers of the flowers. **Note - you can add Liquid Pearls, Stickles or any other embellishment you would like to the centers.


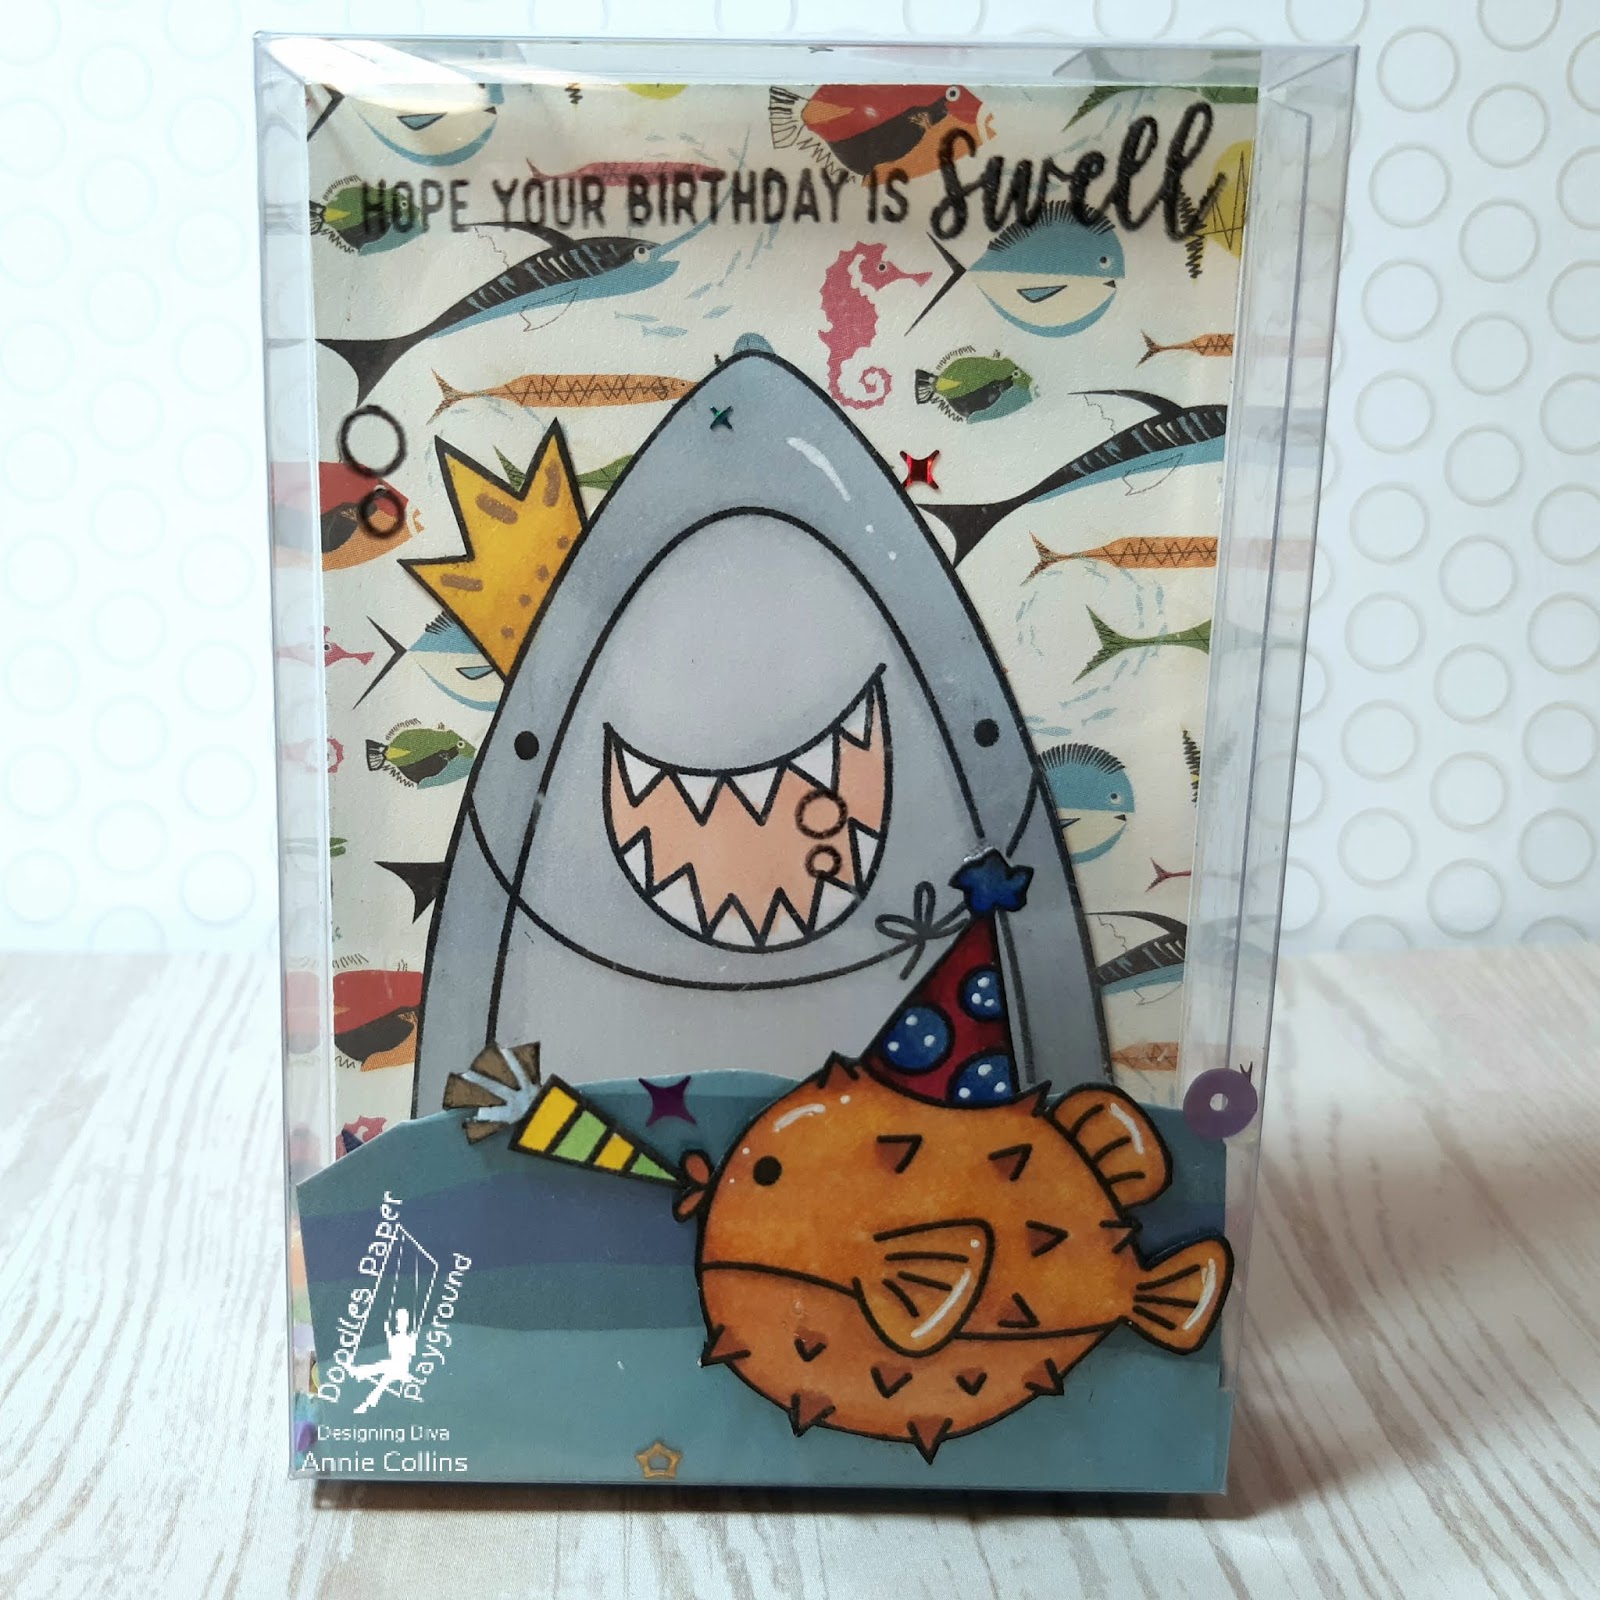
Now, the card is complete. You can add a sentiment if you would like. 
I like having blank cards like this in my stash. 
This way I can use them for Birthdays, Mother's Day, 
Easter or Just thinking of you cards.

I hope you give this card a try.


Supplies Used:

Dies:

Embellishment:

Adhesive:

Cardstock:
Recollections Brand:
White, Pink, Purple, Blue, Yellow & Green


Don't forget to come join in the fun at the Dies R Us Challenge Blog

There's a new challenge theme offered on the 1st and 15th of each month 
and one lucky randomly drawn winner will receive a 
gift voucher prize to the Dies R Us Store

All You Need is Love Card with A2Z Scrapbooking

Hello Crafty Friends - I am here with a CAS card.

This month we're using a Mood Board to inspire us 
No photo description available.


Hero Arts Love Stamp N Cut


For this card, I just used the die from the Hero Arts Stamp & Cut Love DC175 Set.

I die cut the word love 5 times from colored cardstock to match the mood board and 4 times from white cardstock. 

I then stacked the 4 white cardstock love dies adhering them to one another. Finally, topping the white stack white the Red Glitter cardstock love die cut.


I cut a piece of white card stock to 8" x*1/2". I then scored at 4" from top to bottom. This will be a long card.


I then adhered the die cuts to the front of the card. I started with the light gray and worked my way down to the dark gray. Making sure to place the Glitter Red in the center of the card.

 Then, I gathered some ink I used Distress Oxide in Tattered Rose, Worn Lip Stick and Hickory Smoke to stamp some of the hearts on the card.
Finally, I stamped the sentiment onto white cardstock trimmed it into a small strip popped it up with foam tape and placed above the red love.

The card is now complete.

Thank you for stopping by today.

Supplies Used:
Hero Arts Stamp & Cut Love DC175 Set
DCWV Red Glitter Cardstock
Recollections Brand Cardstock in 
White, Light Gray, Medium Gray, Dark Gray & Pink
Ranger Tim Holtz Distress Oxide Inks in
Tattered Rose, Worn Lipstick & Hickory Smoke
Tsukineko Versafine Onyx Black Ink

Friday, February 15, 2019

Doodles Paper Playground February Release Blog Hop

Hello Doodle Fans! Its time for another exciting release blog hop!

We’ve got 6 brand new blends to share with you this month: Cozy, Storm Cloud, Good Luck Charm, Mardi Gras Parade, Birthstone Collection: February - Amethyst and Birthstone Collection: March - Aquamarine. we just know you’re going to find some sparkle to love! 

To see detailed descriptions of each of the February Sparkle Blends release, check out our release blog post

This release has a variety of beautiful blends to choose from! Do you have a favorite? In honor of Valentine’s Day, comment with your favorite blend on the original Doodles Paper Playground post, for a chance to win a package of Conversation Hearts from our December release. 

Our talented Divas have created some wonderful inspiration for you! Check out the sneak peeks, then hop along with us and leave some comment love!

Here is the St. Patrick's Day Shaker Card I created using the Good Luck Charm Sparkle Blend.


Now for the prize information.

Grand Prize: One person who comments on all posts will win mini packages of all 6 of our February Release Sparkle Blends!

3 Door Prizes: 3 commenters, across all blog posts, will receive one randomly selected, a full-size package of Sparkle Blends from the December Release!

1 Valentine Prize: 1 commenter on this specific post will receive one full-size package of our Conversation Hearts Sparkle Blend!

Rules: Must be at least 18 to enter. Open internationally. No purchase necessary. All entries must be received by 11:59pm, EST, Monday, February 18, 2019. Winners will be drawn by February 20, 2019, and posted here on the blog and Facebook. Winners will have 48 hours to claim their prizes by emailing their Address to doodlespaperplayground@gmail.com. Prizes not claimed within 48 hours will be forfeit and new winners will be drawn.
Good Luck!

BLOG HOP LIST:

Doodles Paper Playground

Fawn

EK

Alison

Carolyn

Annie

Kelli
If you're ready to start shopping, please head on over to White Rose Crafts LLC, the exclusive retailer for Sparkle Blends--and remember, as always, each of the new release blends are limited edition--so if you love one, get it now, before they're gone!

Tuesday, February 12, 2019

Just Because Card with Doodles Paper Playground

Hello Crafty Friends - Annie here with a simple card to say Just Because to any friend or family member that may need a bit of a pick me up.

I used the soft Spring Fling Sparkle Blend for this card. 
With a beautiful base of pastel pink, lavender, green, light gold & blue, metallic cup sequins and a generous amount of tiny pastel heart confetti, Spring Fling is perfect for all of your spring projects; but we also added a touch of whimsy with pastel colored butterflies and beautiful faceted crystals. 

Now, not every card has to be a shaker. I love shaker cards but, sometimes you just need a quick card to send out to brighten up someone's day.

I used a card kit I had in my stash for a bit along with the
Spring Fling Sparkle Blend of Wink of Stella on the roses
I completed this card.


Enlarged to show the Spring Fling Sparkle Blend  and wink of Stella.


Thank you for stopping by the blog today! 

Be sure to tag us Doodles Paper Playground on social media 
if you create a project with our Sparkle Blends.
 All of our Sparkle Blends can be purchased on the 

Monday, February 11, 2019

Love You Truck Card with Rinea Foil Paper

Hello Crafty Friends - I am here with a fun LOVE card for the man or men in your life. Featuring Crackerbox & So Suzy Stamps Truck Side View. It's a simple paper piecing card - perfect if you don't have a coloring medium.
Materials used:
Ink: Tsukineko - Imagine Crafts StazOn Jet Black 
Tsukineko Versafine Onyx Black
Recollections Brand Cardstock: White & Turquoise
Hero Arts Die & Stamp: Love you
Martha Stewart Heart Punch
Adhesive:
3M Tacky Glue
Jot Brand Thin Foam
Let's get started.
I stamped the truck 2x onto the Rinea Starstruck Turquoise foil paper, once onto white cardstock and partially onto Rinea Glossy Silver foil paper with the Stazon ink.
I then trim out the trucks. I use the white as a base to adhere all the other pieces to. I trim apart the Turquoise trucks and the bumpers, headlights, door knob, hubcaps from the Silver truck. I also use a scrap piece of Ebony Starstruck Paper for the tires.
Next, I start gluing the truck back together using liquid adhesive (this allows for some wiggle room) and thin foam adhesive for some dimension.
Next, I die cut the word love into my card front panel. I also die cut the word love from Ruby Red Starstruck foil paper. I did an inlay technique with the die cut word. I also punched a few hearts from scraps of Ruby Red & Blush Pink Starstruck Foil paper; as well as Fushia and Blush Pink Glossy foil paper.
I  matted the white card front panel onto a turquoise card. 

Then, I did the inlay technique and adhered the truck to the front of the truck making sure to leave the truck bed unattached so that I could tuck a few punched out hearts. Lastly, I stamped the word you onto white cardstock and matted it on a scrap piece of Glossy Fushia foil paper added it to the love die cut on some foam tape. 

Now the card is done. 
Be sure to visit So Suzy Stamps

Saturday, February 9, 2019

Hope Your Birthday is Swell with Doodles Paper Playground

Hello Crafty Friends - I am here with a fun Birthday card!

I am using the New Limited Edition We're Turning One Sparkle Blend - However - If this blend is not available then you can use the Birthday Bash Sparkle Blend

I created a shaker box card. I used some clear packaging to make this.  The little puffer fish is on the outside of the card along with the sentiment and bubbles, I used some Stazon ink. The shark is on the inside along some background paper. I place a piece of cardstock on the back not only to cover the adhesive but also for writing the message.


This little video will show you the shaker in action.


Thank you for stopping by the blog today! 

Be sure to tag us Doodles Paper Playground on social media 
if you create a project with our Sparkle Blends.
 All of our Sparkle Blends can be purchased on the 

Tuesday, February 5, 2019

ATC's with The Robin's Nest

Hello Crafty Friends - I am here with some quick and easy ATC's using minimal supplies.

I created one more masculine and one more feminine ATC.  By keeping the supplies minimal you can make several of these wonderful little beauties in no time at all.


Let's get started!

I gathered up my supplies - Note: in the photo you will see some other Dew Drops I didn't use.

First ATC:
I started by doing a quick swipe or two with the Distress stain on the white cardstock that was trimmed down to 2.5" x 3.5". I set it aside to dry.  While the background was drying I trimmed my Chipboard ephemera down a bit. I also trimmed apart my rub-ons.


Next, Once my background was dry. I added the rub-on to the top left-hand corner. Then. I add a bit of washi tape to the bottom. I added some thin foam adhesive to the back of the chipboard ephemera and place on top of the washi. Next, I added a few tiny mulberry flowers and for the centers of the flowers, I added Pearl White and Silver Dew Drops.


Second ATC:

I started by doing a quick swipe or two with the Distress stain on the white cardstock that was trimmed down to 2.5" x 3.5". I set it aside to dry.  While the background was drying I trimmed my Chipboard ephemera down a bit. I also trimmed apart my rub-ons - for this ATC I used 2 rub-ons the detailed rectangle and the sentiment.


Next, Once my background was dry. I added the rub-on the detailed rectangle to the top - layering the sentiment in the middle. Then. I add a bit of washi tape to the bottom. I added some thin foam adhesive to the back of the chipboard ephemera and place on top of the washi. Next, I added 3 Silver Dew Drops.


Now you have 2 quick and easy Artist Trading Cards complete.


Supplies Used


Distress Stain: Tumbled Glass
Cardstock: Recollections Brand Heavy Weight White
Flowers: Prima Brand
Washi: We R Memory Keepers Brand
Adhesive: Thin Foam and Aleene's Tacky Glue

Have a Great Crafty Day!!