Wednesday, November 7, 2018

November Release with Kindred Stamps

Hello Crafty Friends - welcome to Kindred Stamps November Release! I have the privilege to work with the Stay Wild Stamp Set. These crime fighting duo are simply adorable. They would make perfect invitations, birthday, encouragement and just fun cards.

The Stay Wild set includes the Smart Bunny, Slick Fox and 7 Sentiments.


Thank you for stopping by today.

The entire Kindred Stamps October release will be available Friday, November 9 at 8am PST/11am EST. Be sure to check out the Kindred Stamps blog on Friday for the full product release as well as the complete line up of all the Kindred Stamps Design Team projects from release week! If you visit and comment on all of the designers' blogs this week, you could win $15 in Kindred Stamps shop credit! So join the Fan Club and release event, show the design team some love, and get ready to empty those wallets this Friday!

Sunday, November 4, 2018

Thank you with Dies R Us

Hello Crafty Friends - I am here with another using some of the amazing dies that are available at Dies R Us.


Let's get started.

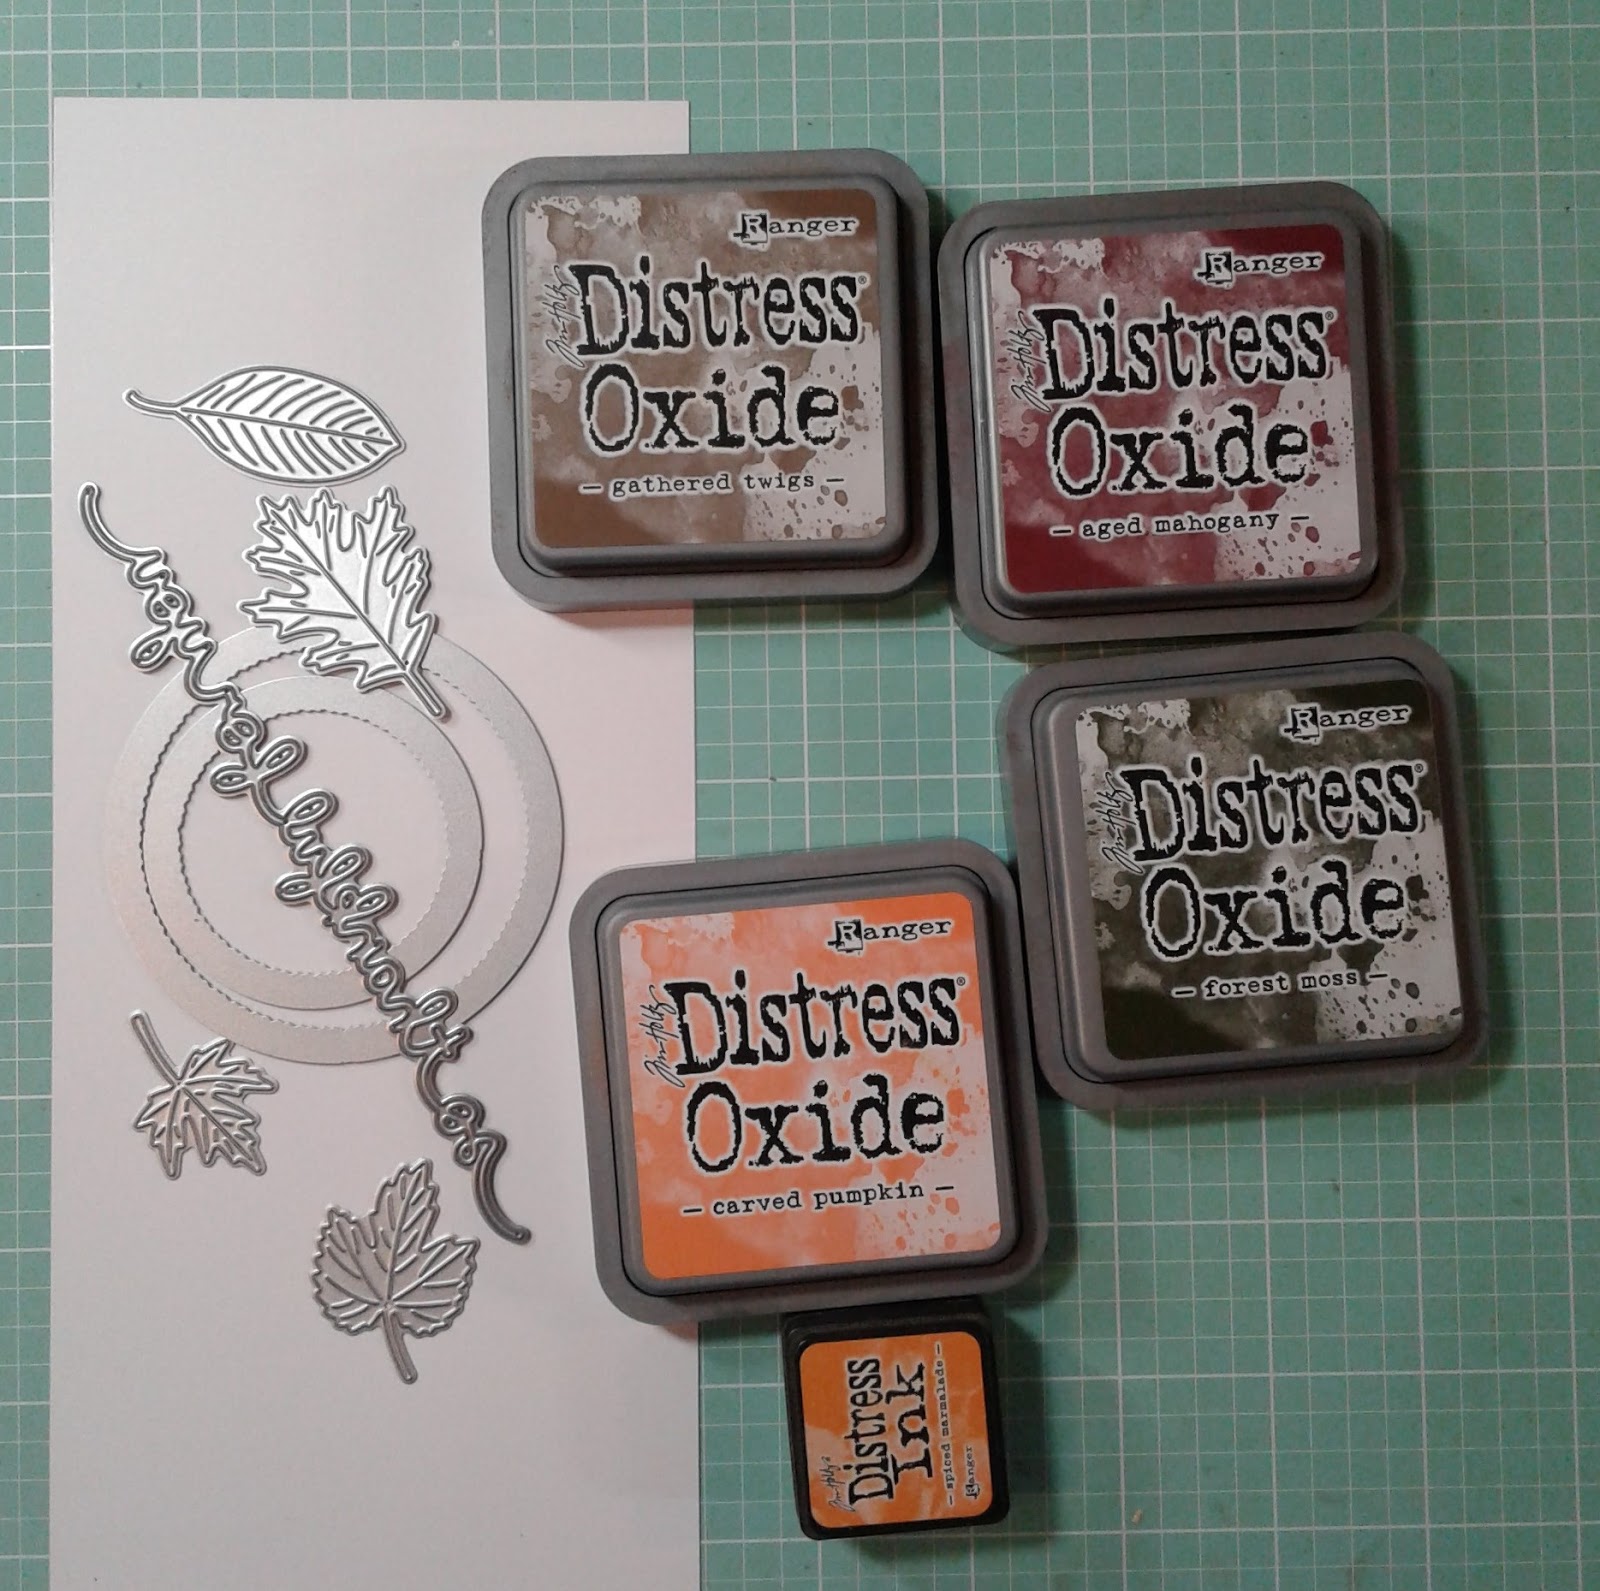
First let gather our Supplies:

Now, die cut the leaves from both shades of green card stock. Die cut the two smaller flowers from the medium orange card stock and the large flower from both the dark orange card stock and the holographic paper.

Since the holographic paper is to thin I am backing it with the dark orange card stock. to give it more body. you can use the medium orange card stock for this but I like the finish look it gives with the matching card stock. 


I add a bit of adhesive on the card stock flower then slowly place the holographic paper on top of it.


Next, adhere the kraft card stock layer onto the brown card stock card base. The start adhering the leaves and flowers onto the card front. I  decided to do this on the bottom left hand side.

I start with the leaves. I adhere the dark green ones, then layer the medium green on top. Next, I adhere the medium orange flowers by the leaves just over lapping the leaves.


 I place the larger leaves in the corner and add the holographic flower just above them. I add foam adhesive behind the large flower for some dimension.


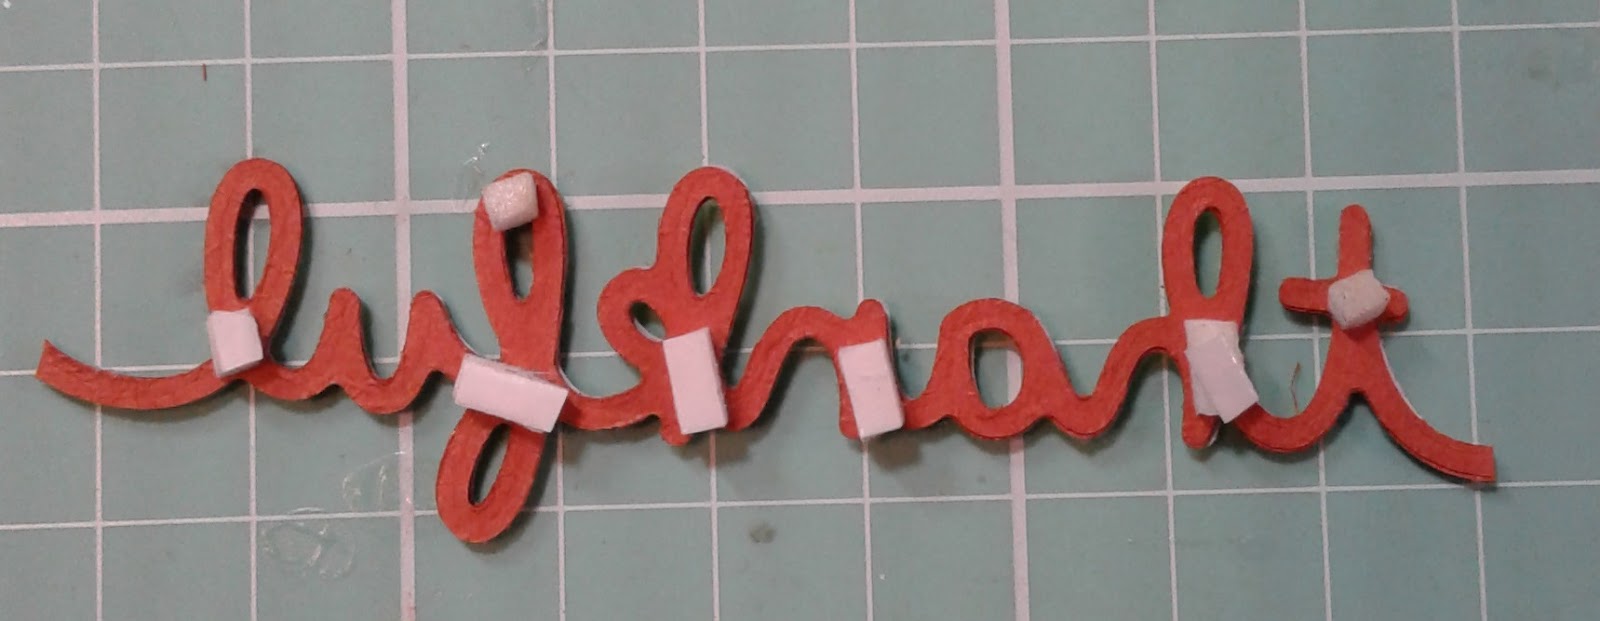
Now, adhere the die cut sentiment "Thank you" to the card front. Next, it's time for finishing touches - Light Gold sequins and jewels


I layered the sequins and jewels for the center of the flowers. I first adhered the sequins in place, then put a bit more glue in the center of the sequin and  placed the jewels. 


Now, the card is complete - quick and simple. I like to die cut flowers and small sentiments like this from a variety of card stock and have them on hand for quick cards. 


Supplies:

Sue Wilson Designs - Finishing Touches - Faux Quilled Blooms

Memory Box - Dies - Perky Thank You


Best Glue Ever


Fineline 20 Gauge Applicator & Bottle - Empty 1/Pkg


Other:
Recollections Brand Card stock:
 Brown, Kraft,  Medium Orange,
 Dark Orange, Dark Green & Medium Green

Recollections Brand: Gold Glitter Card stock

Jot Brand Holographic Paper: Orange

Embellishments:
 Doodles Paper Sequins 
 Pretty Pink Posh Jewels

Adhesive

Thank you for stopping by today. Be sure to share your creations with us on social media!

Monday, October 29, 2018

O-Fish-ial Birthday! with Kindred Stamps

Hello Annie here today sharing some fun under the sea. I created this tiny dimensional card using the Sea Friends Stamp Set I am using a recycled acetate packaging.

Sea Friends

I stamped, colored the images with Spectrum Noir alcohol markers. Note: I added a few extra images from my stash for the seaweed (I used Seas the Day from Beth Duff Designs) Then, I trimmed the images. Next, I trimmed a piece of Bristol smooth card stock  to 4" x4" scored it in the middle and sponged some Distress Oxide ink in Broken China. Then, I die cut two pieces of sand (kraft card stock) using Lawn Fawn hillside stitched borders dies;folding at small bit of the end to create a L shape. 

Next, I adhered the images to stripes of acetate; folding at small bit of the end to create a L shape. I adhered the stingray and starfish to the background. Then, I adhered the seaweed and seashells to the the sand hills. Next, I adhered the hills into place. Then, I add the other fish and turtle into place. I then carefully slipped the scene into the acetate package. Next, I die cut a stitched rectangle and I sponged some Distressed Oxide Ink in Broken China. Then, I  stamped the sentiment. I then adhered a strip of wood pattern paper to one side. I added a bit of pen detail and adhered the little seagull to the top.I attached the sentiment with two strips of acetate to the back edge of the card. 

Now the tiny card is complete to give to a friend or family member. 

Sunday, October 28, 2018

Birthday Hugs with Doodles Paper Playground

Hello Annie here today with a birthday card. I am using a decoupage sheet for this card made it quick. The Peacock Pizzazz Sparkle Blend was perfect for this card. 

Peacock Pizzazz has the perfect blends of  blues, greens and just a touch of plum with cupped, flower, paisley, and almond shaped sequins, iridescent crystals, seed beads & multicolored peacock feather Fimo shapes.


So, let's get started. First I gathered my supplies -Peacock Pizzazz Sparkle Blend,  I used a sheet of decoupage from Adam Pescott.(decoupage sheets have a base image and layering images that are trimmed or punched out to be layered with foam adhesive on top of the base image to create a 3D effect), Light Green Card base, Yellow card stock Foam adhesive and Distress Oxide ink in Hickory Smoke.


Then, I trimmed the little critters from the sheet. I kept the numbers for the order of placement. I also used a bit of Distress Oxide in Hickory Smoke on the edges of the cut outs. 


Next, I added the base image onto a piece of yellow card stock.  Then, I flipped over the pieces and add foam adhesive to all the pieces. Then I placed them onto the large image base.


Showing  the layers from the side

Next, I added the Peacock Pizzazz Sparkle Blend - I pulled out 2 of the feather pieces to use as raindrops, and 2 of each blue and green round sequins & 2 tiny yellow hearts. Added a few drops of glue and placed the sequins on top of them. I placed the hearts on the banner and umbrella.


Next, I adhered the card front panel to the light green card base.


Now, the card is complete! I hope you give the -Peacock Pizzazz Sparkle Blend a try it's so pretty. Thank you so much for stopping by today!

Thankful with Dies R Us

Hello Friends today I am sharing a Fall wreath card - perfect to let that special someone know that you are Thankful to have them in your life.


Let's get started with the tutorial.


First, gather your supplies. Next, on Bristol Smooth or White card stock apply some Distress Oxide ink. I just did a few circle making sure to blend into each other. Then, Do a few spritz of water to oxide the ink.


Next, I added a few droplets of Heidi Swapp Colorshine in Gold, Bronze and Tea. Then, I set it aside to dry.


Next, I die cut my circle shape this will help me with my wreath. I also die cut the word Thankful 4 times - 3 times from medium orange and 1 time from gold foil paper.
 

Now, the cardstock with the oxide ink is dry. I die cut the leaves from it I cut several of each leaf. I rather have extras that not enough. 


Now, that I have all the components ready - it's time to assemble the card. I start by trimming a bit off my circle. Then, I stack my word by gluing between the layers


Now, I start adhering the leaves to the circle to create the wreath.

  
Once the wreath is finished I flip it over and add foam adhesive to it. I like to use the thin strips from the foam squares

I do the same thing to the Thankful word.

Now, to place onto the front panel and card base. I used a scalloped tan card stock I had left over from another project for my front panel. I will link a scallop die set below.  I adhere the scallop front panel onto the brown card stock card base. Next, I place the wreath onto the card. Then, centering the word in the center of the wreath I place it onto the card.
  

Now, for some finishing touches. I used some sequins in three places on the wreath.
  
The card is complete. You may have noticed I lowered my wreath a bit on the card. I felt it looked better that way.