Sunday, March 17, 2019

Friendship Card with Dies R Us

Hello Crafty Friends - I have a cute card for you today.


This card came together rather quickly. I started by stamping my images and gathering my dies. I did this to be sure that my dies would fit around my images and my card. I had the idea in my head so I was really hoping that everything would fit. Gladly it did.


Next, I ran the Honeycomb die using an embossing mat through my die cutting machine with medium yellow cardstock. I wanted the embossed look not to cut all the way through. Then, I used the hexagon dies in the two sizes I want and cut them from the honeycomb background. I set them to the side to color my image.


Once, I had my image colored I wanted the cool honeycomb background to show behind the bear and bee so I trimmed away the area behind them. *note: you can use scissors for this part - I just used my craft knife. I also trimmed my card front panels the white cardstock measures 4" X 5-1/4" and the medium gray is 4-1/4" x 51/2" (same as my card base).


Next, I adhered the card front to the mat and then the hexagons. The larger one for the image and smaller one for the sentiment; which are mounted onto low profile foam adhesive. 

Then, I added a few confetti sequins and flower sequins. to the center of the flowers, I added a tim=ny black heart.  I also added a few dots of metallic gold gel pen to the image flowers and some white highlights to the bee and bear. 


Supplies Used:


Embossing Mat (They are available for Sizzix too)

Darice Stamps - Bee Holder
Memento Ink & Marker in Tuxedo Black 
Copic Markers: C1, C2, C3, B00, BV17
Spectrum Noir Markers: IG4, IG5, IG6, IG7, CT1, CT4, IG4, IG5, 
TB2, TB3, TB4, GY4, RB2, RB3, HB1, CG3, LG4, LG5 & 0 
Zig Brand: Wink of Stella in Clear Glitter
Sakura Gelly Roll Gel Pens: White, Black & Metallic Gold
Sequins: Elle Tru Brand: Flowers and Blue & Purple Confetti,
               Recollections Brand: Mini Black Hearts
Cardstock: Recollections Brand: White, Medium Yellow & Medium Gray
Adhesive: Tape and Low profile foam.

Thank you so much for stopping by today - I hope you found some inspiration! 

Don't forget to come join in the fun at the Dies R Us Challenge Blog. There's a new challenge theme offered on the 1st and 15th of each month and one lucky randomly drawn winner will receive a gift voucher prize to the Dies R Us Store. For your convenience, all the important Dies R Us links are provided below.


Celebrate Everyday Card with A2Z Scrapbooking

Hello Crafty Friends - I am here with a simple card featuring
image 0
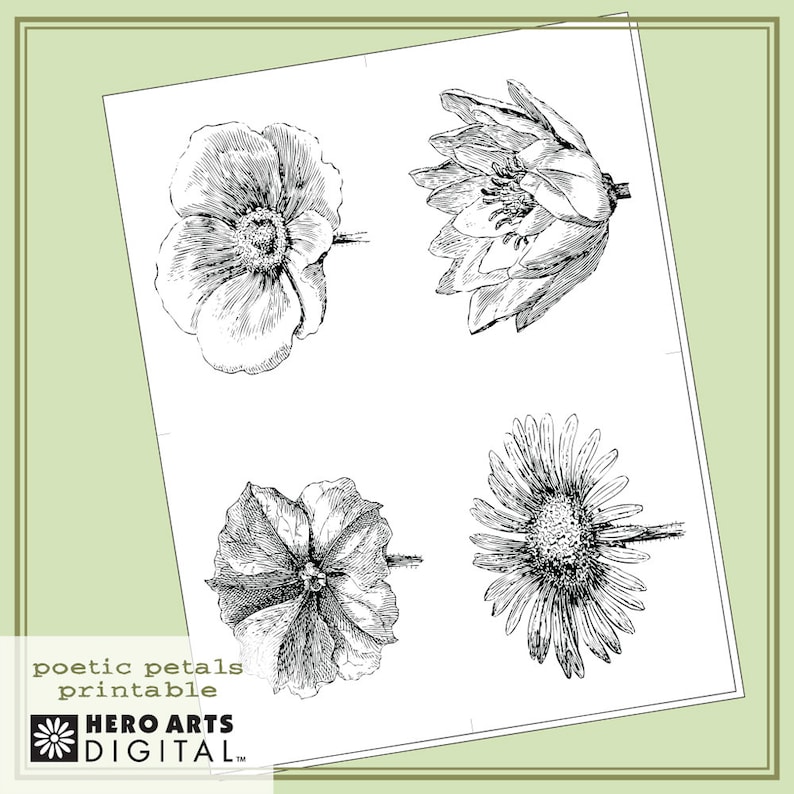
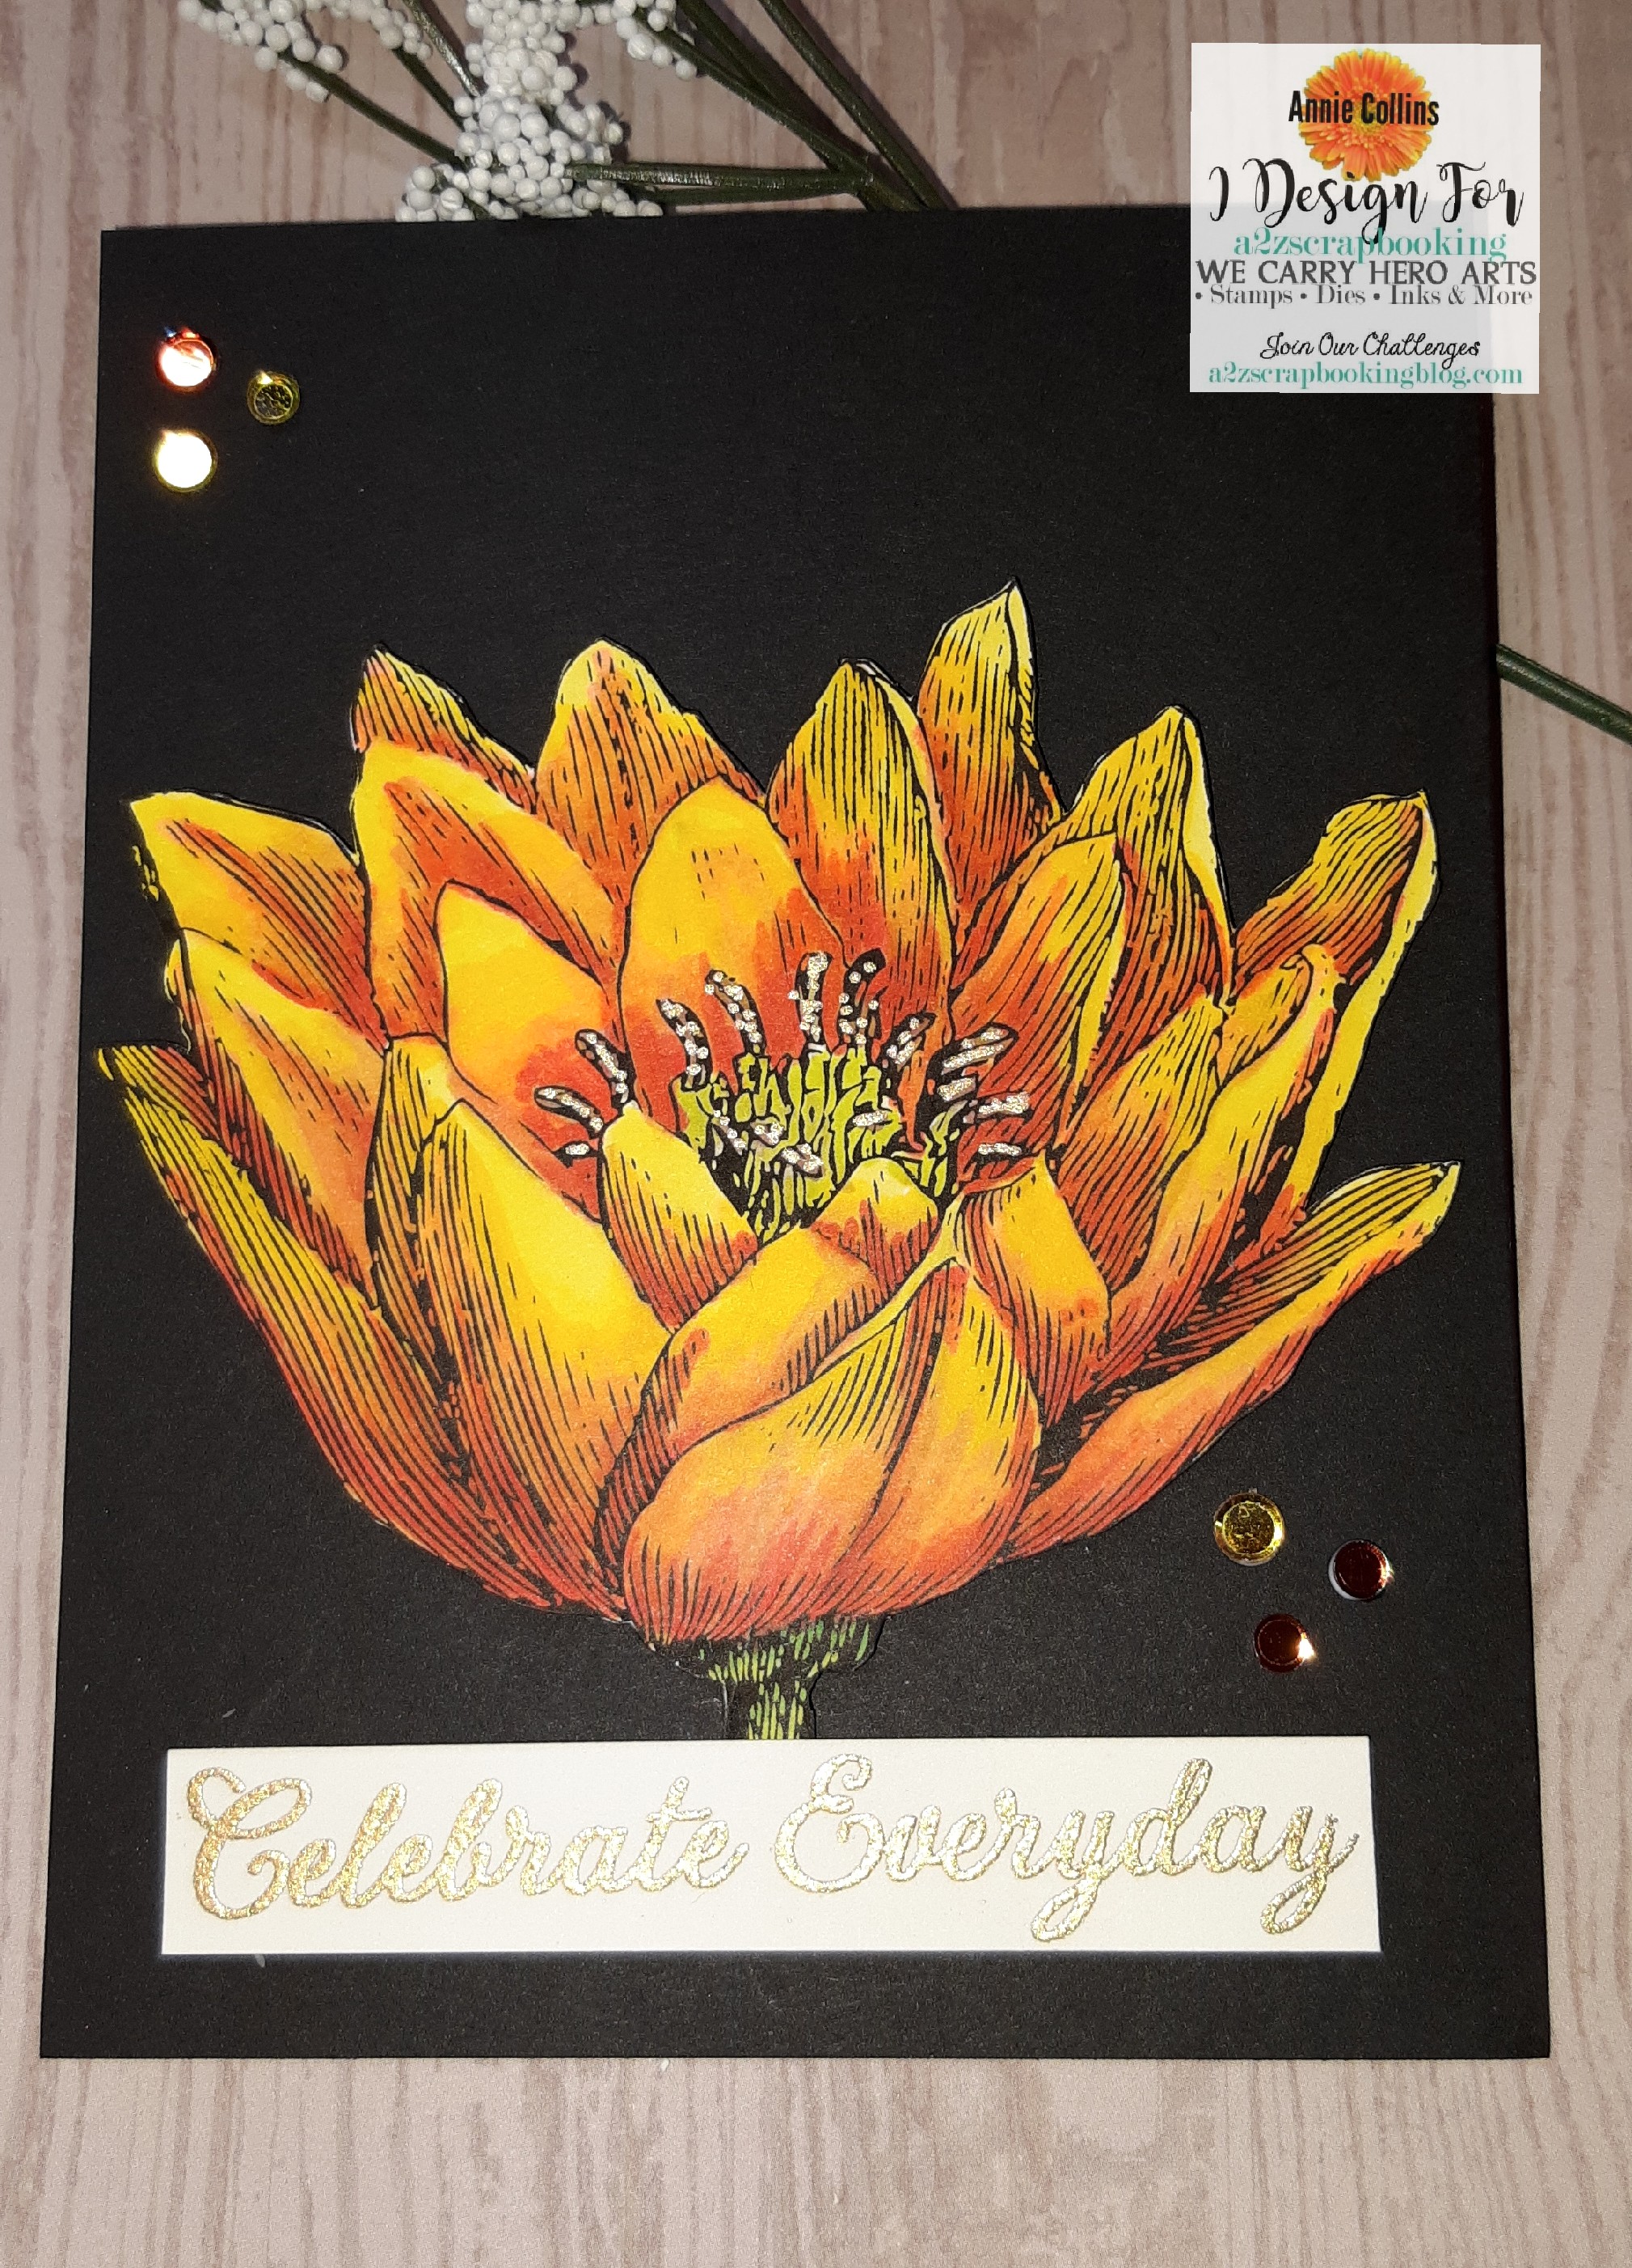
I created a card using the open Tulip from the Hero Arts Digital Stamps Poetic Petals  I printed it out on the larger size so to take up the front of my card.
Adobe_20190317_004246
Since this month's challenge is Color It. I figured I would show you the coloring. Usually, don't. I started with the stem of the tulip. Colored it with shades of green. Next, I did the base of the tulip in shades of orange. Then, I blended some shades of yellows on the top of the tulip.
     
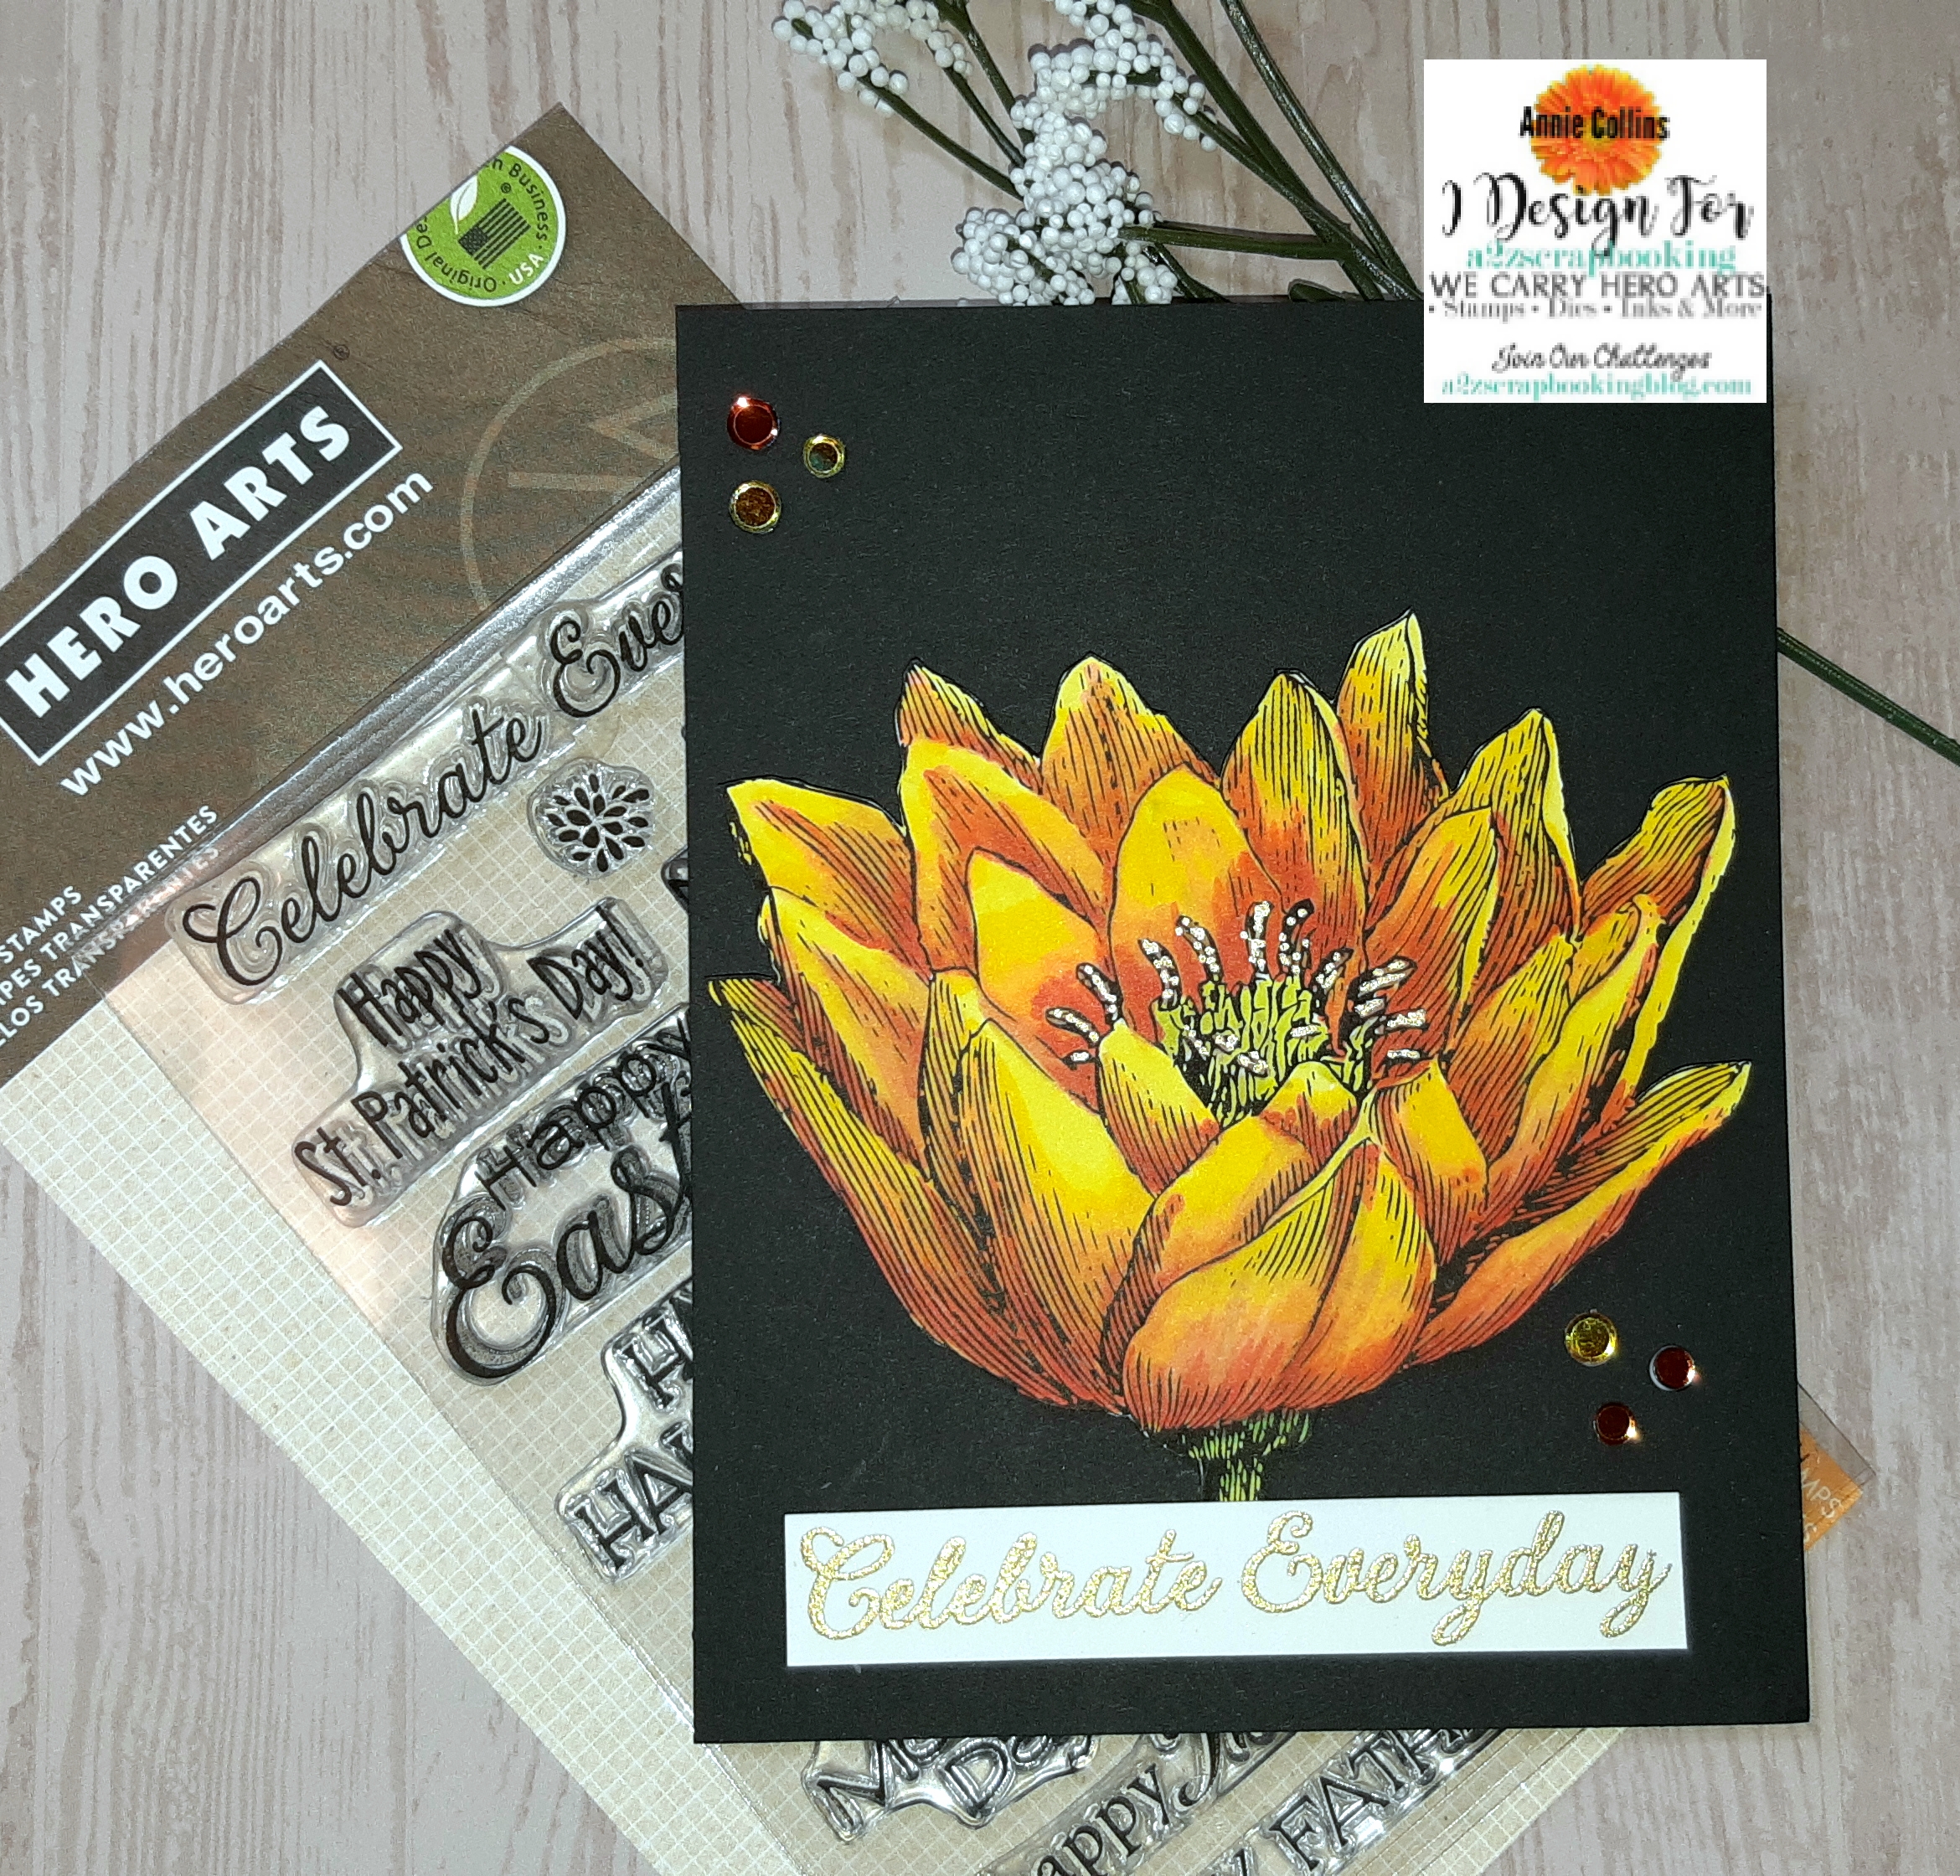
Next, I fussy cut the tulip out and added some foam adhesive behind the tulip. I added it to a 4-1/4" X 5-1/2" piece of black cardstock. I then stamped my sentiment from Hero Arts CL498 Celebrate Stamp set with Versamark ink and heat embossed it with Gold powder. I Next, I added a few confetti sequins for finishing touch along with some metallic gold gel pen detailing in the center of the tulip.


20190317_004450
Thank you for stopping by today.
You can find me at Little Wings Create.


a2z scrapbooking march challenge


Please join us in this month’s “Color It In” challenge for your chance at a free digital stamp set AND, if you used Hero Arts or Sugartree Stamps, a $20 gift card to our etsy store. Our current monthly challenge can always be found in the menu bar and runs from the 1st to the last day of the month.

The a2z scrapbooking store carries a wide variety of Hero Arts products as well as a nice selection of digital stamps! Get discounted new releases, sales, grab bags & more. Proceeds from our store benefit Celiac & Behcets disease foundations. Use my discount code Annie15 to get 15% off your purchase of $25 or more. If you’re looking for a Hero Arts product you don’t see in store, use the Request Custom Order button from with-in the shop.


Supplies Used:

Hero Arts Digital Stamps Poetic Petals 
Hero Arts DL498 Celebrate Stamp Set
Spectrum Noir Markers
Tsukineko VersaMark Ink
Sakura Gelly Roll Metallic Gold Pen
Confetti Sequins Elle Tru


Saturday, March 16, 2019

You're Super Sweet Card with Doodles Paper Playground

Hello Crafty Friends -  I am here with a fun shaker card featuring the Sweet Treats Sparkle Blends

This card is full of sweet treat inside and out. I created a mini bag full of candy treats.

A pastel blend of sprinkle shaped beads,
artificial Fimo sprinkles, hearts, stars, 
cup sequins, iridescent crystals and 
cupcake & ice cream cone shaped Fimo shapes
is a fun addition to any birthday card or project!

Here's my card with the Sparkle Blends at the bottom of the mini treat bag. 

Showing the Sparkle Blends

So, let's get started on the card.

First, I stamped and colored the images from Skull and Cross Buns Retro Sweeties Stamp set. 
Then, die cut a window in my mini treat bag using a small square die. 
I added a piece of chipboard inside of the bag so not to cut through the bag.

Next, I adhered clear plastic to the die cut square. 
I used a piece of packaging, slid it into the bag and glue it in place.


Then, I adhered some of the little Retro Candy stamped images to the inside of the mini bag. Next, I fill the bag with the Sparkle Blends: Sweet Treat and I added a bit of Recollections Brand Glitz glitter. Seal up the mini treat bag.


Then, I matted white cardstock onto medium purple cardstock for my card front. I adhered the mini treat bag to the card front and embellished with the rest of the colored images. I stamped sentiment onto white cardstock and colored the word SWEET with some Distress Markers and matted it onto black cardstock. Then, I adhered the sentiment on foam adhesive.

 Now the card is complete! 

This is a fun and colorful card perfect for your sweetie, a child and a friend.

Supplies Used:
Distress Markers: Ripe Persimmon, Tumbled Glass,
Mustard Seed, Seedless Preserves & Mowed Lawn
Skull & Cross Bun Retro Sweeties Stamp Set
Whisker Graphics Mini Treat Bags: White & Yellow Dots
Recollections Brand Cardstock: White, Black, & Purple
Recollections Brand Glitter: Glitz
Sakura Gelly Roll Pen: White
Spectrum Noir Markers: CT1, TB1, HB1, DR1, 
OR1, RB1, LG3, PP2, PP6 & TB3


Thank you for stopping by the blog today! 

Be sure to tag us Doodles Paper Playground on social media 
if you create a project with our Sparkle Blends.
 All of our Sparkle Blends can be purchased on the 

Friday, March 15, 2019

Spring Cottage with Simply Crafty SVG

Hello Crafty Friends - I am here with a fun Spring project.

I turned the Love Shack SVG from Simply Crafty SVG into a cut Spring Cottage. Now, this little house is a gift box. So, you can place a small gift inside for a loved one or you can fill it with some sweets and place it on your coffee table or desk.

I created the little house as per the directions provided with the download from Simply Crafty SVG.
I love that Sandy provide both easy to follow PDF and Video for all the SVG projects on the site.

I simply changed my colors to Springtime colors and added a few extra embellishments like die cut grass, flowers, butterflies, bird, tiny cat & tree. I also added a few stamped images like the potted plants on the front porch and the bird fountain on the back of the house. I also added some curtain from pattern paper.


The sides of the Cottage


The back 

Some close up details of the roof, windows & Butterfly


I hope you create a Springtime Cottage of your own.

Be sure to join us over on the Facebook Group Simply Crafty SVGs Creators Group
If you create any of the Wonderful Project designed by Sandy from Simply Crafty SVG share them with us in the group and social media.

Tuesday, March 12, 2019

Never Give Up Card with White Rose Crafts LLC

Hello Crafty Friends - I am Guest Designing for White Rose Crafts LLC this month. It's an honor to be working with Kay and her team. 

Today, I am here with a quick and easy card 
using this month's kit called Blue Skies.

This kit is beautiful - it has shades of blue, rich gold, butterflies,
 uplifting quotes and a fantastic stamp by Kaisercrafts.

So let's get started on the card.

I started by trimming the floral paper to 4" x 5-1/4". I pulled a piece of Navy cardstock from my stash and trimmed that to 4-1/1"" x 5-1/2". Next, I die cut a circle from the rich gold specialty cardstock from the kit. Then, I trimmed the sentiment I wanted to use from one of the pattern papers from the kit.

Once, I had my papers, sentiment and other supplies gathered I created the card.

I matted the floral pattern paper onto the navy cardstock. Then, I used low profile foam adhesive on the back of the gold circle and adhered it the lower right of the card front.

Next, I turned my attention to the chipboard butterfly. I used Distress Oxide Ink in Squeezed Lemonade directly onto the butterfly. I lightly dried it between layers of ink with my heat tool. Next, I sprayed the New Distress Oxide Spray in Mermaid Lagoon. 


Once it was dry I flipped it over and added low profile foam adhesive onto the back of the butterfly. Then, place it onto the gold cardstock circle.

Next, I added the sentiment on top of the butterfly again with low profile foam adhesive. I was now ready to add some finishing touches.

I add a few sequins from the Sunny Skies Sparkle Blend that comes in the kit. I also added from the Sparkle Blend the little gold coils to the antenna. I adhered the card front to a top folding card base.  

Now the card is complete!

You can create a similar card with the contents
 of the March's Blue Skies Kit available now.

Supplies Used:
Ingio Skies Pattern Papers, Gold cardstock & Sequins

Thank you for stopping by the blog today!

If you would like to join in the fun for the White Rose Crafts March Sketch Challenge, and other fun activites and conversations make sure you join the 
White Rose Crafts Gallery group on Facebook!

Monday, March 11, 2019

Happy Easter Tag with Rinea Foil Paper

 Hello Crafty Friends -I am here with a fun Easter tag.

With some die cutting and a bit of stamping you can create some tags for those Easter Baskets, you are creating for your family.
Recollection Brand 110lb White Cardstock
EK Success Mini Flower Punch
Offray Ribbon - Gold Metallic
Ranger Liquid Pearls - Gold Pearl
Assorted Fibers 
Adhesive: Tape Runner & foam 

So let's get started
First, stamp and color the Easter eggs. I used 3 in total. As well as the word Happy - trim and set a side. Next, die cut the tag once from white cardstock (so I could have a place to write a quick note) and once from Rinea Starstruck Lavender Foil Paper

Then, die cut the word Easter 2x once from white cardstock and once from Rinea Glossy Gold Foil Paper. Next, Punch a few flowers (as many as you like) - This just gives the eggs a place to sit so they don't look like they are floating.

Next, adhere the two tags together. Repeat the process with the word Easter.


Now that the tag is ready to decorate - adhere the three Easter Egg to the tag. Place them towards the bottom of the tag. Popping up the center egg.

Next, adhere the flowers beneath the eggs. Layering them to create a lovely little nest for them.


Then, adhere the word Easter toward the top of the tag. Adhere the stamped word Happy to the tag - tucking slightly into the word Easter.

Next, cut your fibers and ribbon. Attach them to the tag. I add the fibers through the hole. Then, tied the ribbon around the fibers and made a bow.


Finally, add a bit of Liquid Pearls to the center of the flowers.


Your Tag is now complete. You can make as many as needed. The image can be changed to a more masculine design as well as the colors - Rinea carries a great variety of Foil Paper in an assortment of colors.

Thank you so much for stopping by the blog today.