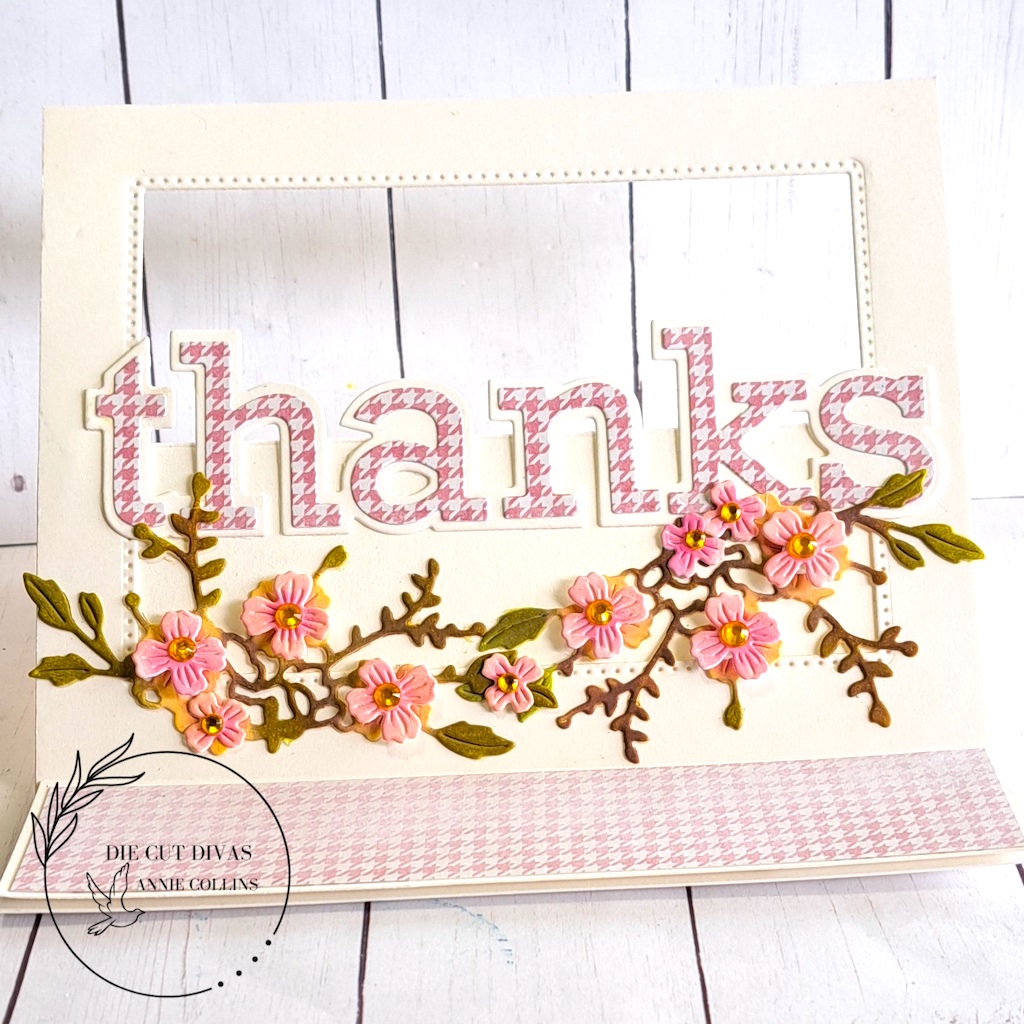
Hello Crafty Friends - I am here with a beach themed birthday card featuring variety of Poppystamps products for the Die Cut Divas Challenge. This month is all about Celebrations!

May Sponsor: Poppy Stamps

It's all about Celebrations this month
Birthdays, Christmas, Retirement. Weddings, Anniversaries, Graduations, House warmings, Hanukkah, Diwali, Eid al-Fitr, Ramadan, Holi, Day of the Dead, Passover, Lunar New Year, Mardi Gras, Oktoberfest, Independence days, Thanksgiving, New Year's Eve, Labor Day, Parties, and Parades.
Please state the celebration so we don't have to guess what it is.
If we can't tell what the celebration is, please let us know in your post or we'll have to leave you out of the draw.

The Drawing of a $20 gift card will be made from those with US addresses only.