Hello Crafty Friends- Annie here with a Kindness/Friendship card.
This month we here at Rinea are collaborating with Poppystamps
to bring you loads of inspiration.


Materials Used
Elle Tru: Jewels: White Pearl
Recollections Brand 100lb Cardstock: White (card base)
Let's get started!
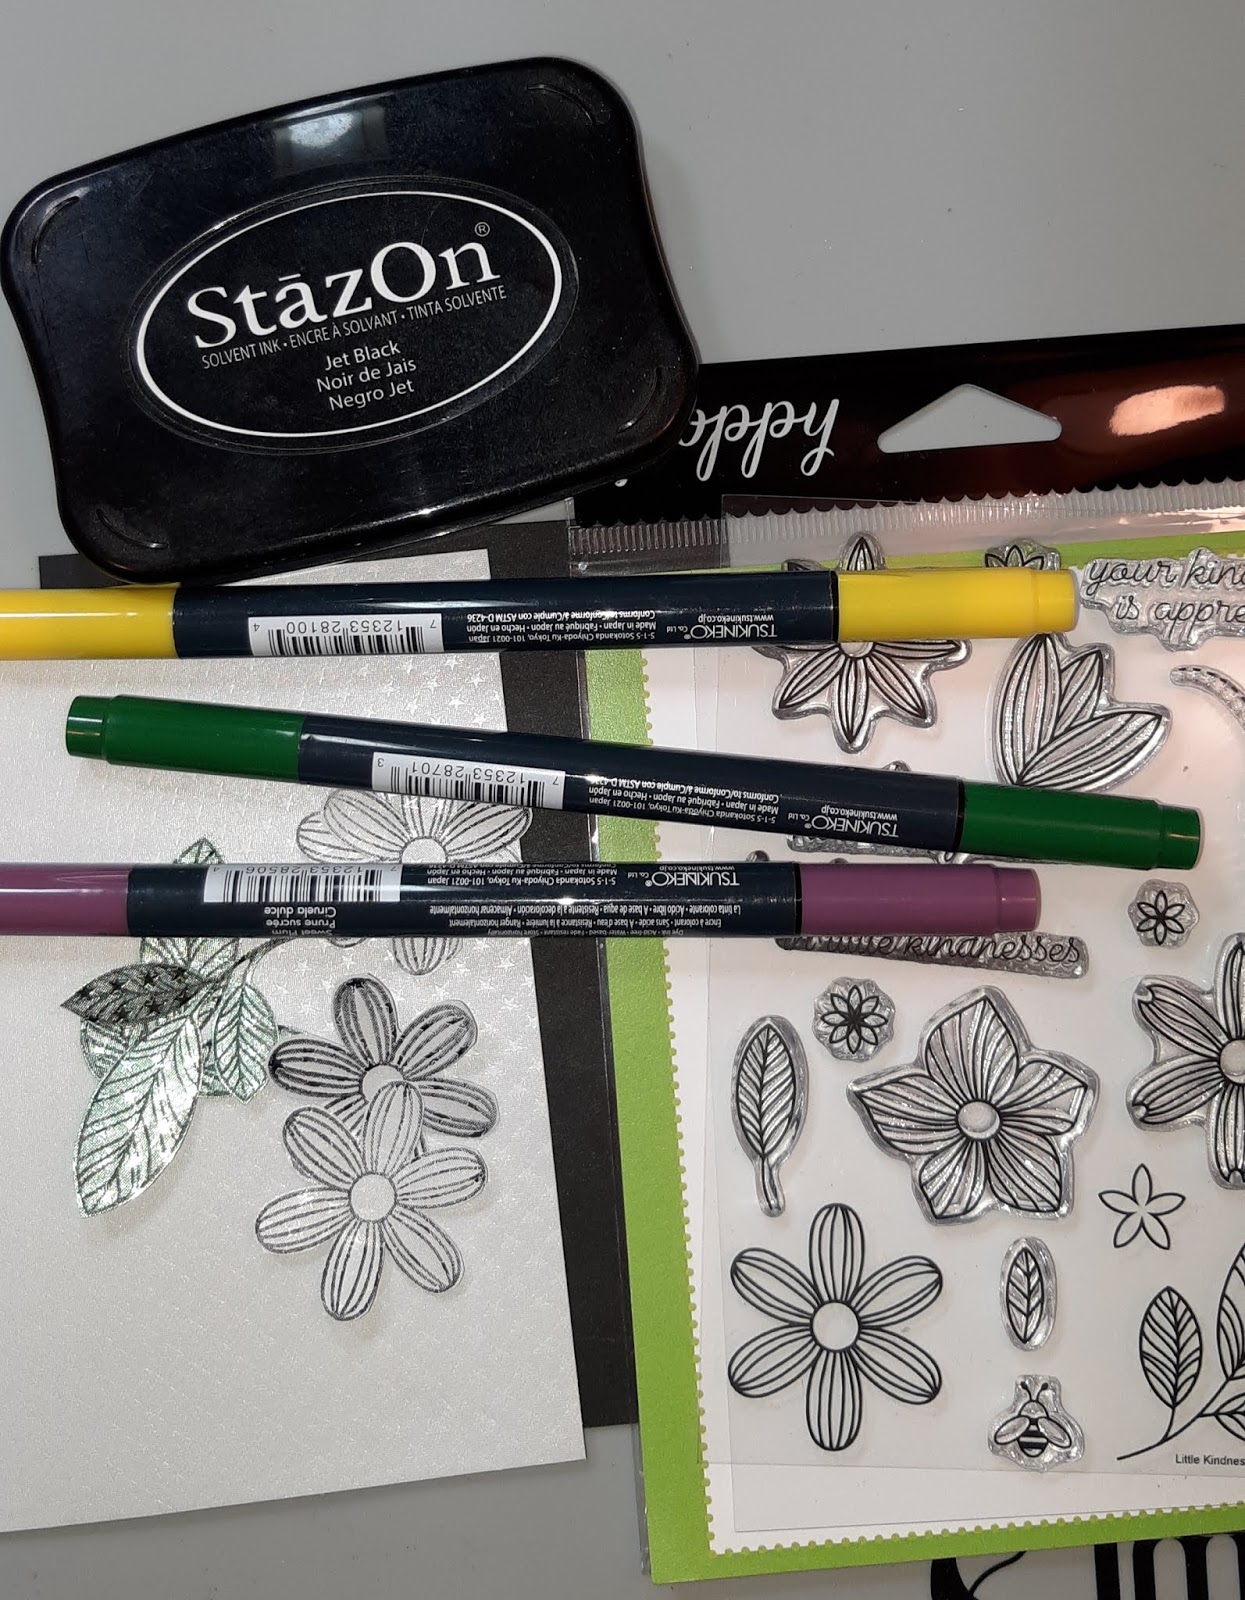
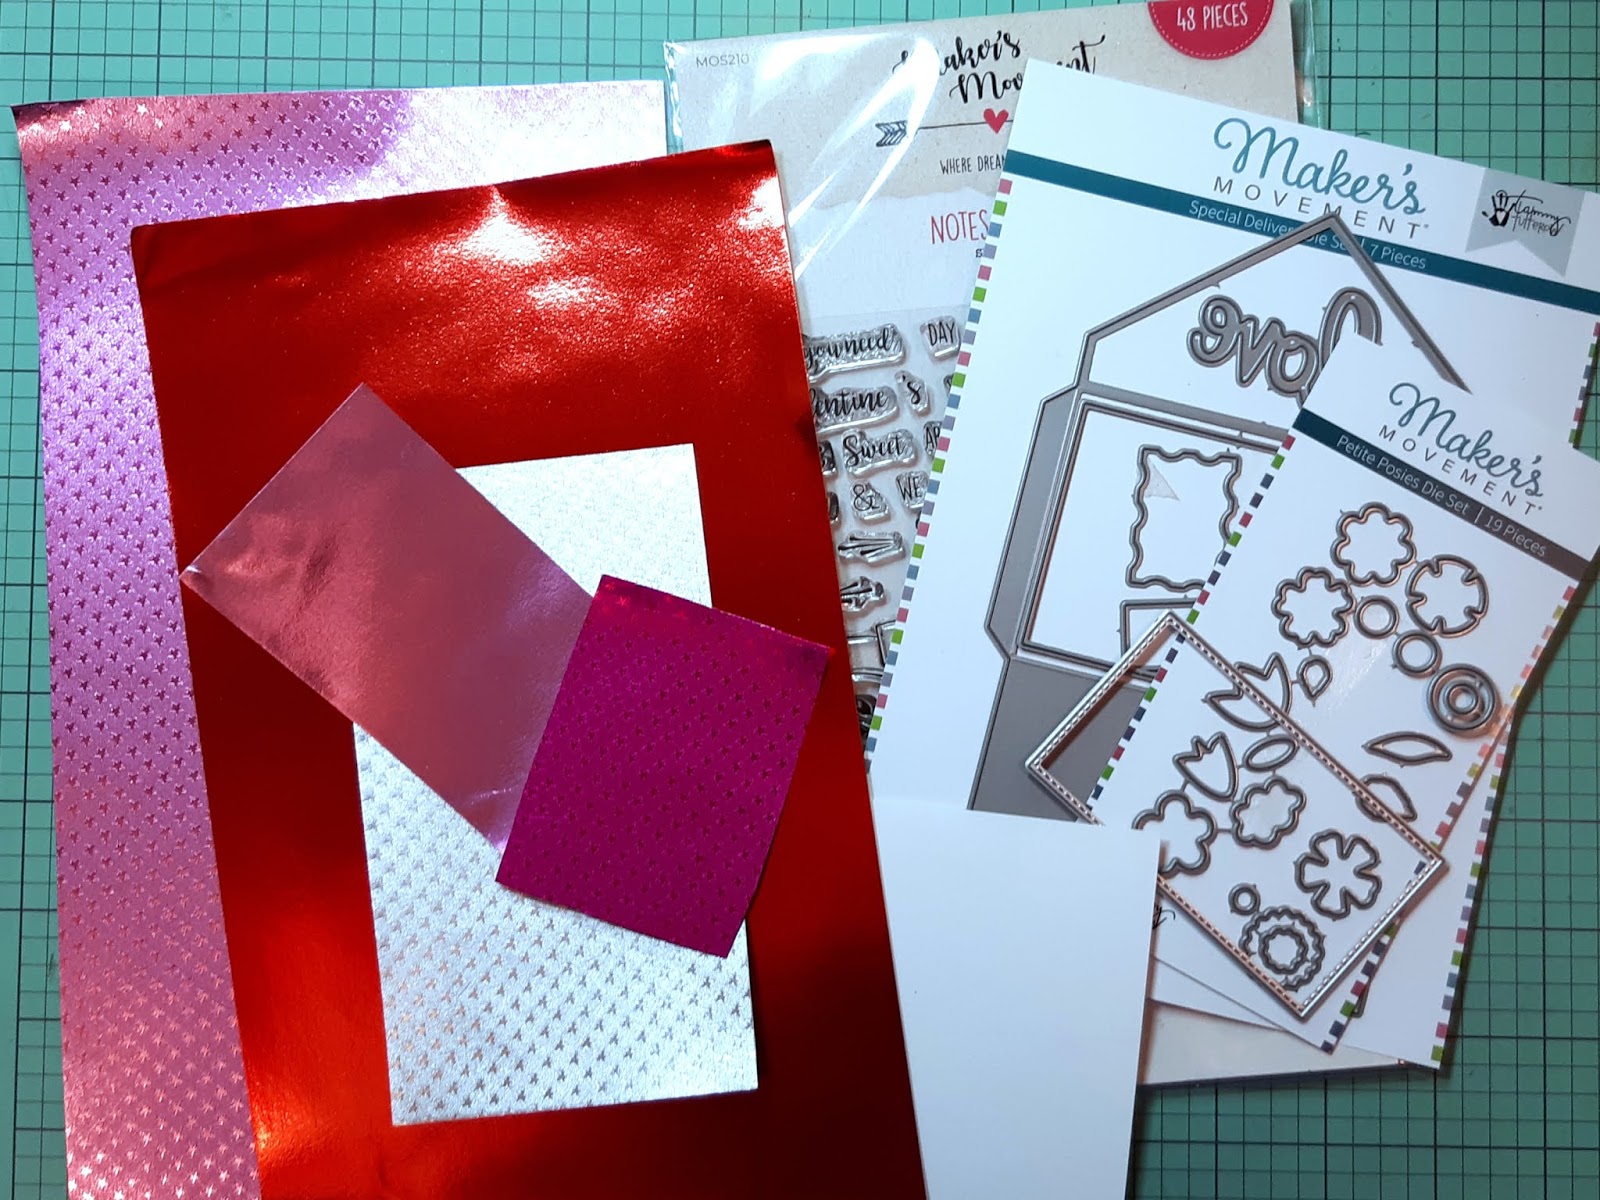
I gathered all the supplies.

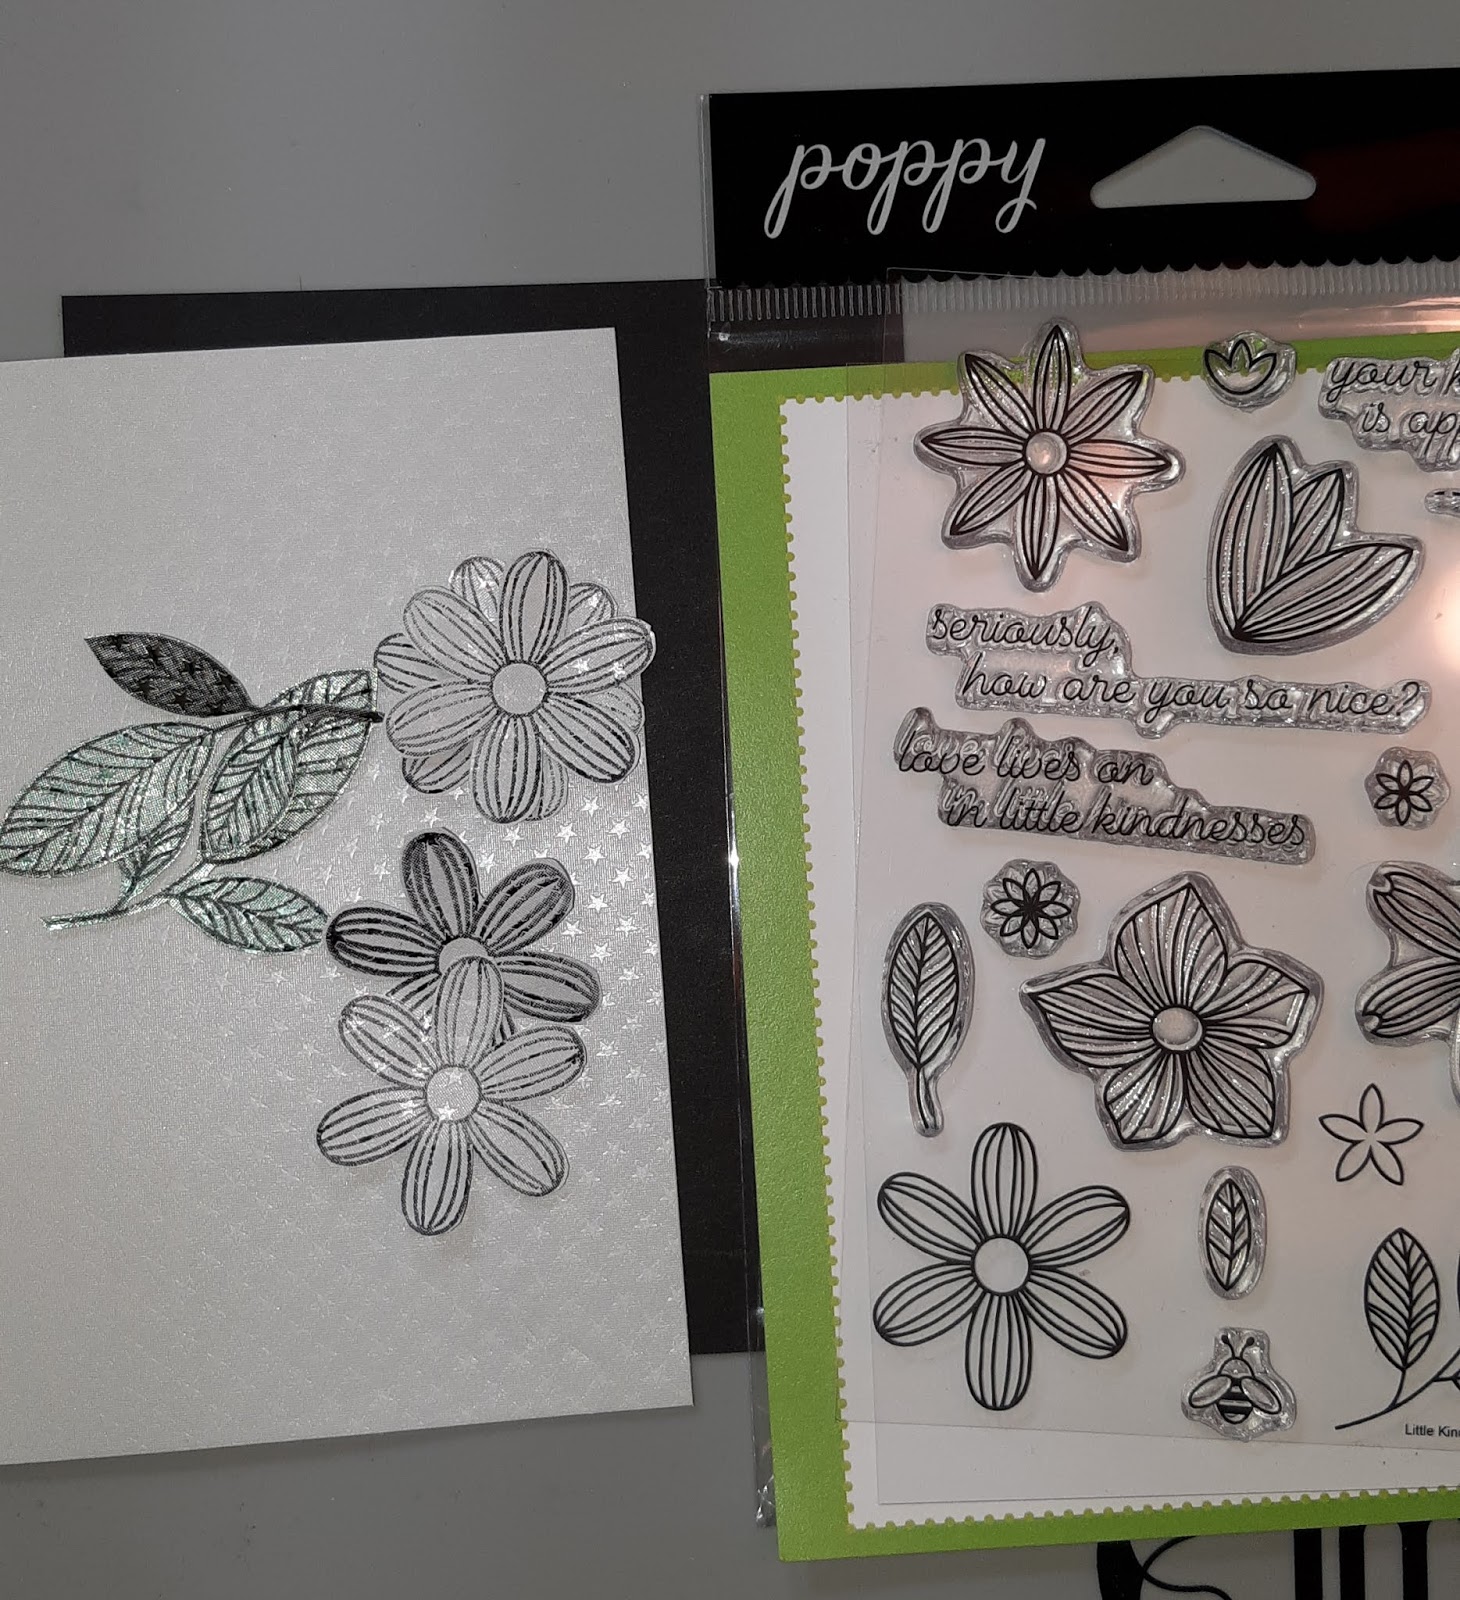
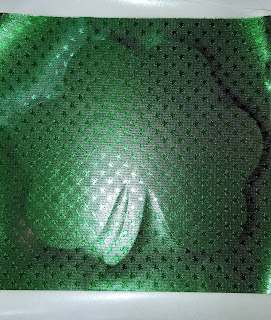
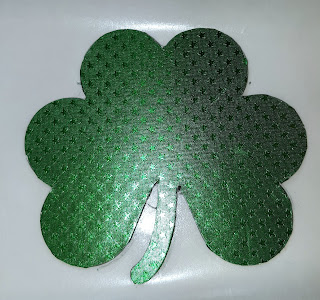
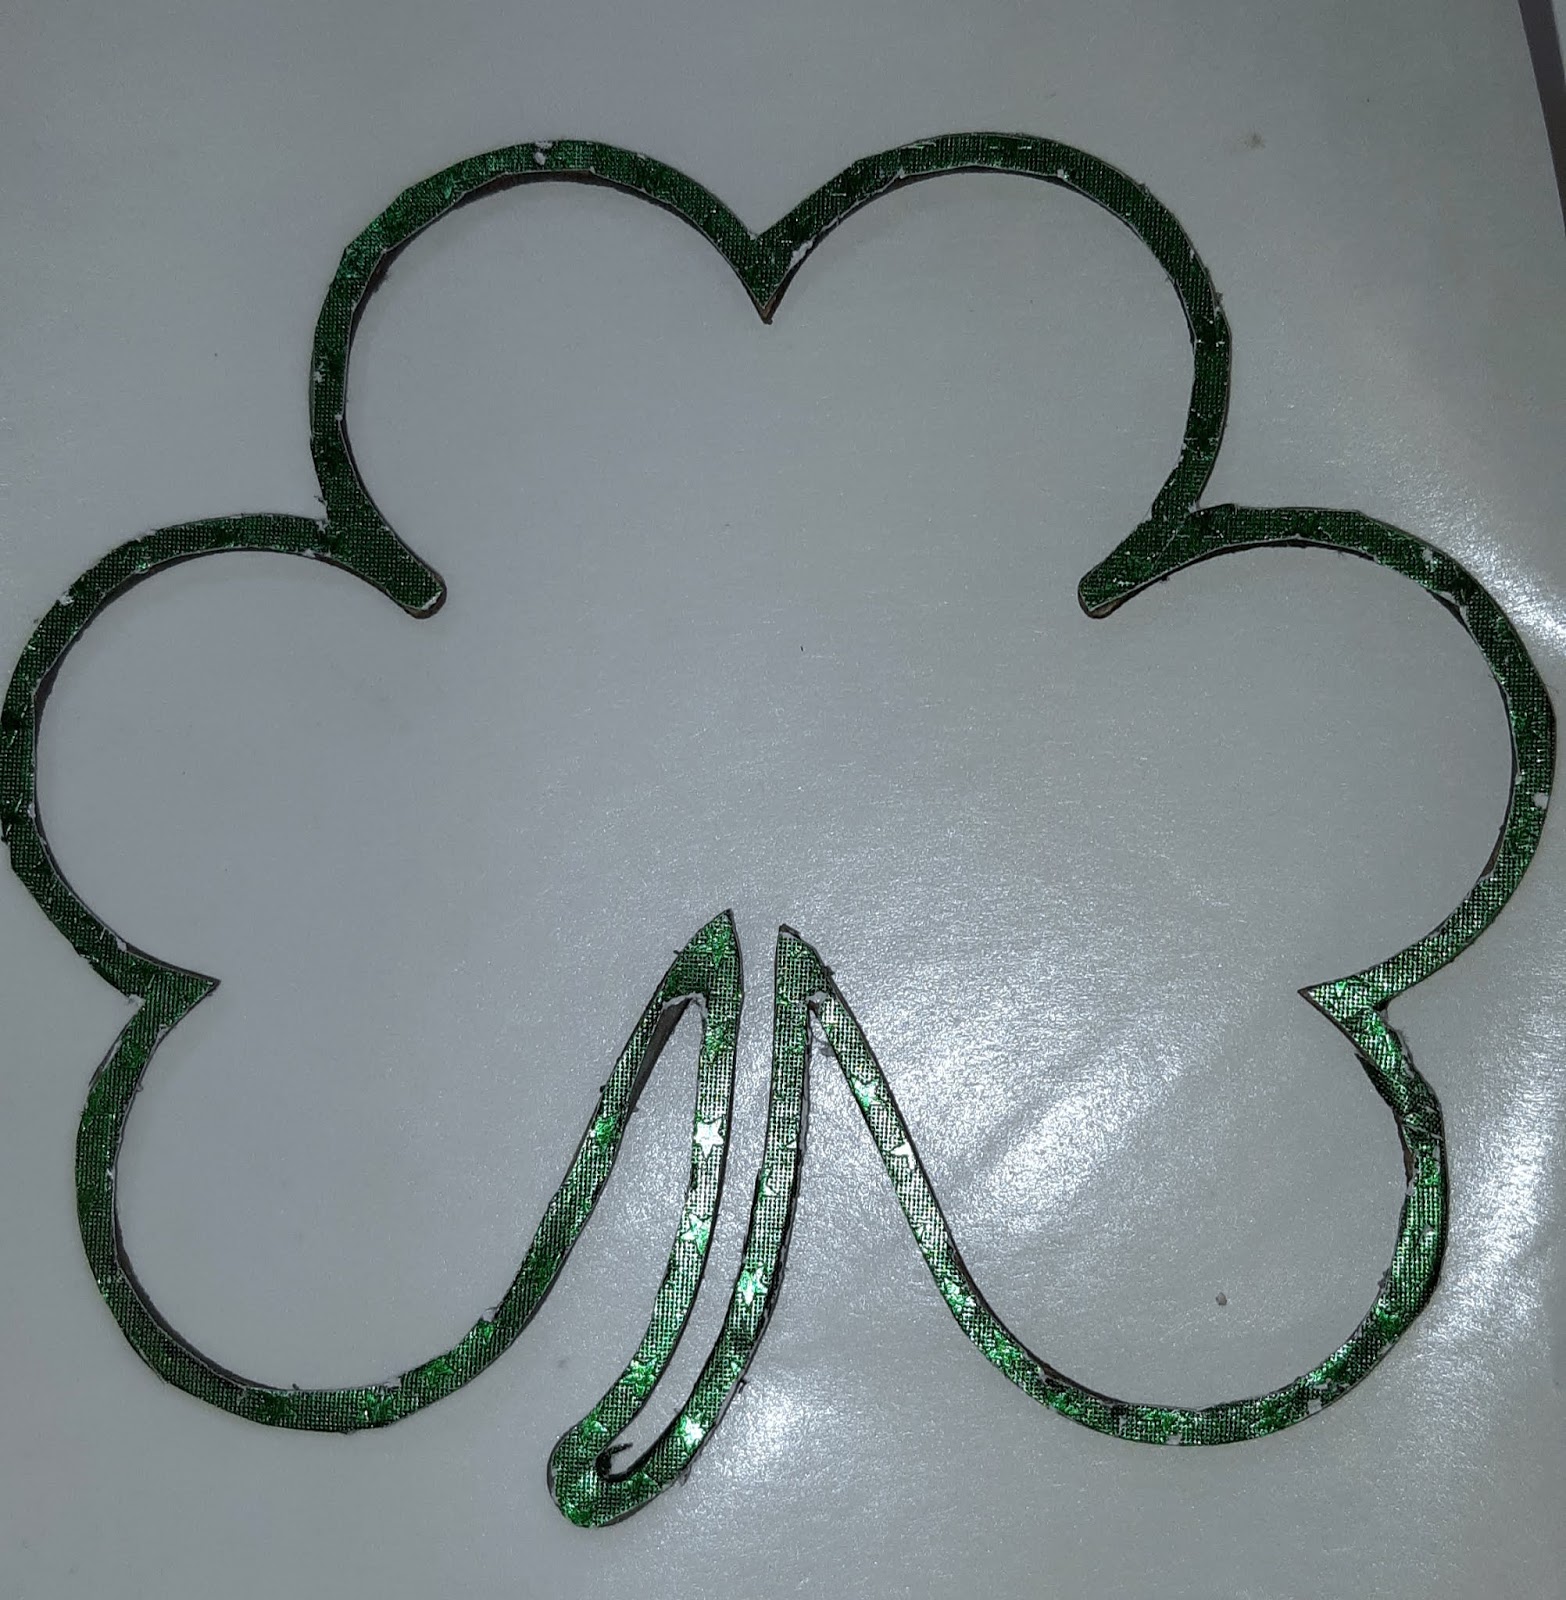
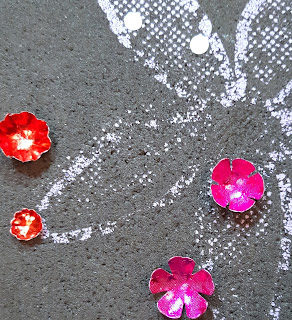
onto Rinea Emerald/Gold Glossy for the leaves. The flowers in Rinea Fushcia/Gold Glossy,


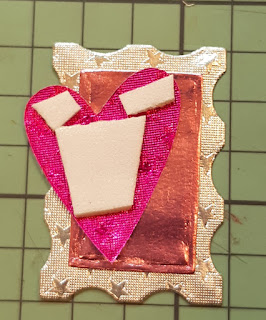
I assembled the faerie. I adhered her wings to the back of her body.


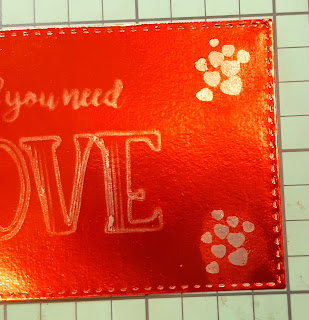
I adhered the faerie and the sentiment to the top of the card panel and the flowers to the bottom. I stamped the sentiment onto Rinea Artic/Artic StarStruck I then back it with some black cardstock. For finishing touches, I adhered some jewels to the centers of the flowers.

Now, the card is complete!
Thank you for stopping by the blog today. I hope you found some inspiration!
Please tag us on social media if you create any project using any of our wonderful Foil Papers!
Don't forget to stop by the shop Rinea.com