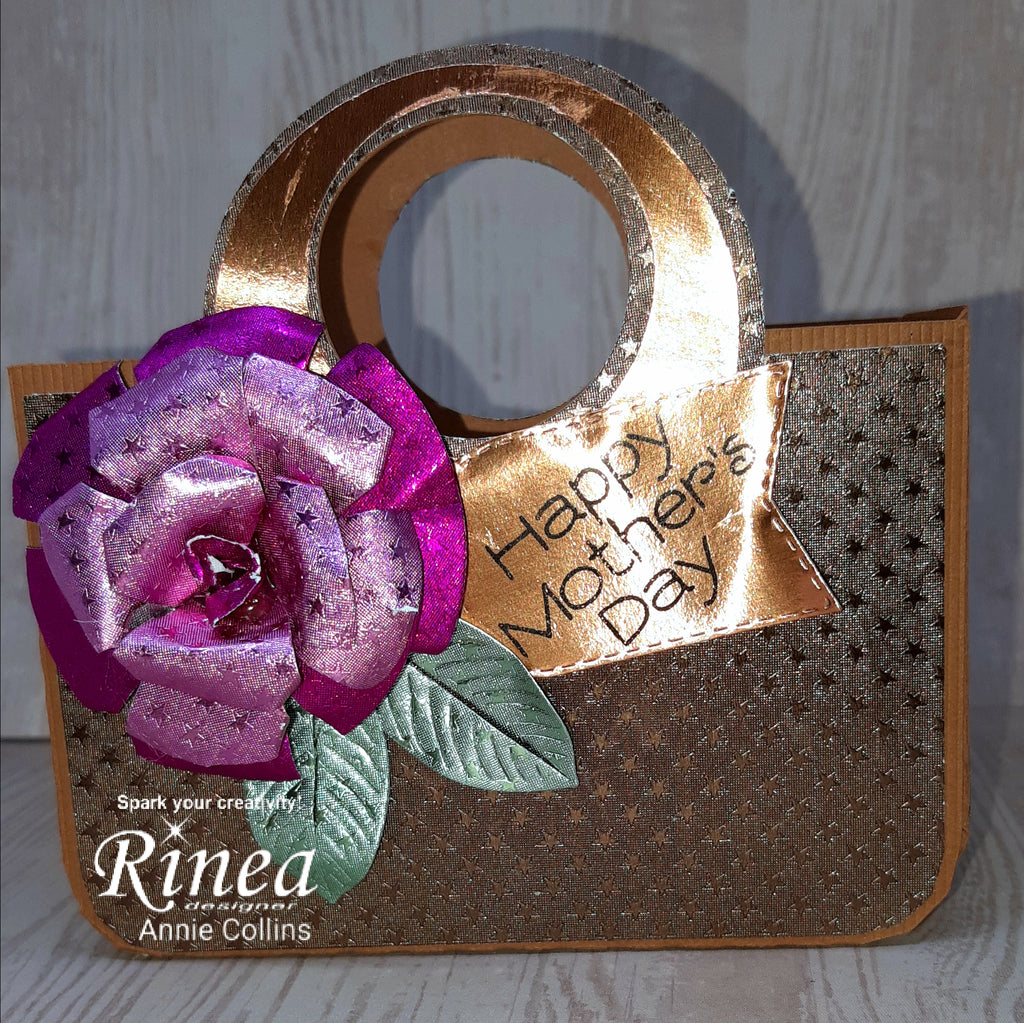
Hello Crafty Friends - Annie here with a cute Mother's Day Mini Tote
perfect for a small gift for Mom.


Let's get started!
Materials Used:
Other Items:
Simply Crafty SVG File: Round Handle Bag (freebie)
Hero Arts CL498 - Celebrate Stamp Set
StazOn Jet Black Ink
Cardstock: Brown
Manual Die Cutting Machine
Adhesive: Aleene's Tacky Glue & Low Temp - Hot glue & Glue Tool
Directions
I started by downloading and cutting the free SVG file. I used cardstock for the base of the tote. I then followed the simple instructions to put the tote together (you will receive both a PDF and a link to a YT video on how to create the tote). As for the cover on the tote I used Mocha/Mocha Starstruck. I also die cut 2 Rolled Starbases from the #1 die - in Fushia/Fushia Starstruck & Blush/Blush Starstruck. I also die cut a few leaves from Jade/Jade Starstruck.

Now that I have all the components cut and ready - I can start making the tote.
I start by adhering the Mocha/Mocha Starstruck cut panel onto the base of the tote. Then, I adhere the handles of the tote as per the directions.
Next, I glue the side panels of the tote to the front and back. Then, I adhere the cover panel. I set the tote to the side to dry completely.
I then focus on creating the flower for the mini tote.
I start by trimming apart the die cut pieces as shown. I trim 3 sections from the Blush/Blush Starstruck and 1 from the Fushia/Fushia Starstruck.

I start by adhering the center petal together. I used the handle of my quilling tool - but you can use a paint brush handle. I used liquid glue here but I quick moved to the low temp glue & glue tool
The center is created with the small piece from the Fushia Starstruck. I simply rolled it and glue into place - in the middle of the 3 petals I just made from the Blush Starstruck.
Next, I repeated the process on the other piece of the Blush Starstruck Petals. Rolling and gluing into place. Layering as I go. Finally I add the last layer which is the Fushia Starstruck Petals.
Now, the flower is complete. I add a bit of low temp glue to the back of it and place it onto the front of the mini tote.
Next, I adhere the leave just tucked under the flower.
Now, for a quick tag - I die cut a tag from Marigold/Gold Glossy Foil paper. I then stamp my sentiment onto it the tag using StazOn jet Black Ink.

I then add some adhesive to the back of the tag and tuck under the flower and leaves.
Now, the Mother's Day Mini Tote is complete and ready to be filled with the gift of your choosing.
Thank you for stopping by the blog today!


No comments:
Post a Comment