Thursday, January 30, 2020

Sweet Love Card with Dies R Us

Hello Crafty Friends - I am here with a lovely and easy Valentine's Day card or just a love card.

I only used dies and a bit of ink to create this card - which makes it easy to make multiples if needed.


Here's the card I created.

I gathered all the dies, cardstock and specialty paper. I die cut all the components for the card. 

I then used Distress Oxide ink in Bundled Sage to color the stems of the blooms. Next, I used Distress Oxide in Tattered Rose for the buds.
  

I trimmed one of the buds off the stem. I will use this stem for my hearts. 
I  adhered the hearts to the stem.
  
Next, I adhered the lattice to the pink cardstock panel.
 Now, I am ready to adhere the blooms to the panel.
 

I start by tucking the first bloom at the bottom left of the panel. Then I follow with the heart buds and then I finally trim and tuck the last bloom.
  

Next, I adhered the sentiments die cuts to the top right-hand corner of the panel. I then adhered the card front panel to the card base.

For finishing touches, I adhered a few Jewels in red, pink and white.
Now, the card is complete.

Material Used

 ScrapMan - Dies - Bloom

Sue Wilson Designs - Shadow Boxes -  Stitched Lattice Frames


Distress Oxide Ink Pad - Tattered Rose
Distress Oxide Ink Pad - Bundled Sage
Nuvo Deluxe Adhesive

Recollection Brand 110lb Cardstock:  White
Recollection Brand 65lb Cardstock: Light Pink
Die Cuts With a View: Pink Shimmer Cardstock
Jot Brand Foil Cardstock: Red
Elle Tru Jewels: White, Pink and Red
Crafter's Edge Crossover II Machine

Thank you for stopping by the blog today. I hope you found some inspiration!


Before I write the list of the supplies I used, I wanted to share some exciting news with you.  Dies R Us now has a sister store called Didi Crafts, which has warehouses located in the USA and Canada.  Didi Crafts carries some of the same products as Dies R Us, but most are different and you will be able to purchase a huge variety of crafty supplies for a variety of crafts.  Having this sister store means that our Canadian crafting friends won't have to worry about huge taxes or shipping fees.  Isn't that great?!  Go take a peek and be pleasantly surprised!

Don't forget to come and join in the fun at the Dies R Us Challenge Blog. There's a new challenge theme offered on the 1st and 15th of each month and one lucky randomly drawn winner will receive a gift voucher prize to the Dies R Us Store. For your convenience, all the important Dies R Us links are provided below.

Wednesday, January 29, 2020

I Love You Card with White Rose Crafts LLC

 Hello Crafty Friends - I am here with a card inspired by Australia.
White Rose Crafts Gallery FB Group is doing a fundraiser for all the Firefighters, Families and Animals affected by the wild fires.


I stamped and cut out all the images. I die cut a heart and stamped my sentiment on it. I also trimmed a piece of Lawn Fawn Really Rainbow paper to 4"-1/8" 5"-1/8" so I would have a small white frame around the pattern paper.

I then adhered the bamboo leaves around the heart leaving a few gaps for the flowers and hearts. Next, I added the flowers and hearts.
  
I adhered the pattern paper to my card base. Then, I used some foam tape to adhere the heart and Koala to the card front.


For some finishing touches, I adhered some sequins in the right top corner and left bottom corner.

Materials Used:
Sakura Gelly Roll Pen: White
Recollection Brand 110lb Cardstock: White
Sequins
Thank you for stopping by the blog today. I hope you found some inspiration!

Be sure to tag us White Rose Crafts LLC on social media 
if you create a project with products or kits purchased on the 

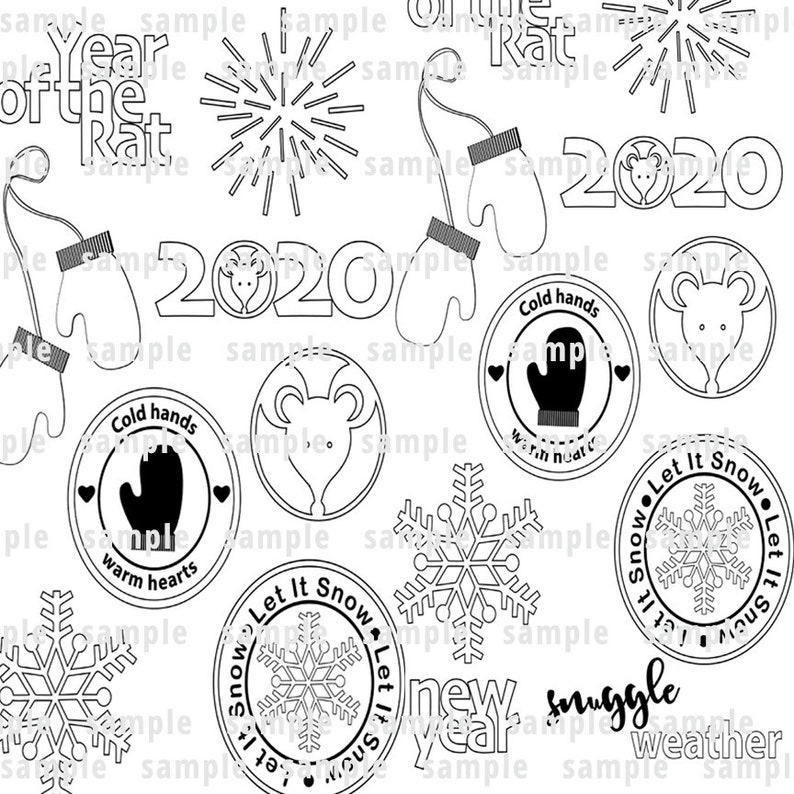
Cold Hands-Warm Heart Card with Coffee Beans

Hello Crafty Friends - I am here with a cute winter card! 

The wonderful Janet Von Lone Trieschman created a fantastic digital and SVG file 
The file can be purchased in her shop V-Studios

Winter SVGs image 0

This is the card I created using the Winter file from V-Studios


Materials Used:
Winter file from V-Studios
Jot Brand: Silver Foil Paper
Sakura Gelly Roll Pens: Silver & Black
VersaMarker Pen
Nuvo Glitter Embossing Powder: Silver Moonlight
Copic Markers: B00, B01, B93
Distress Ink: Salty Ocean
Sharpie Marker: Metallic Silver
Imagine Crafts: Tear It Tape
Recollections Brand 110lb Cardstock: White & Gray
Recollections Brand 65lb Cardstock: Blue
Recollections Brand: Vellum
Elle Tru Brand: Sequins- Tiny Silver Hearts, Snowflakes, and Blue Swirls
McGill Hand Punch: 1/4" Circle
EK Success Powder Tool
Fiskar Brand Punch: Scalloped Circle
Foam Tape
Heat Tool


Thank you for stopping by the blog today. I hope you found some inspiration!

Please join in on the fun at The Coffee Bean Challenge Blog

Sunday, January 26, 2020

Valentine's Day Heart Self Closing Bag and Mini Card with Rinea

Hello Crafty Friends - I am here with a fun Valentine's Day project
 featuring Rinea Love Foiled Paper Variety Pack
along with a cut file from Simply Crafty SVG

Materials Used
Xyron Creative Station Lite Adhesive
Xyron Mega Runner Adhesive
Brother Scan n Cut Machine
Maker's Movement Notes of Love Stamp Set
Imagine Crafts/Tsukeniko Memento Dew Drop Ink: Rose Bud
Recollection Brand 65lb Cardstock: Pink and White

Let's get started!

I gathered all the materials. I die cut the tote bag using my Brother Scan n Cut. 

Tote Bag

I ran all the pieces that I cut from the Rinea Starstruck Fuchsia/Fuchsia Foil Paper,
Rinea Starstruck Blush/Blush Foil PaperRinea Glossy Blush/Gold Foil Paper through the 
Xyron Creative Station Lite. 


Next, I layered the Rinea Starstruck Fuchsia/Fuchsia Foil Paper triangle with heart cut out onto
 the Rinea Glossy Blush/Gold Foil Paper triangle with heart cut out.
   
Then, I layered the triangles onto the tote bag.
 

Next, I added the handle layers and side panels of Rinea Glossy Blush/Gold Foil Paper to the tote bag. 
 

Then, I ran some Xyron Mega Runner on the side tab of the tote and pressed the two sides together.
  

Next, I closed the bottom of the tote. Start with the forked tab push it down. Next, the two side tabs, followed by the cone-shaped tab. No need to adhere these tabs.  
  
This part is optional.
I saved a few of the hearts that cut out from the front panels. 
I decorated the side panels with one heart.
 
 
 To open the tote all you do is squeeze the ends.
 

Your Valentine's Day Tote Bag is Complete!


Mini Card

I cut a piece of 65lb white cardstock into a 3"x3" square. 
I then scored it in the middle and folded it. This will be the card base.
 

Next, I added a die-cut panel of Rinea Starstruck Blush/Blush Foil Paper to the card base. 

Then, I layered a Rinea Starstruck Fuchsia/Fuchsia Foil Paper heart onto a Pink cardstock heart. I added some low profile foam adhesive to the back of the heart and press it onto the  die-cut panel of Rinea Starstruck Blush/Blush Foil Paper
  

Next, I stamped the sentiment onto the card.
I used Maker's Movement Note of Love stamp set and
Imagine Crafts/Tsukeniko Memento Dew Drop ink in Rose Bud.
  

Now, the mini card is complete!

You can fill your tote bag with candy, cookies or a small gift. 
You can attach the card with adhesive or a clip.

Thank you for stopping by the blog today. I hope you found some inspiration!