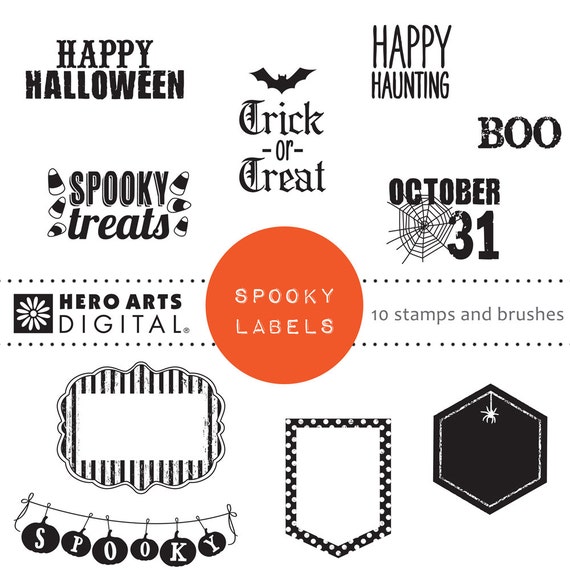
Hello Friends today I want show you I made two quick Halloween cards. They came together really quickly. I am using the Hero Arts Spooky Labels - Halloween Digital Kit .
Now let's get started on how I created these cards.
Card #1 - I trimmed the banner label and ink the edges with Hero Arts Black Ink. Then, I trimmed the Trick or Treat Sentiment & the little bat also inking the edges. Next, I trimmed my card panel from green cardstock adhered it to my black cardbase.
Then, I punched a small circle at the top of the banner label and tied some black & white Baker's Twine through it. Next, I trimmed the purple cardstock just a hair smaller than the inner part of the banner label. adhered it to the banner label - then adhered the sentiment with foam adhesive on top of the purple cardstock. I added some foam adhesive to the top and regular adhesive to the rest of the of the banner label place it onto the cardbase. Now, for some finishing touches - I adhered the little bat to the banner centered at the bottom. I popped up his wings with foam adhesive for some added interest. I then place 3 enamel dots in an angle on the corners of the card.
Card #2 - I trimmed the Boo from the printed sheet. I matted it onto the holographic paper. set it aside. Next, I trimmed a card front panel from the Purple cardstock and stamped the triangles and circles onto the panel with Wilted Violet Distress ink. Then, I adhered the purple panel onto some of the holographic orange paper. I then adhered the card panel onto the dark gray cardbase. Next, Die cut the word Happy from green cardstock 3x - next I stacked and adhered each layer so I ended up with a nice thick die cut word. Then, I stamped the -for you- onto a small pieces of lime-green cardstock - I trimmed it down and fishtailed both ends.
Now, that I have all the components ready I put together my card. I adhered the matted Boo onto the purple toward the top of the panel. Next, I adhered the die cut Happy above the boo. added the for you banner underneath using a bit of foam tape. For some finishing touches I add a few enamel dots
I hope you give the Hero Arts Spooky Labels - Halloween Digital Kit . a try. It's perfect for your quick Halloween cards.

Supplies:
- Hero Arts Spooky Labels at A2Z Scrapbooking
- Hero Arts Black Ink
- Hero Arts Happy Stamp & Cut Set
- Distress Oxide Ink - Wilted Violet
- Recollections Brand Cardstock - Black, Dark Gray, Orange, Green, Lime-green & Purple
- Jot Brand Holographic Paper - Orange
- Studio G Brand Baker's Twine in Black & White
- Gina Marie Designs Flat Mat Enamel Dots - Black, Orange & Purple
- Scotch Brand 3M Foam & ATG Adhesive


No comments:
Post a Comment